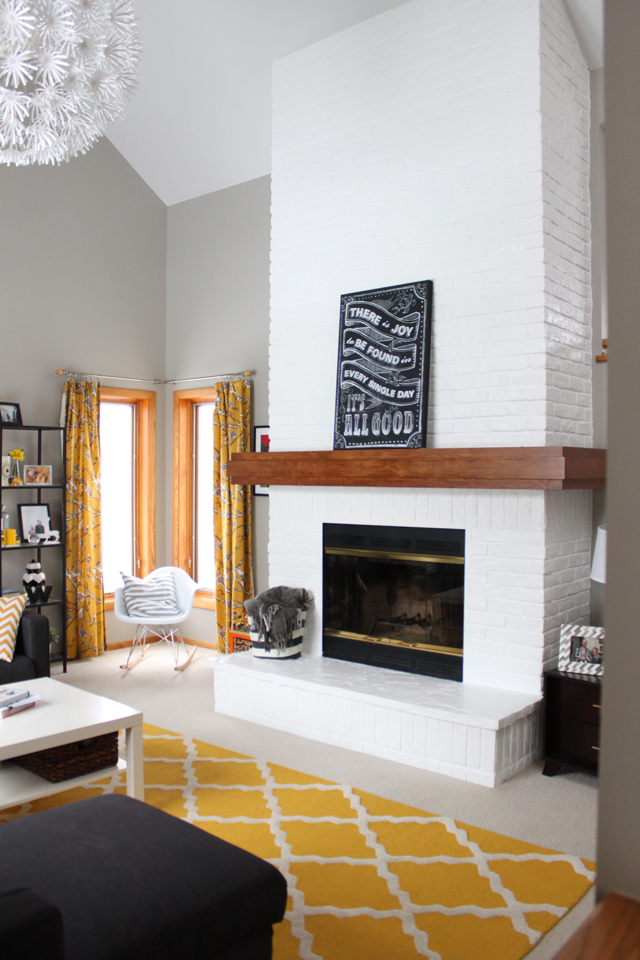
Living Room Fireplace – Painted

So there’s this one time where I used to share our home renovation projects on this blog – which has now become the blog of Emerald. Sorry everyone… but hey I’ve got a new home project post.

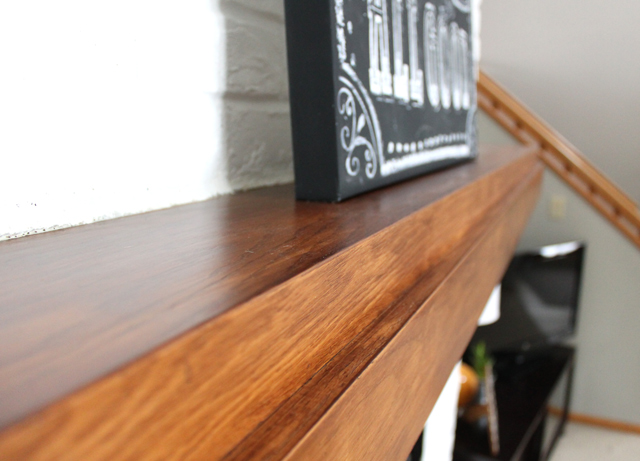
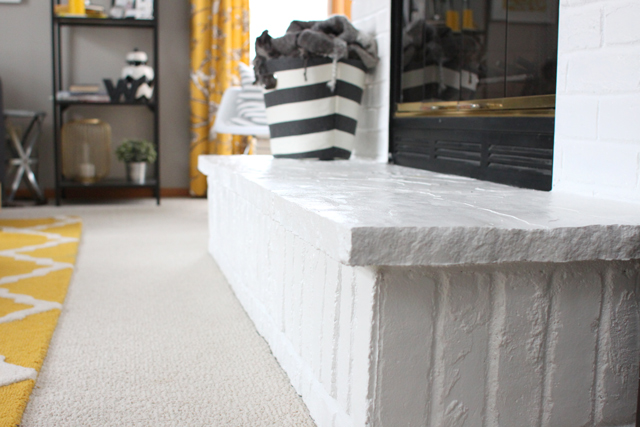
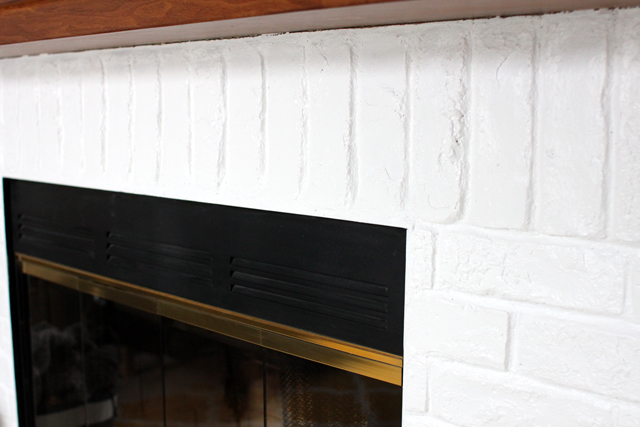
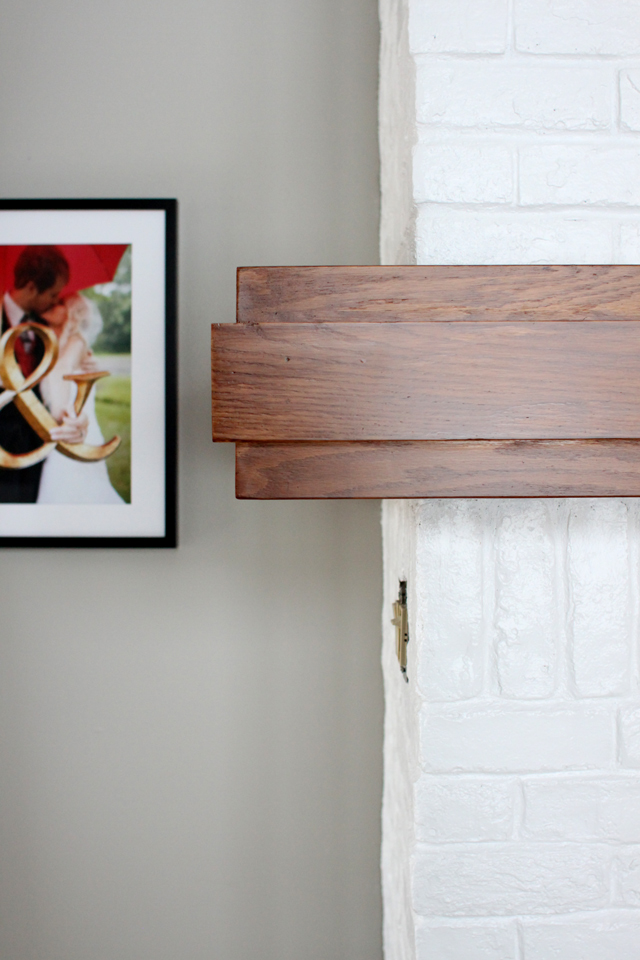
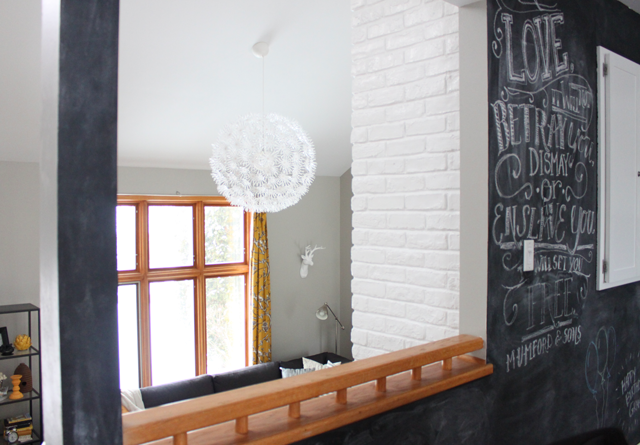
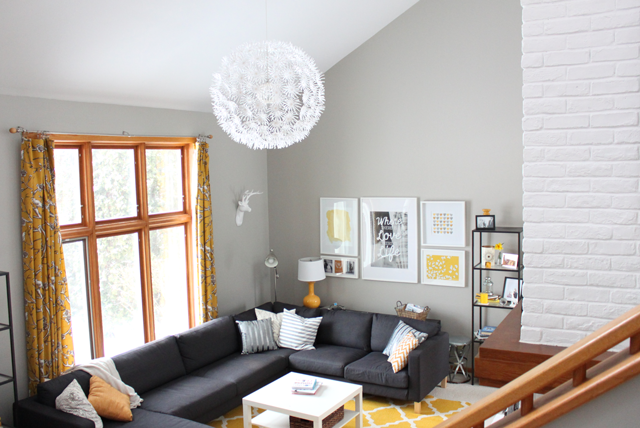
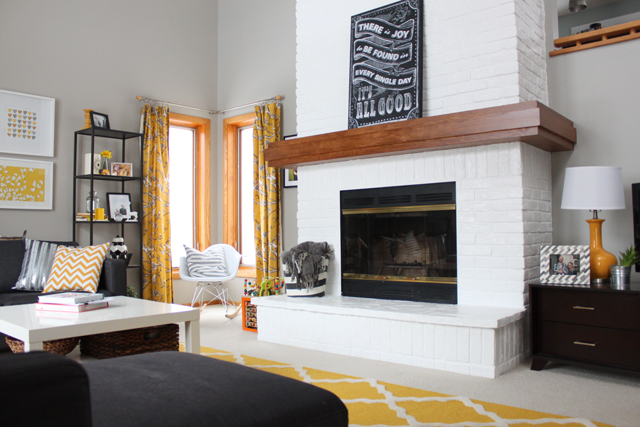
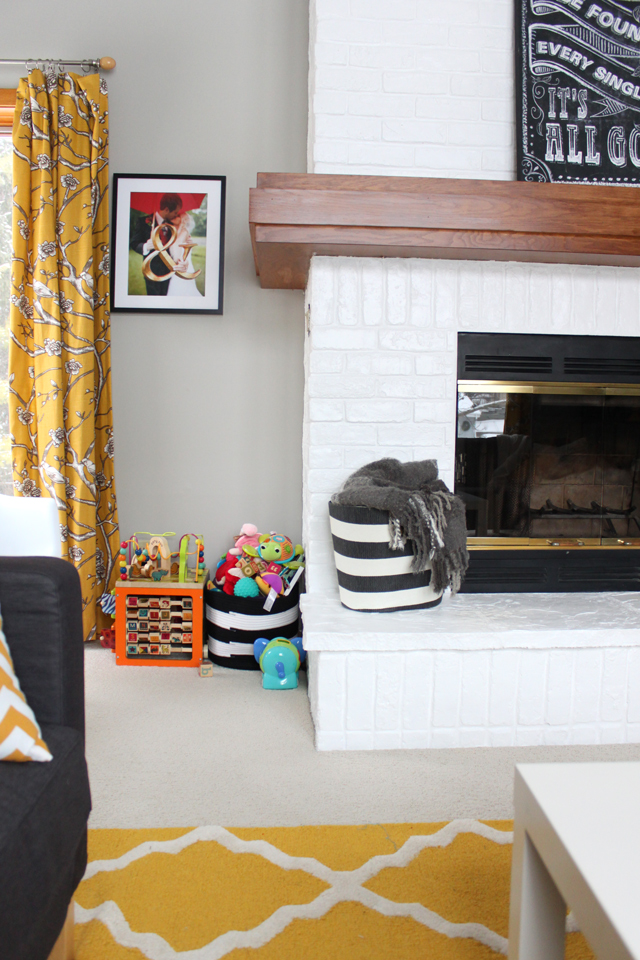
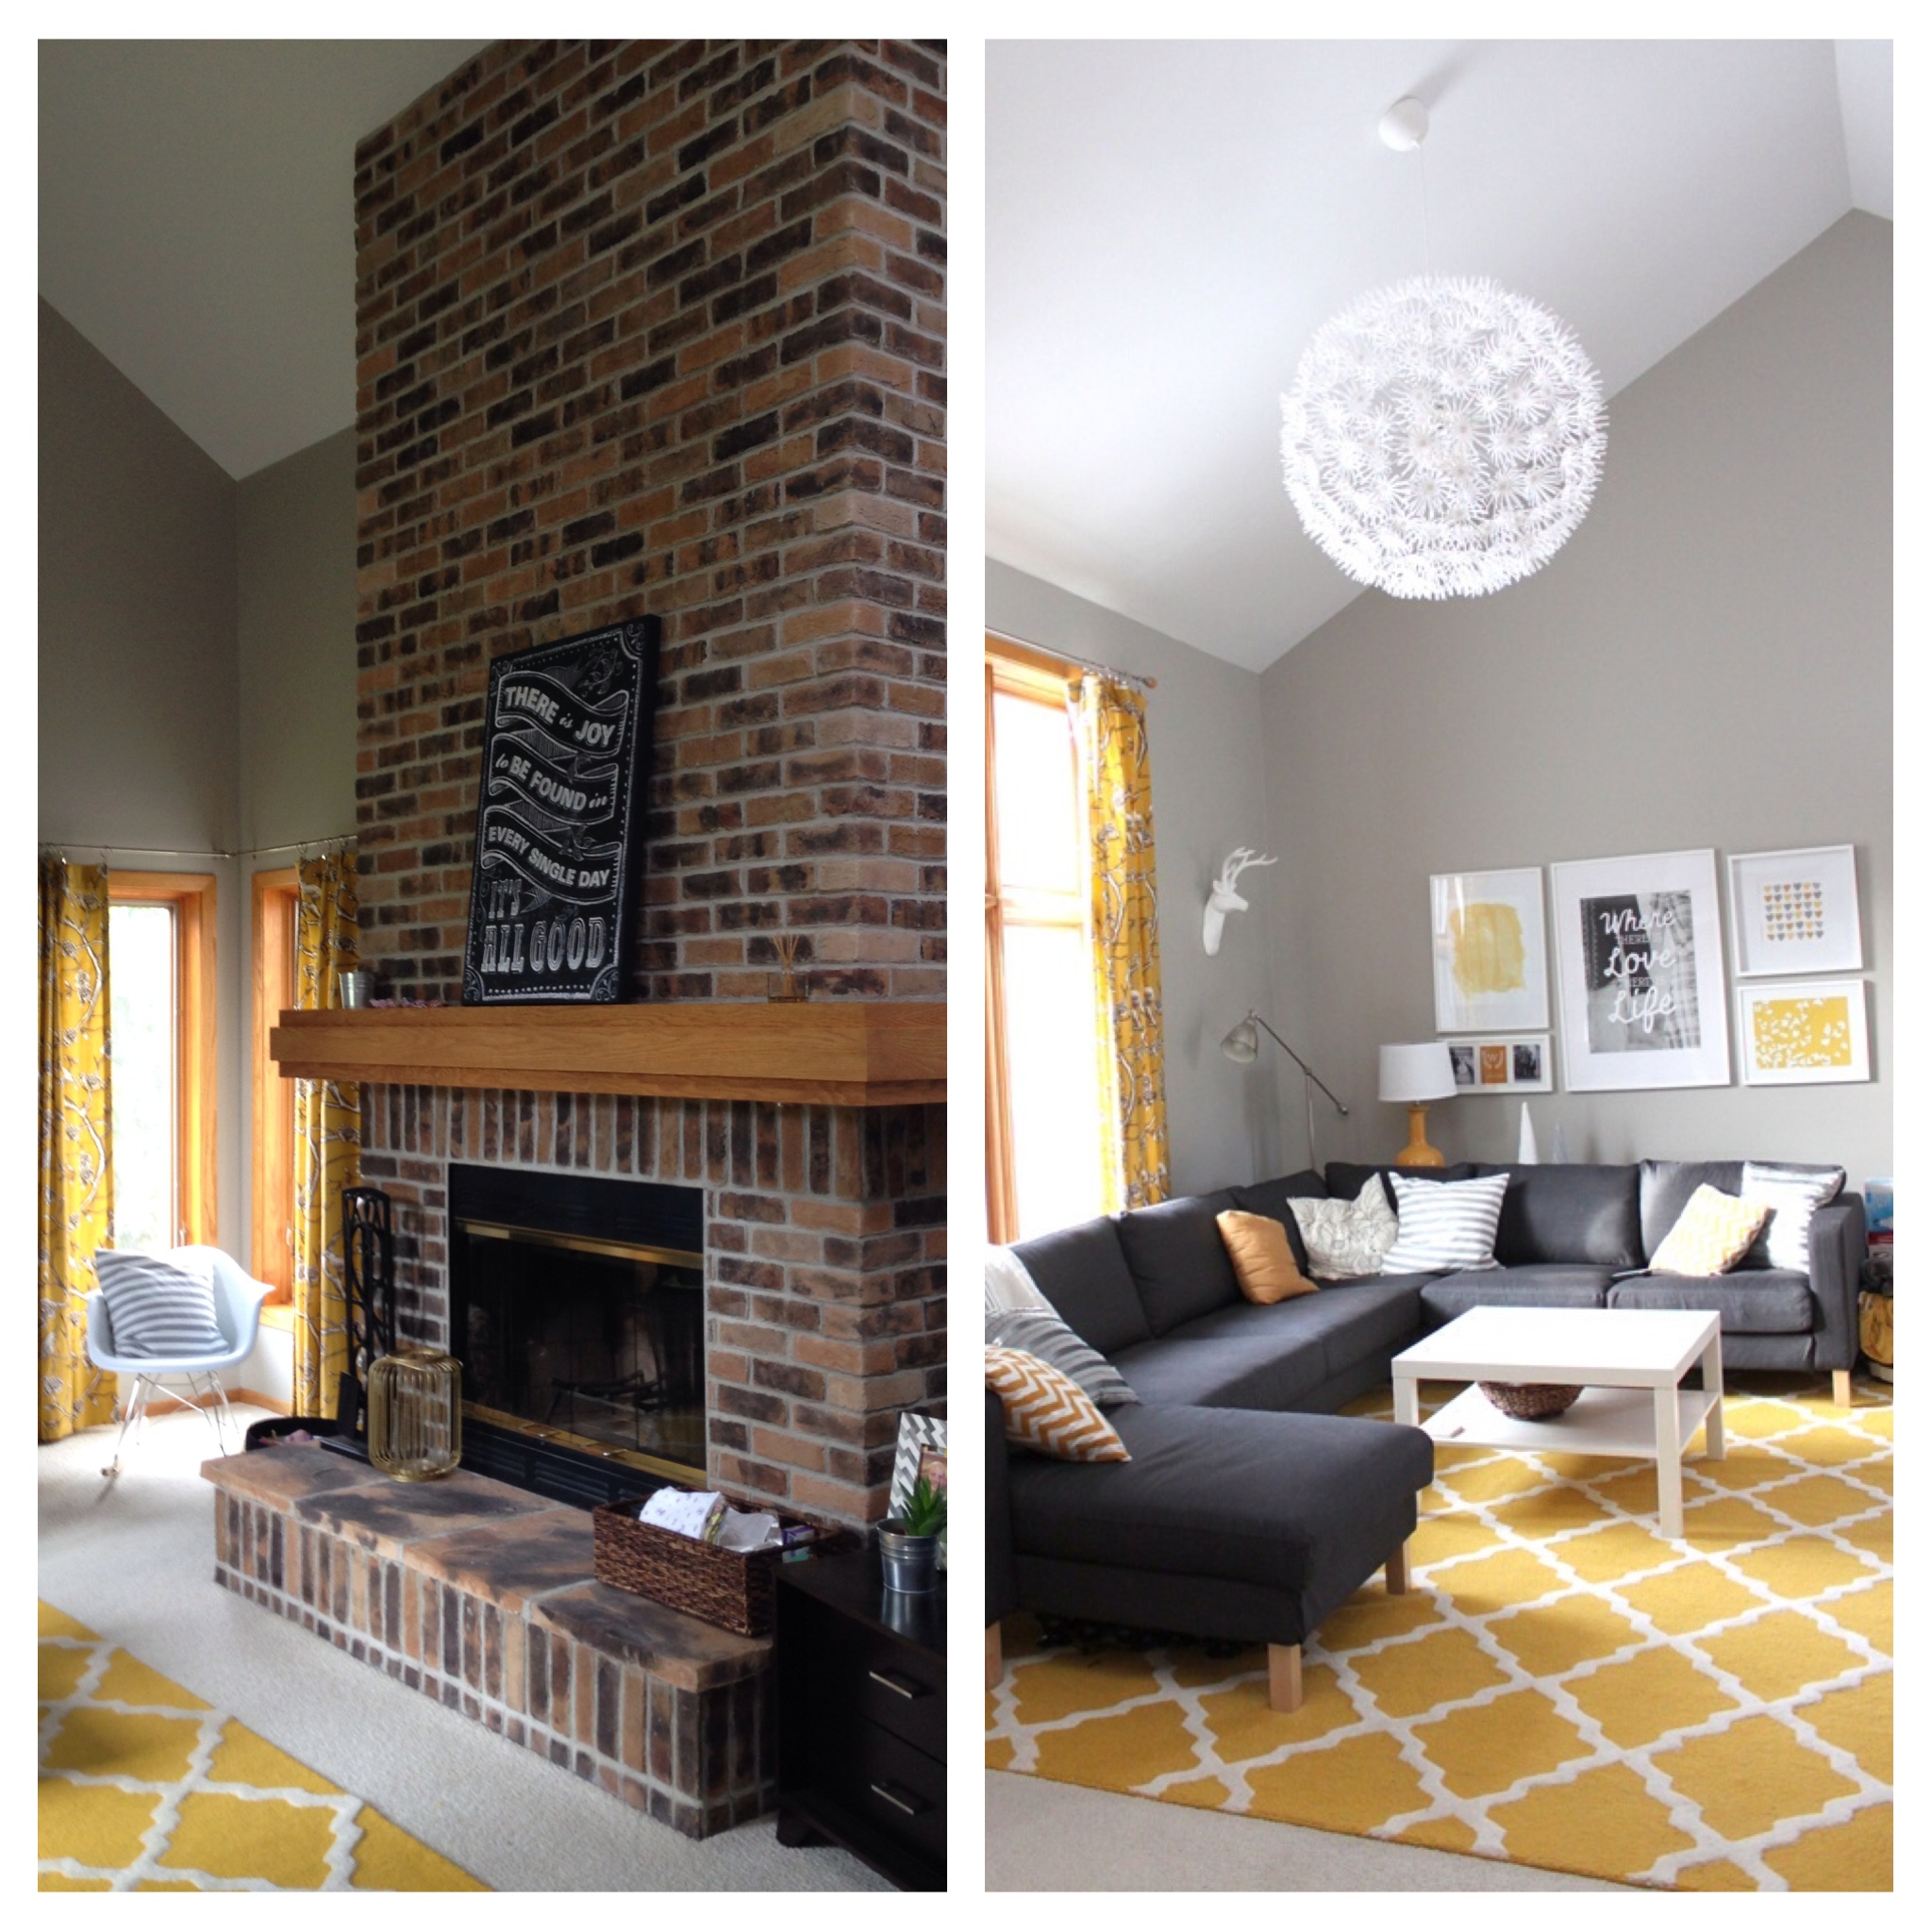
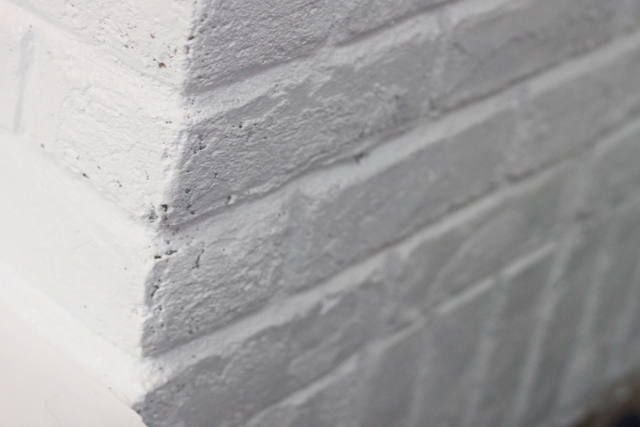
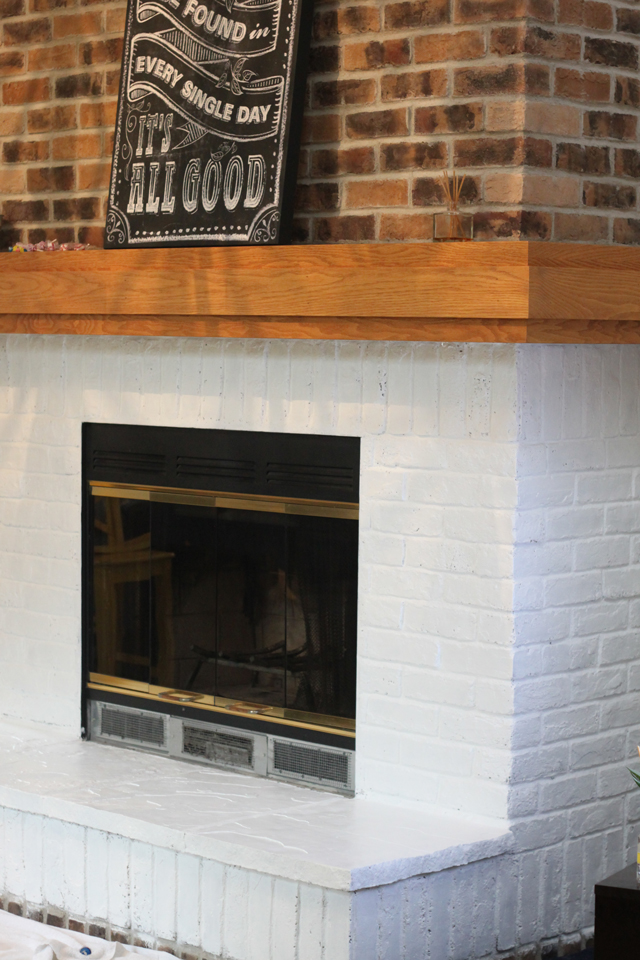
It started back in the summer where I threw out the idea of painting our fireplace on social media. I’ve thought about painting it from day one when we moved in, but was having a hard time committing since you can’t really un-paint brick. So thankfully – the social media agreed and said to go ahead and paint it, and so we did. Then a few months later, it looked like this and this. Then I raked in Drew’s help via strong muscles and no fear of heights and we finished off the painting part. Then it came time to stain the wood a darker tone which also took longer than we thought since the color wasn’t getting dark enough. Then we decorated it for Christmas – so then I had to wait to take down all the decorations before I took these photos. So what you have all been waiting for… our finished fireplace (well and maybe it’s not 100% finished because I’d like to get rid of the brass, but for now we are calling it done).

Sidenote – no our house is never that clean, it lasted about five minutes I’d say. And yes, Emerald is allowed to have toys, we keep them in the corner so they are kind of hidden, but I limit the color schemes, well I try too!  Seriously, why do all baby toys have to be ugly primary colors?!

So overall, having a baby slows down your home renovation projects. One project per year is all we might get in now – luckily we worked like crazy before she was born! Next up is making some baby gates and then installing our faux wood tiles we won like 2 years ago.

Project Details: Behr Ultra Paint + Primer in Ultra White Semi-Gloss finish was used on the fireplace, and no I didn’t prime it separately, who has time for that? The stain was Minwax Polyshades in Royal Walnut with a Satin finish.

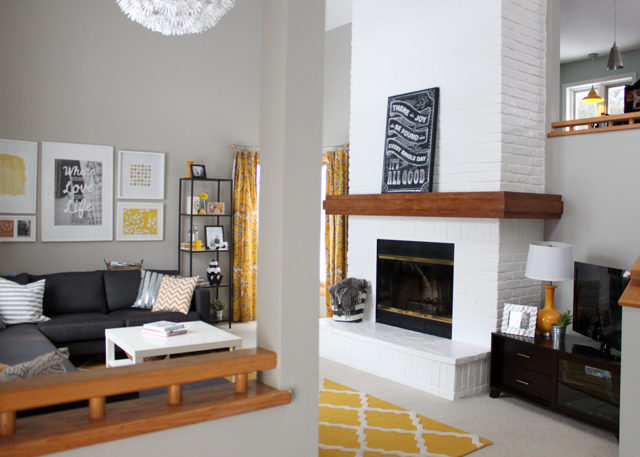
Fireplace Update

Every since we moved in, I’ve played with the idea of painting our brick fireplace white. 1. It would match everything else great 2. It’s kind of the thing to do… but I was just having a hard time pulling the trigger, scared that I wouldn’t like or and there was no way in going back. I also thought about re-sale and would the next owners want brick.

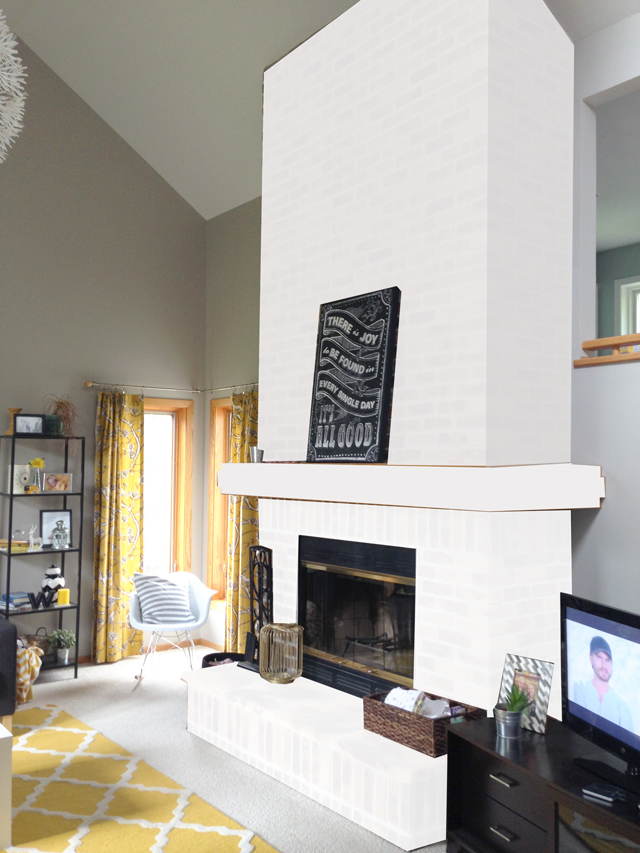
Well I posted this image on Facebook asking for everyone’s opinion and everyone (but my dad) agreed that it should be painted!

So next up, I photoshopped it…
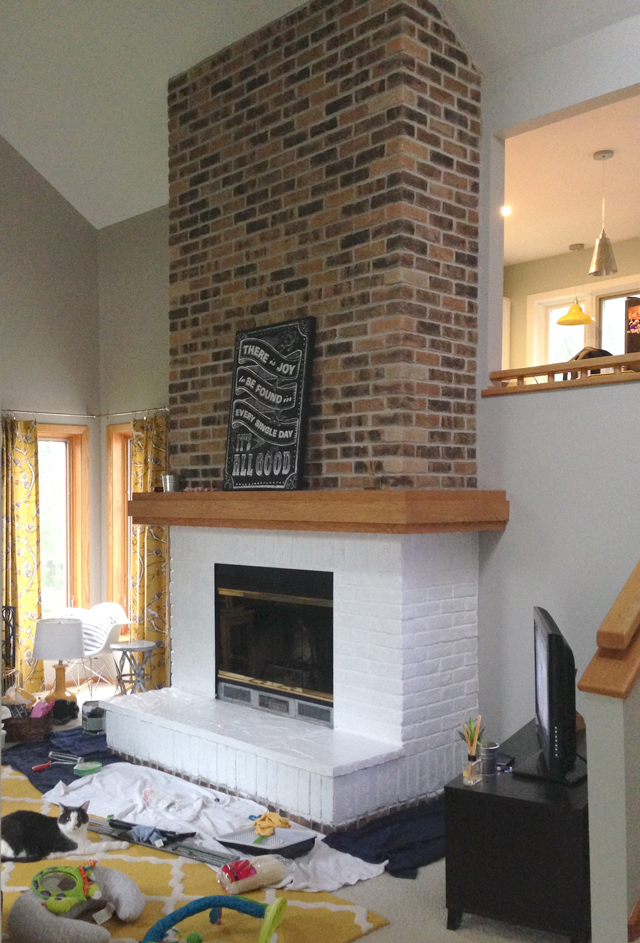
So since we have plenty of Behr White Paint + Primer that matches the rest of our house, I went for it. And here’s my progress so far… and holy cow it’s going to take a LONG time to finish this project! 1. Our brick is like textured to the extreme, so it’s very difficult to get good coverage 2. My time is limited, so the only chance I have to do this is when E naps, so Mondays and Weekend days. I’ve only started the bottom, I’m already dreading the upper part! Too bad all those people that said “paint it!” didn’t volunteer to help 😉

Emerald’s Nursery

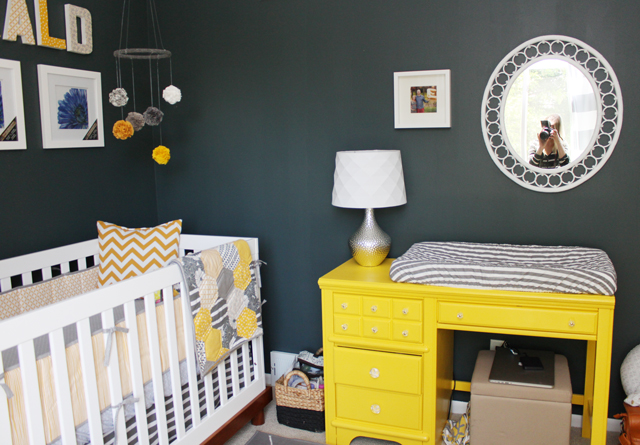
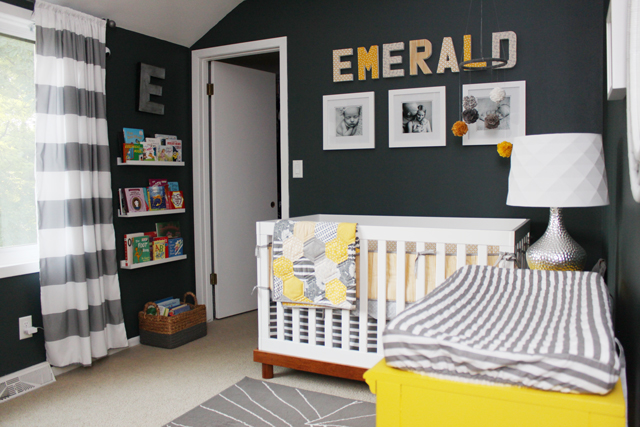
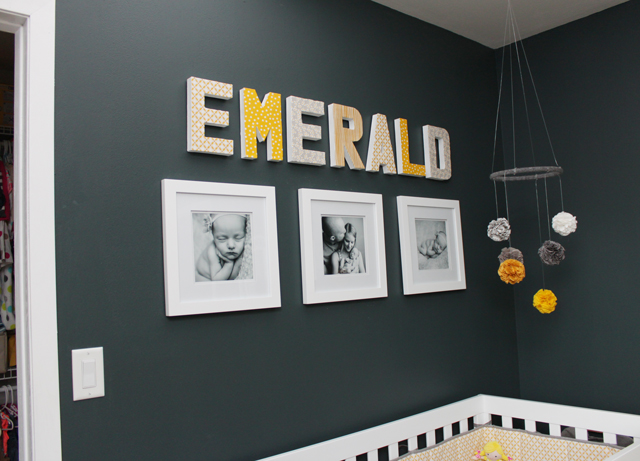
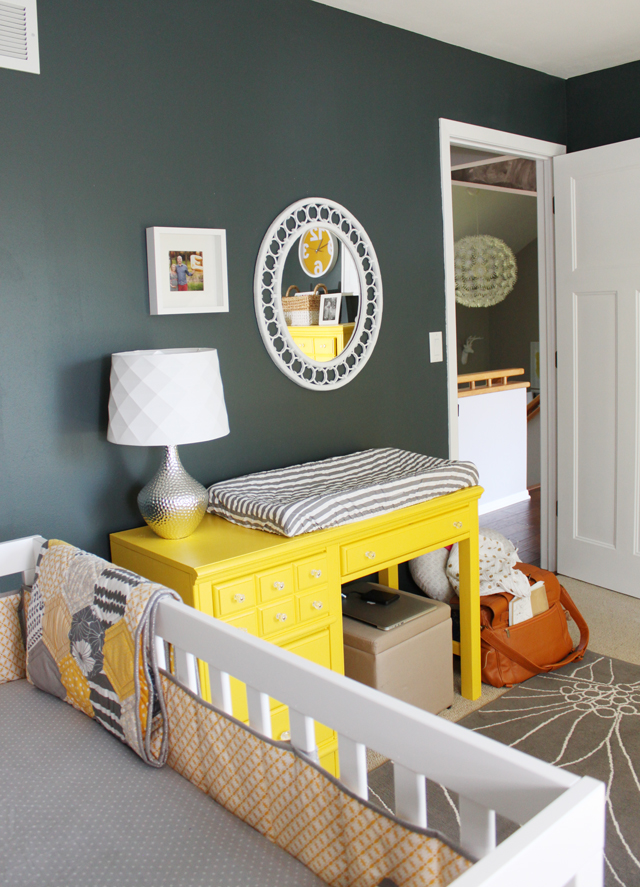
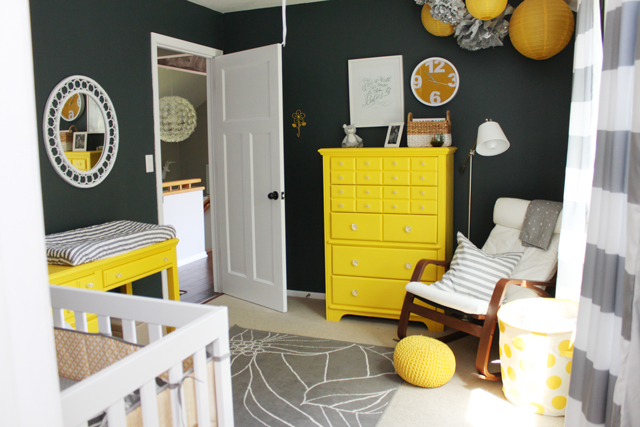
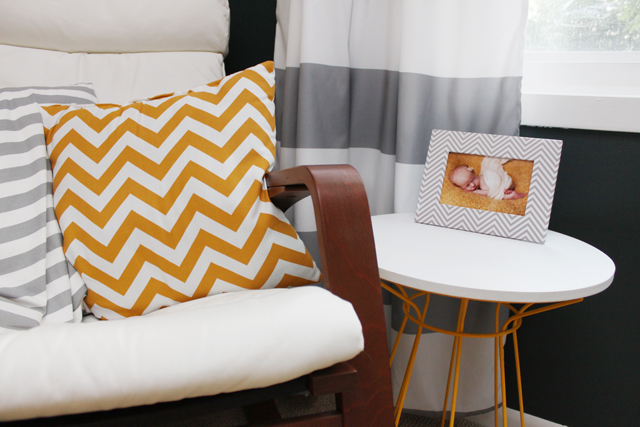
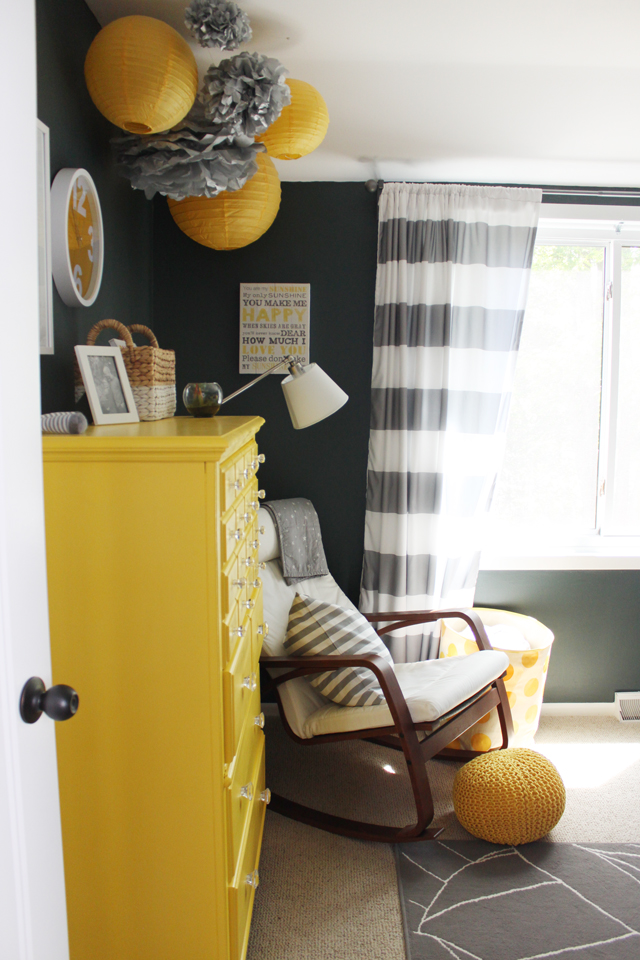
It’s been eight weeks since we finished the nursery the day before she was born and I snapped most of these photos (some I snapped today that shows her newborn photos in frames)… and it’s crazy to look at these photos and reminisce about the day before she was born which almost was the day she was born, since contractions started before my scheduled c-section.

It’s also crazy to think that I tried to edit these photos that night as I sat through so many painful contractions but decided to give up and go into the hospital. I had my to-do list and was determined to cross “post nursery photos on blog” off my list, but having a baby you learn you go with the flow, and things change.

We love her nursery… and not only did she need to love it (ha) but I needed to as well, since I spent a lot of hours logged here as she nurses. I love staring up at the photos of her when she was about 5 lbs (she’s now 8.5ish) and thinking back to those first few weeks…

If you want to know the source of anything, just ask!


Garden 2014

Last fall I had the opportunity to scoop up a ton of bulbs from work to fill our garden, but since that was hitting right at the first trimester and I was basically exhausted to the max I didn’t get the opportunity to plant much. And unfortunately our front yard doesn’t look as awesome as it did last spring. Boo.

These beauties are in bloom though and I had to grab a few shots. Can’t wait for my peonies to bloom next, hopefully they don’t bloom while I’m in the hospital!

Penny Tile is In – Bathroom Reno Update

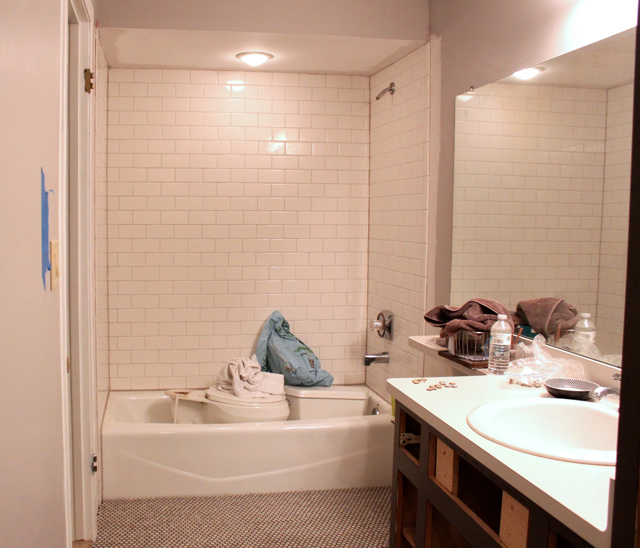
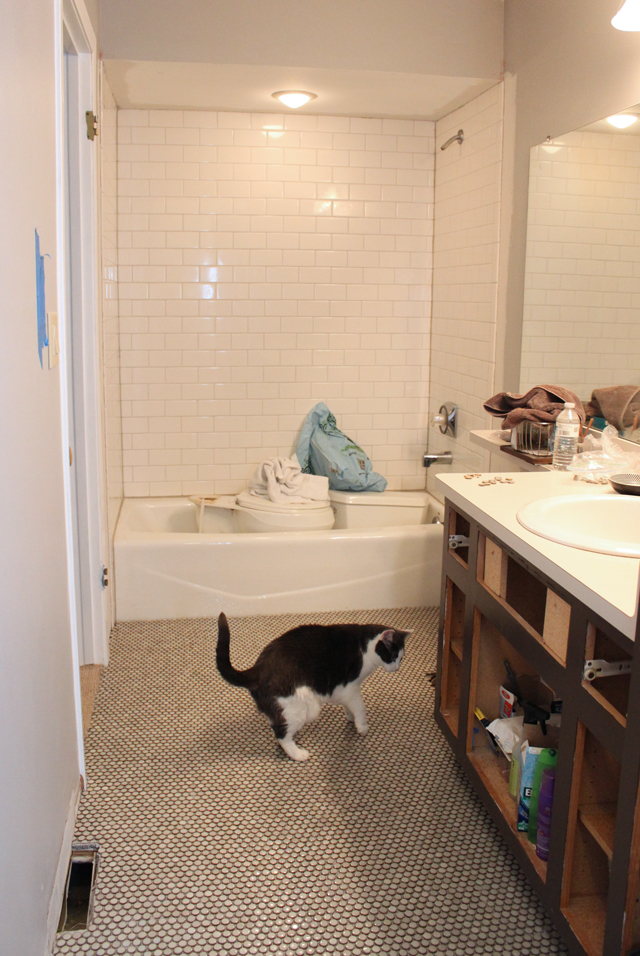
I haven’t shared an update on our bathroom reno progress in a while. Last you knew we had just removed the moldy drywall. Well since then we’ve hung new cement board in the shower, tiled the shower with white subway tile, grouted the shower and caulked the shower (which I’ve shared on instagram). Glad that part is done!

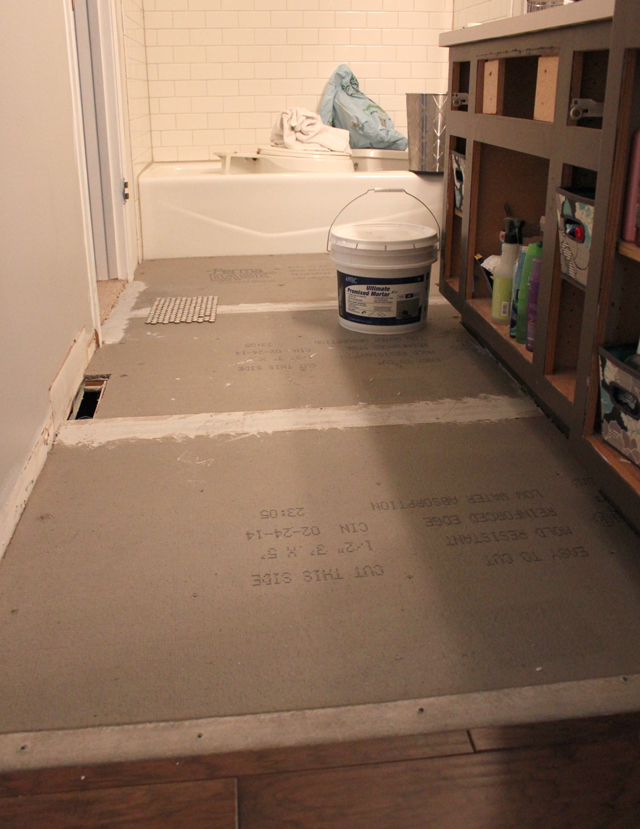
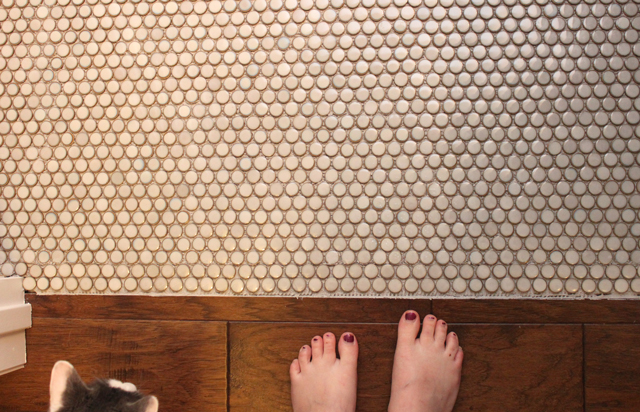
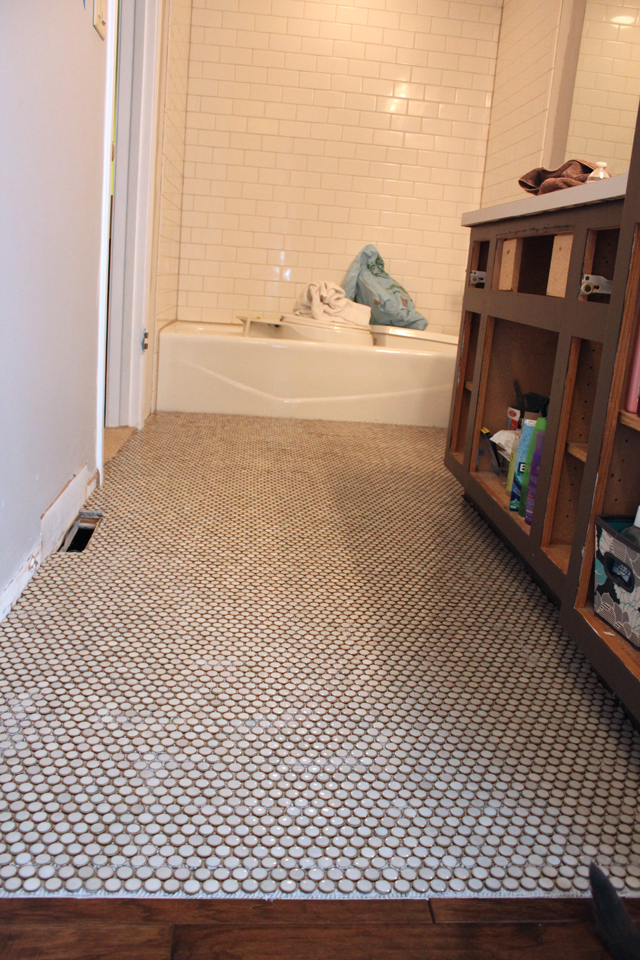
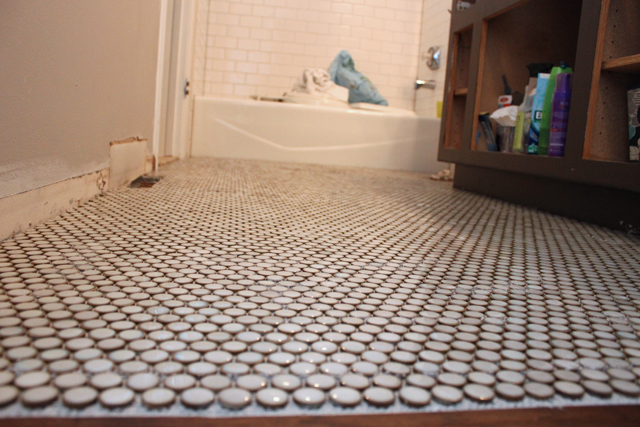
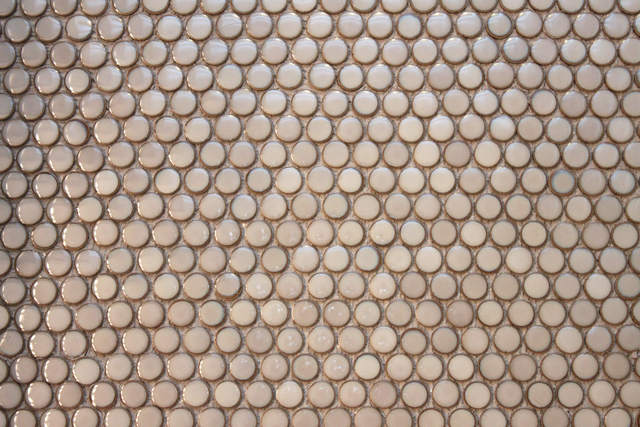
Now onto the floor… This past weekend we tore out the linoleum flooring (two layers of it), removed the toilet, installed new cement board on the floor and laid the penny round tile. This was the tile I won from The Tile Shop’s pinterest contest last year.

Tiling was fairly easy, especially since we had installed it already on our backsplash and had just done the shower tile as well. We’re basically pros now (ha). Luckily we were able to borrow two pairs of my dad’s knee pads, but even so I was still very sore the next day. I was all for tiling too on my hands and knees since that is supposed to give the baby extra room in my belly and maybe allow her to turn head down (she’s currently breech). But my doctors appointment on Monday confirmed that nope, she’s just stubborn.

Anyways, here are some photos of the process and how it’s looking, plus you can get a peek at the finished shower.

Eddy is even loving it…

Next up is grouting which we are hoping to do sometime during this week on an evening since I may be out of town next weekend if my sister has her baby. I’m also working on painting the vanity doors since my dad added the trim to them.

Just six weeks left to go!

Weekend Happenings – Reno Style

There are less than 14 weeks/weekends until baby girl’s due date and our list is pretty long of things we want to accomplish before she makes her appearance. Each weekend it’s our goal to get one main thing done, and it doesn’t hurt if we can chip away at anything else. Just call us the weekend warriors.

Here is our list that we made a few weeks ago…

  • Paint kitchen ceiling
  • Seal tile/grout backsplash in kitchen
  • Replace 4 doors upstairs (2 done, 2 to go)
  • Bathroom remodel
    • Tear out step & shower
    • Paint Vanity (half done)
    • Re-tile shower
    • Tile the floor
    • Replace countertop
    • Paint the walls
    • Hang new mirror
  • Clean up garage & basement

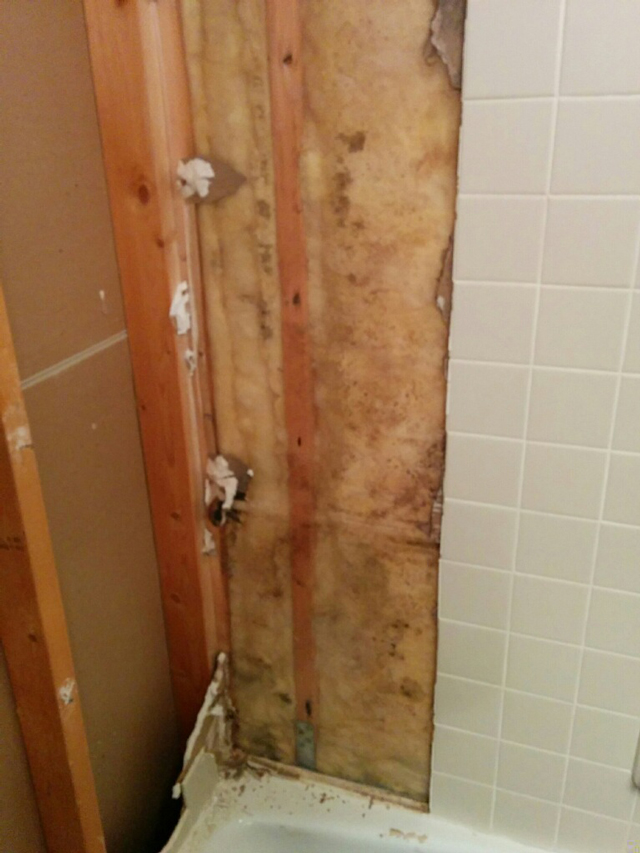
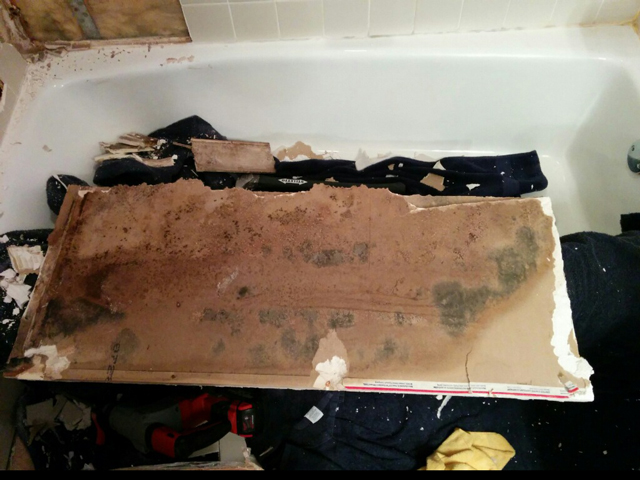
We shared last week of how we tore out the step and were glad to find no dead bodies. This weekend Drew took care of ripping out the actual shower drywall and tile, while I was taking maternity photos for Becky. We thought we’d first remove the tile and see if the drywall could be spared, but unfortunately it was extremely hard to just remove the tile and then once we found mold behind one of the walls from cracked grout, we decided it was best for it all to go. The good news is the studs are perfectly fine since that one wall was sealed with plastic because it’s an outside wall with insulation.

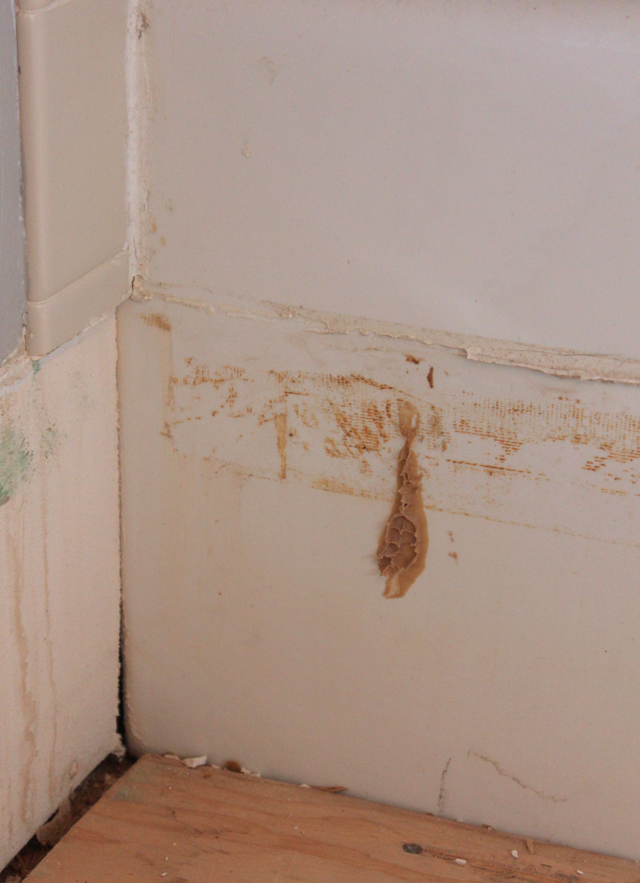
Here are the photos Drew sent me while tearing it out. Yuck…

And now here it is all gone!

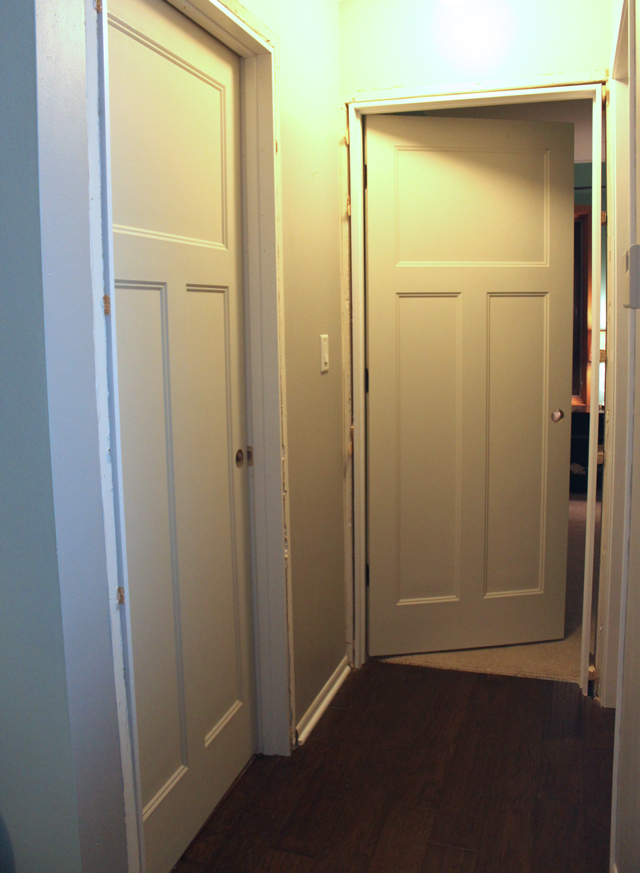
While Drew was working on that task, my dad was working on replacing the doors. We are replacing a couple of them because they were extremely warped, for example our cat could open the nursery door because it wouldn’t fully close. We got two of the four rehung this weekend, but still have to also rehang up the outer trim. If you know my dad he is a perfectionist, so man those doors are perfectly square and level!

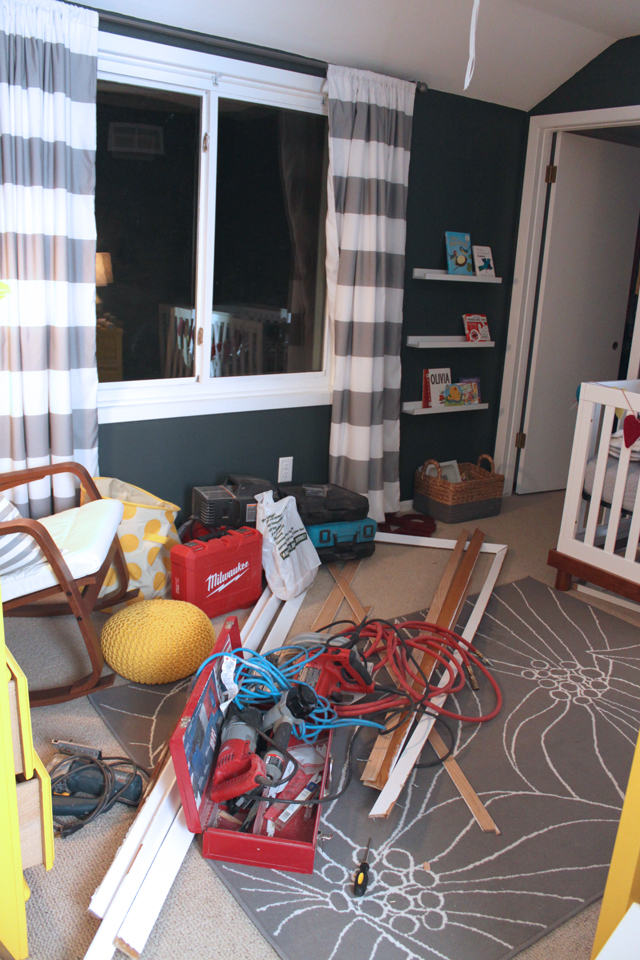
And while we’re chipping away at projects, unfortunately the nursery becomes the dumping ground for supplies…

Next weekend is my baby shower (so excited) and we’re hoping my dad and Drew can finish hanging the rest of the doors and maybe, just maybe get started on rehanging the waterproof backer board for the shower.

Bathroom Reno – Officially Started

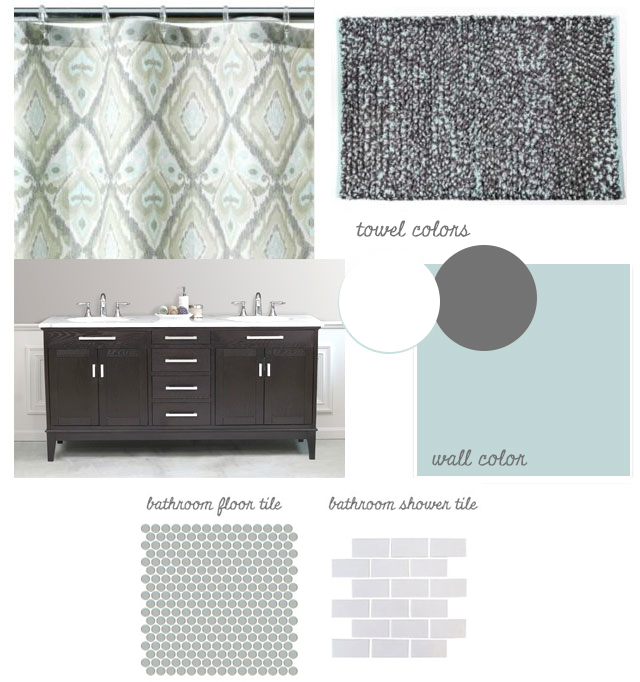
We officially started the bathroom reno project a few weeks ago! This project has been on our radar since day one, but we wanted to tackle the kitchen first. And now with our baby girl arriving in June, we want to cross this off our list before she’s here (we plan on doing NO projects this summer!) So we finally decided we needed to start this. If you forgot, here is the “look” we’re going for that I posted awhile ago (with a few things tweaked)…

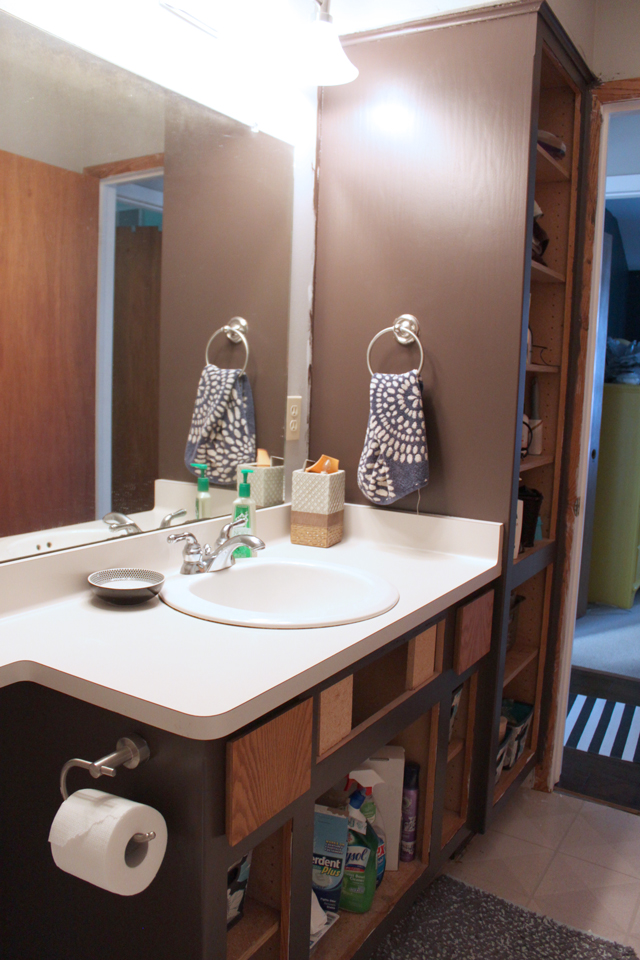
 We first started by removing the vanity doors and priming + painting the cabinets (we took the doors to my parents to get the trim added and will prime + paint those later).

We also primed and painted the second bathroom door (connects to our master bedroom). We’re actually replacing the other main door (along with others throughout the house) so that is why I’m not bothering to paint it.

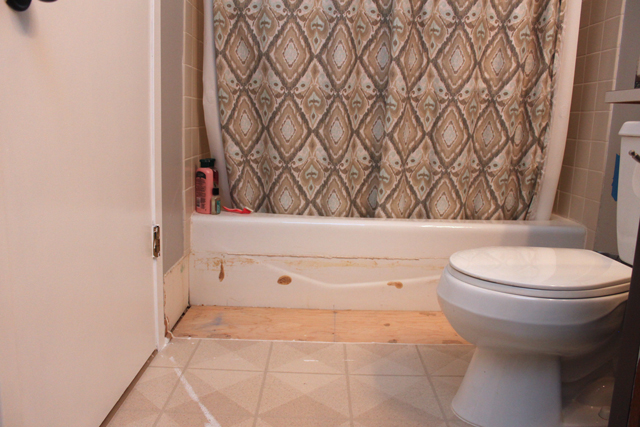
Next up was to remove the awkward step that was right in front of the shower. I’m sure the builder added to to make it more “grand” but it was just all wrong. #1 – You couldn’t put a normal bath mat there since the step wasn’t wide enough, it would just slide off. #2 – You step down into the shower. Stepping into a wet tub from up high just screams wiping out (thankfully we haven’t done that, but it was an accident waiting to happen). #3 – It took up some legit floor space.

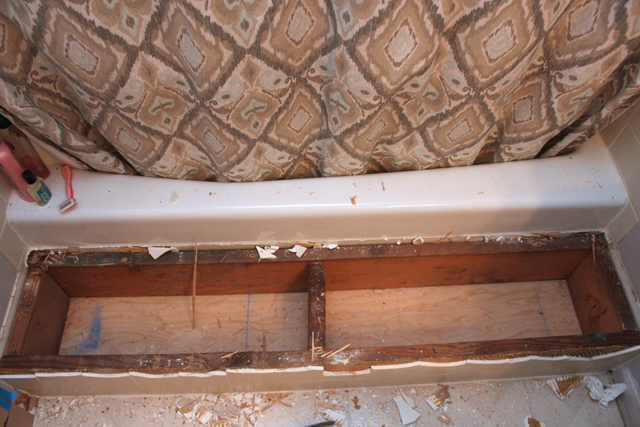
The only thing was we were unsure if there was some sort of reason for the step, but after tearing it open yesterday, we’re happy to report it was just wood and there were no dead bodies 😉 I thought that would have been the perfect opportunity for the builders to put a time capsule in there, but nope.

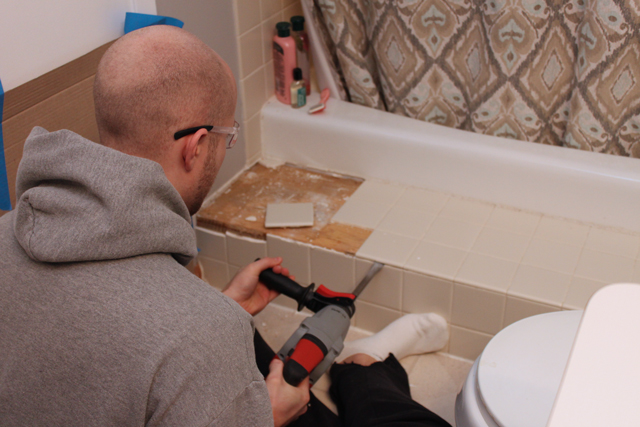
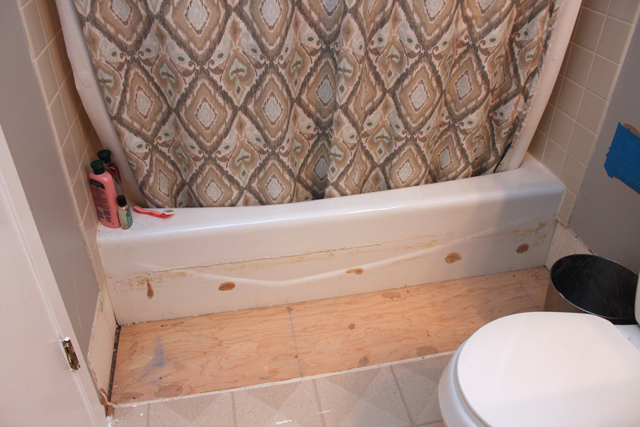
Drew used his handy dandy tool, aka a rotary hammer, that he borrowed from work, and the whole project (tearing out + clean up) took about an hour. Now we just have to work on getting the caulk and glue off the tub.

Next up is tearing out the tile in the shower surround. Please send prayers our way that nothing surprising is found back there that requires lots of $$ and time. We’re hoping to just rehang dry wall + tile away!

We got a Crib!

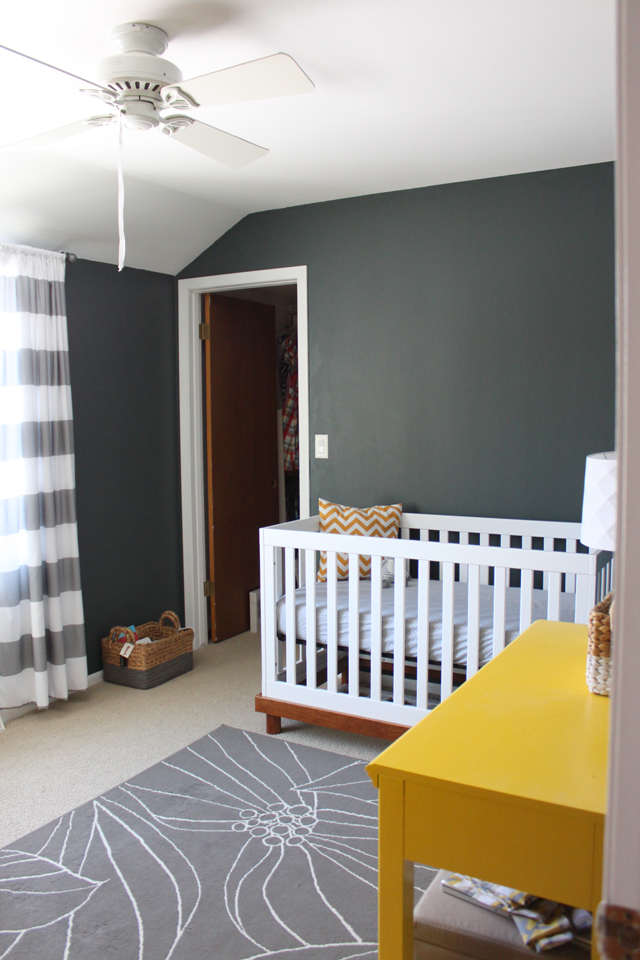
More progress has been made on baby girl’s nursery, and it finally is starting to feel like an official nursery vs. just another bedroom. On Tuesday her crib arrived and we were so excited to set it up!

My parents were ready to purchase the crib right at the beginning of the year, but it was out of stock for awhile. I was contacting the parent company every week, making sure it wasn’t being discontinued because this was the crib I had wanted since my sister got hers two years ago. And finally one day there was an “add to cart” button vs. the “out of stock” message that had been displayed!

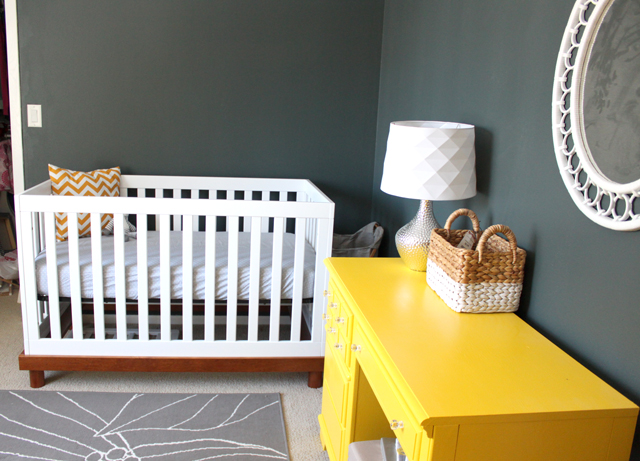
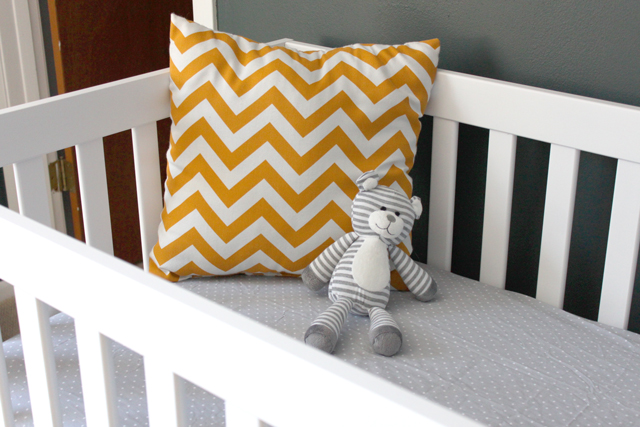
Here is the crib all set up…
My mom is making a quilt that will match the room (see a sneak peek here), as well as bumpers. I also am going to make a crib skirt since right now the mattress is up high and will be for the first few months. Eventually it will drop and then you won’t be able to see it.

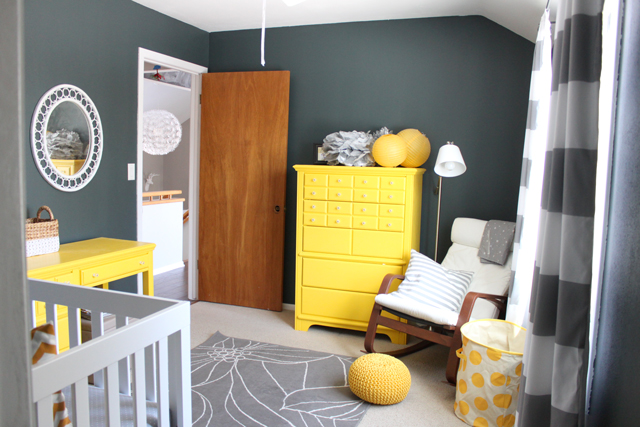
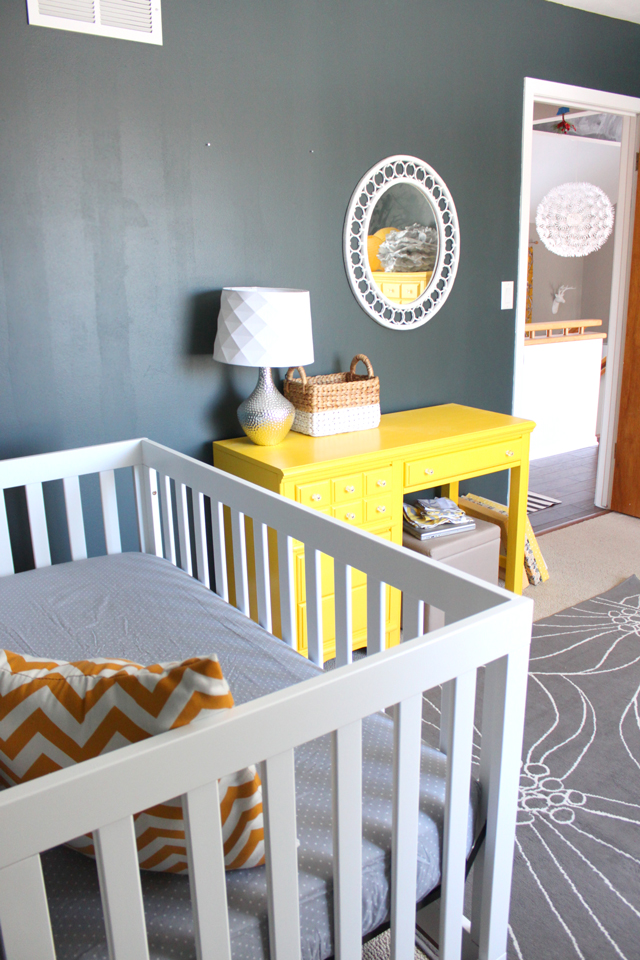
See below how the rest of the nursery is coming together. And yes the walls are staying that color. We also have to figure out what we’re putting on the walls, but hung a mirror (a really dusty mirror) on a nail that was already hanging just to see how it will look. I’ll post an update of that soon!

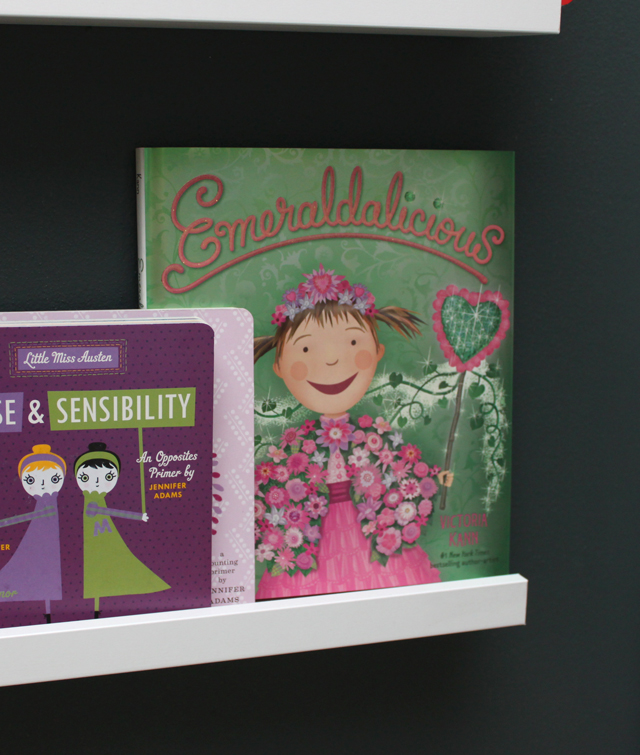
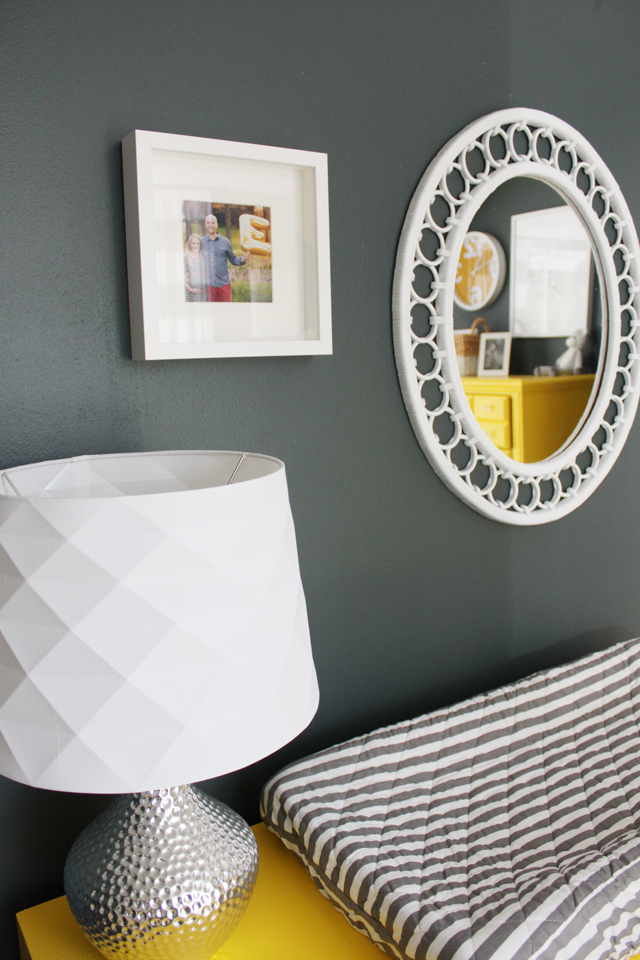
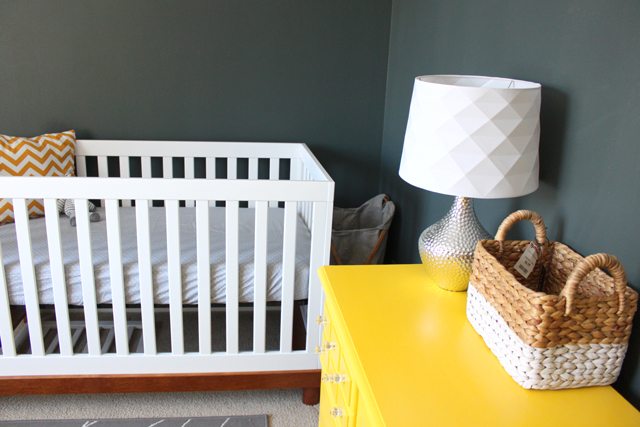
In between the closet and window, we have three Ribba picture ledges to hang that we’ll display books on. Also, all those paper lanterns and flowers (currently sitting on the tall dresser) will be hung from the ceiling above the rocking chair, we just took them down to paint the ceiling. Also, I LOVE this lampshade (from Target) below.

Eddy has been loving spending time in this room, he even thinks the crib is his cage. We’ll continue to work on the nursery more and more each weekend, and will keep posting updates!

Kitchen Update: Backsplash Tile Sealed

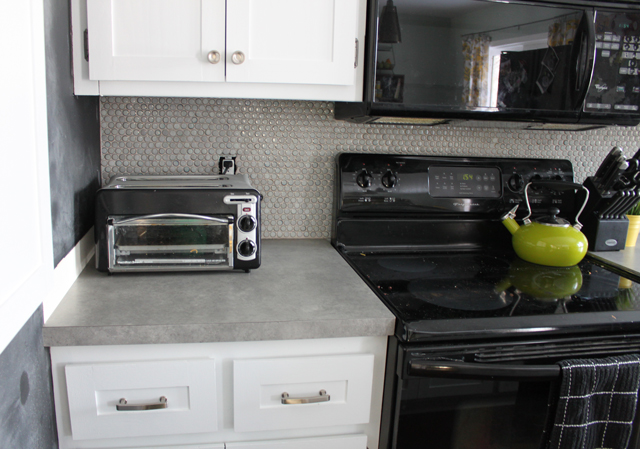
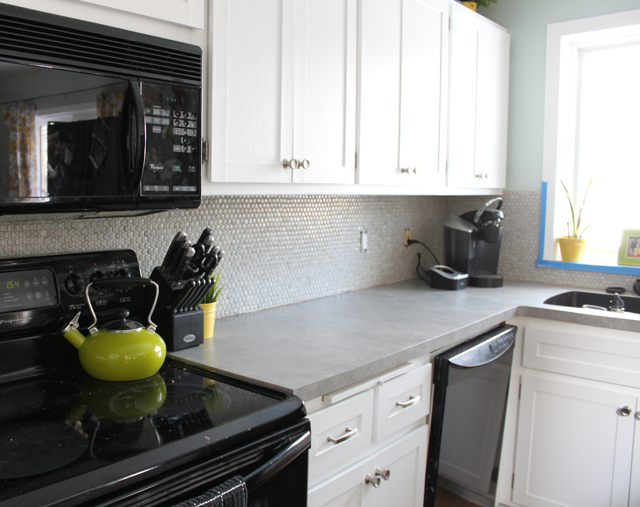
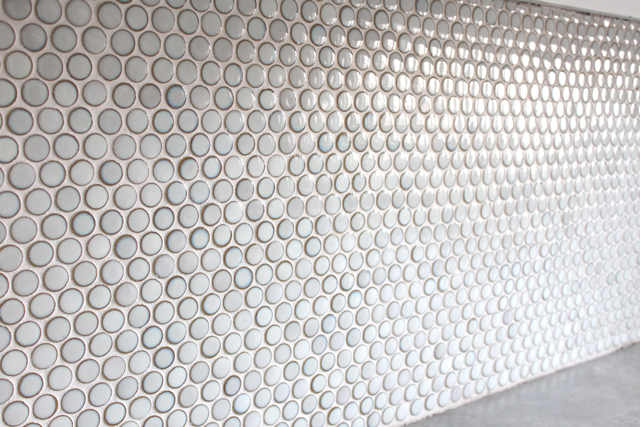
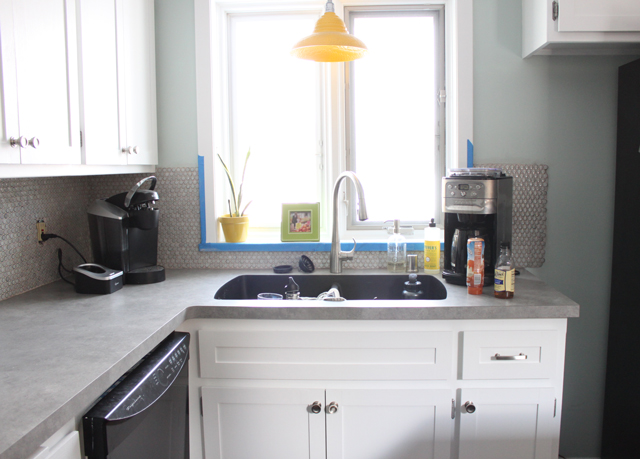
We were on a roll this weekend, we not only painted the nursery ceiling and organized the room, we also sealed the backsplash. We just have to caulk the seams and add a finished edge to the spaces next to the window, but then it’s done! Here are some updated photos, but please look past all the dishes in the sink and the fridge not in the correct spot!

penny tile backsplash mosspenny tile backsplash mosspenny tile backsplash mosspenny tile backsplash moss

We’re so happy with our penny tile, it gives our kitchen a much more classy look, I love how they shine and reflect light!

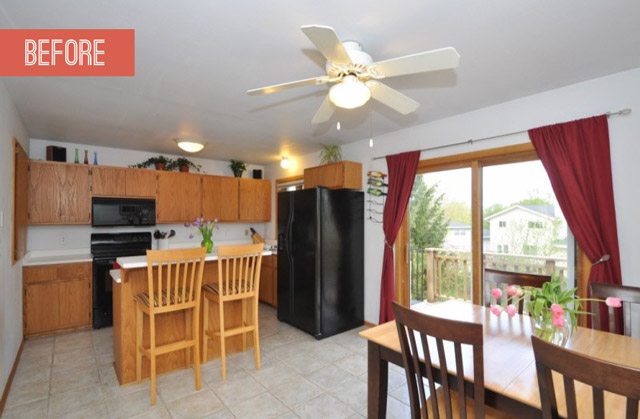
Sometimes I try to remember what our kitchen looked like before our update, but then I’m glad I don’t remember!

Nursery Update

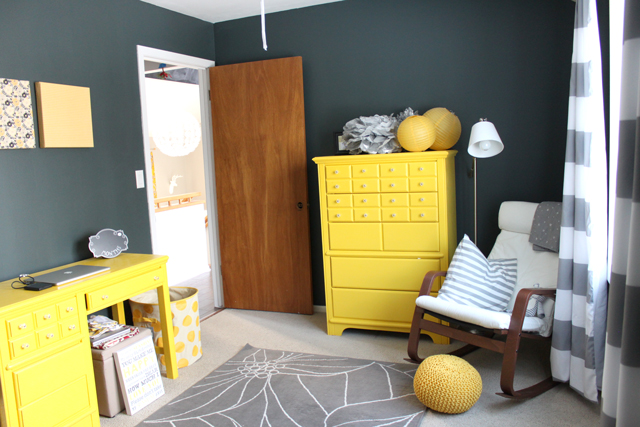
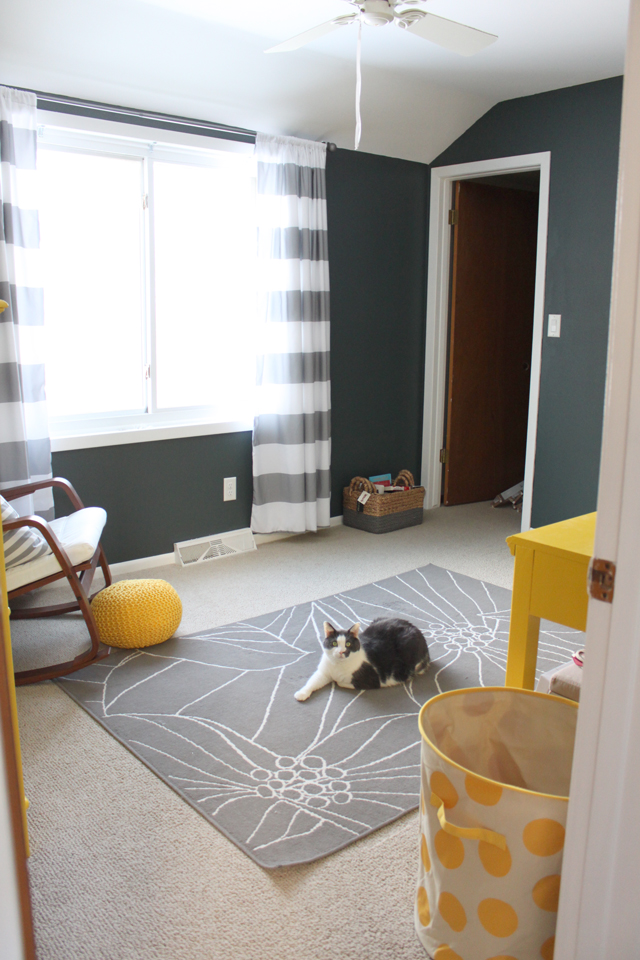
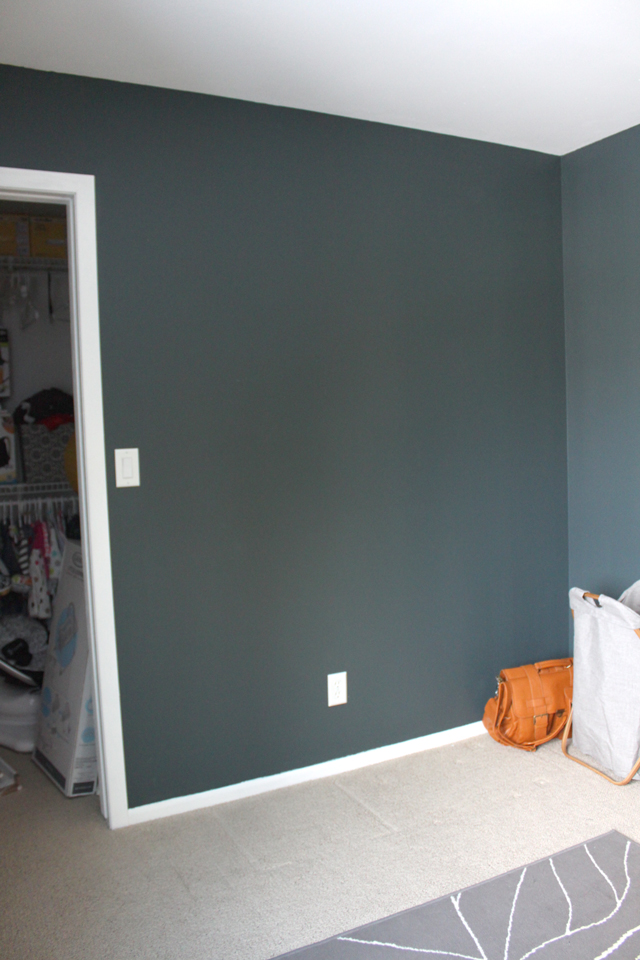
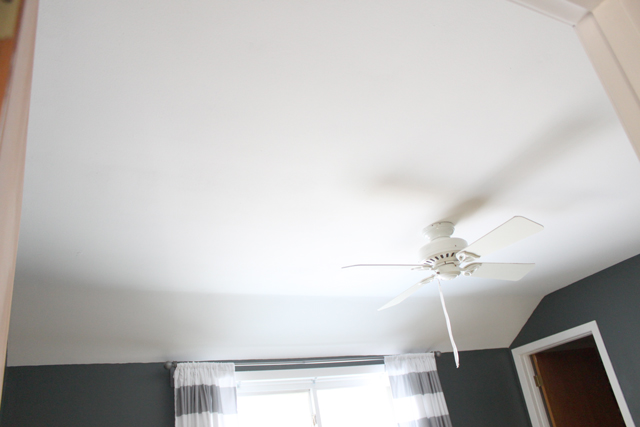
This weekend Drew and I didn’t leave our house on Saturday and were able to spend some time getting the nursery ready! We painted the ceilings since there were a few spots from the previous owners, and then started putting everything in its right place to get organized. Here are a few updated photos with some additions like the rocking chair and lamp, but still missing lots of things!
We’re just waiting on the crib to arrive (which will go on the remaining empty wall), and then all the furniture will be set. Next up will be deciding where we’re going to hang everything on the walls. We have a large mirror, collage type items, shelves for books and a few other pieces. I’ve been searching pinterest for some ideas as far as what to hang over the crib and changing table/desk.

If you don’t remember, here is my original “moodboard” for the room.

Eddy seems to spend a lot of time in the room, I secretly think he thinks it’s his. But he’ll be in for a big surprise come June!