A Light 1.5 Years In the Making

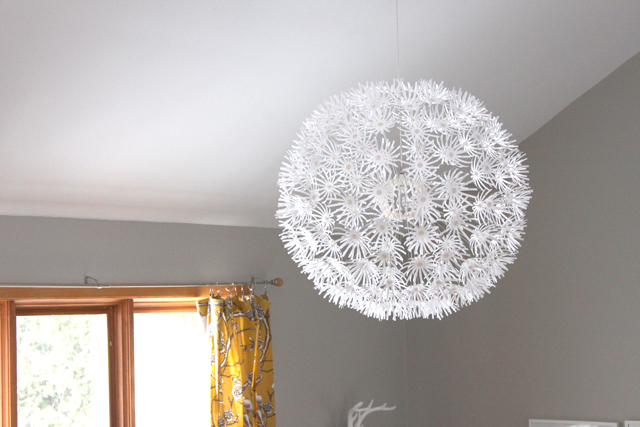
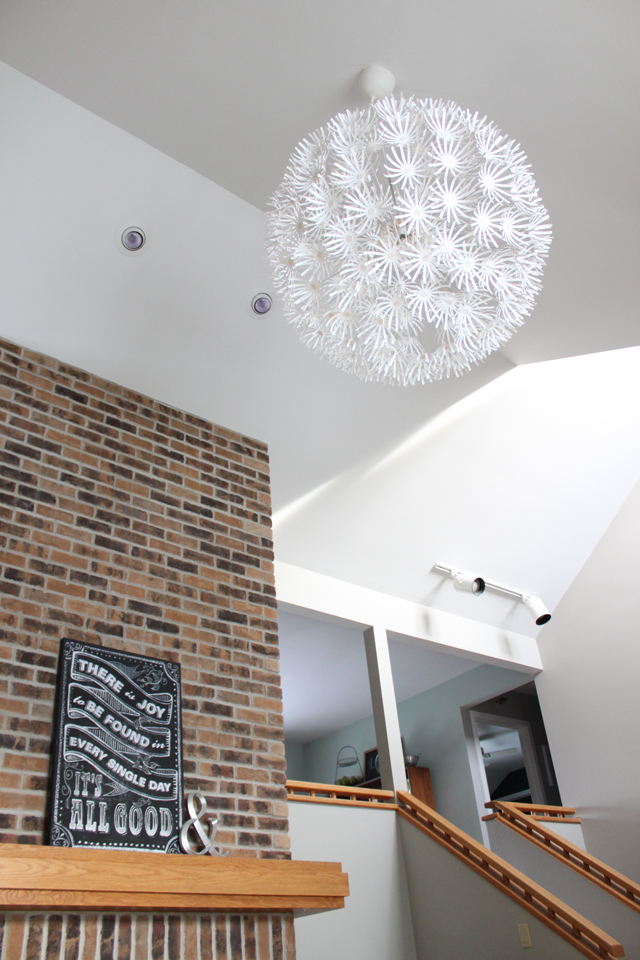
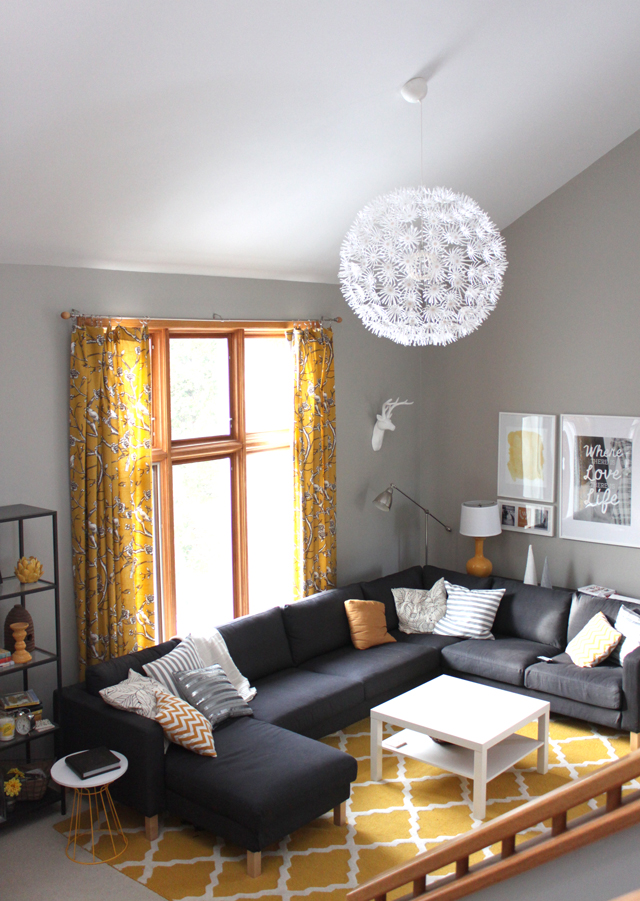
When we first moved into our home almost a year and a half ago I knew the living room needed a huge statement light since the ceilings were so tall. So we picked out the Ikea Maskros light in the larger size. It’s basically a giant light that looks like an Allium. I loved it in the store, on blogs and I knew I’d love it in our home… so we bought it 1 and a half years ago.

Since then it’s been sitting in the living room behind a couch waiting for someone brave enough to hang it up. The delay in hanging it was because we thought we’d need scaffolding to swap out the existing ceiling fan and replace it with the light. Except, the last time my dad was over, he thought they may have a tall enough ladder at work and was willing to give it a shot!

Yesterday he brought it over and luckily enough it worked. He started the process of taking down the fan and switching out the wiring, and I started assembling all 160 paper flowers onto the giant fans that make up the ball. Then one by one I’d hand them to my dad and he’d snap them into place. I’m so thankful he did that part, I probably would have fainted from the height. So here it is…. (ps it looks way bigger in real life than in photos; it’s diameter is 32″!)

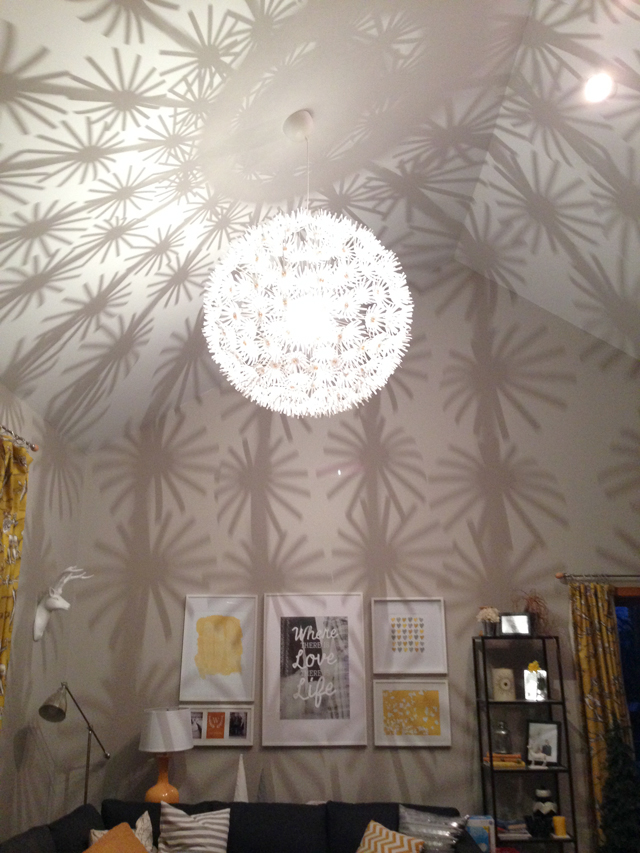
I love how it fills the void that is the huge walls and fireplace since you just can’t fill every little space with a photo or piece of artwork. What is also cool is when you turn on the light at night. Picture giant flowers projected all around the room. We could totally have a dance party, just put the light on a motor!

Kitchen Countertops

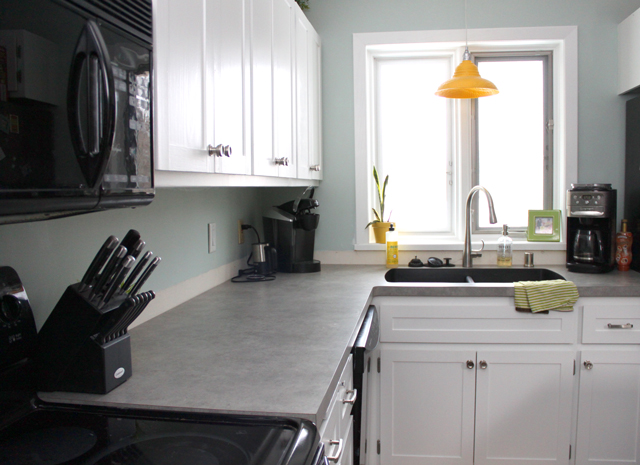
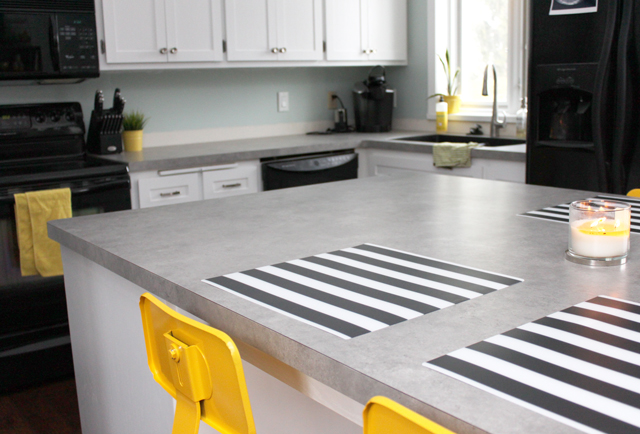
This post is very belated, but finally, here are photos of our kitchen countertops, sink and new faucet! (Nevermind some of the clutter like cereal boxes, I don’t live in a magazine house)

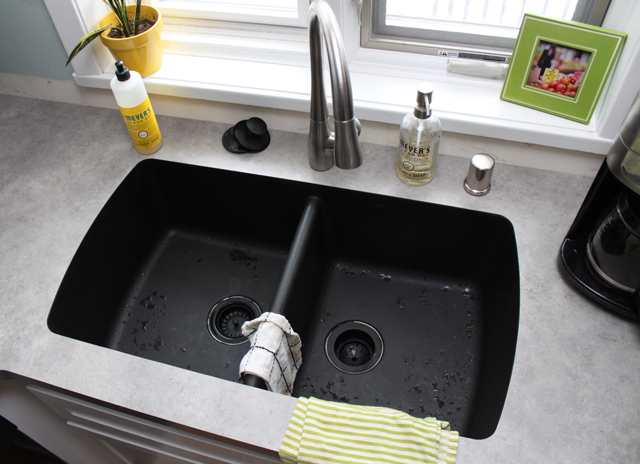
We went with WilsonArt Laminate in the Pearl Soapstone finish. We chose the “self edge” so that it would look more like concrete. Our sink is a Karran under-mounted quartz sink which we love the under-mount feature and the color. It’s so nice to just be able to wipe stuff in the sink from the counter. It’s also a lot bigger and deeper than our last sink, so it’ll be perfect for baby’s bath-time! Our faucet is called Kohler Simplice and we love the pull down spray feature + stainless steel finish. It’s super fancy compared to our old sink/faucet set up. We feel like a million bucks.

We also replaced the garbage disposal because it was so corroded when we had to take it apart for the new sink. Unfortunately a few days after we installed it there was an issue with the motor and then had to replace it again! Fun stuff – now we’re still double checking for leaks, but so far, it seems like everything is good and set. Overall we are super happy with how it all turned out!

Next up, the backsplash!

Kitchen Island & Lights

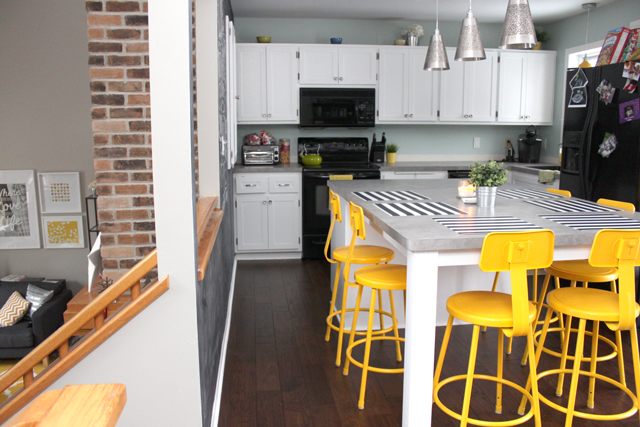
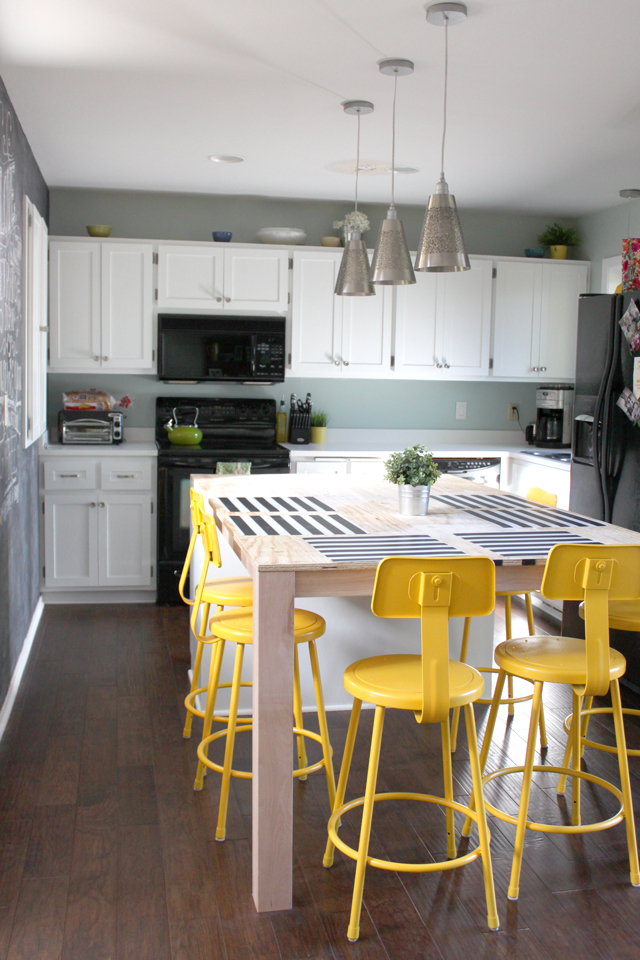
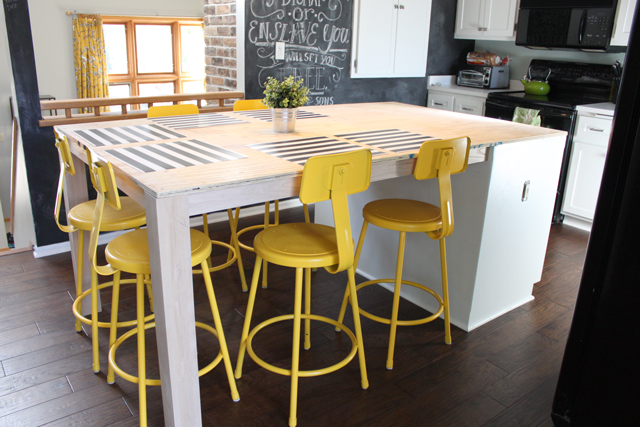
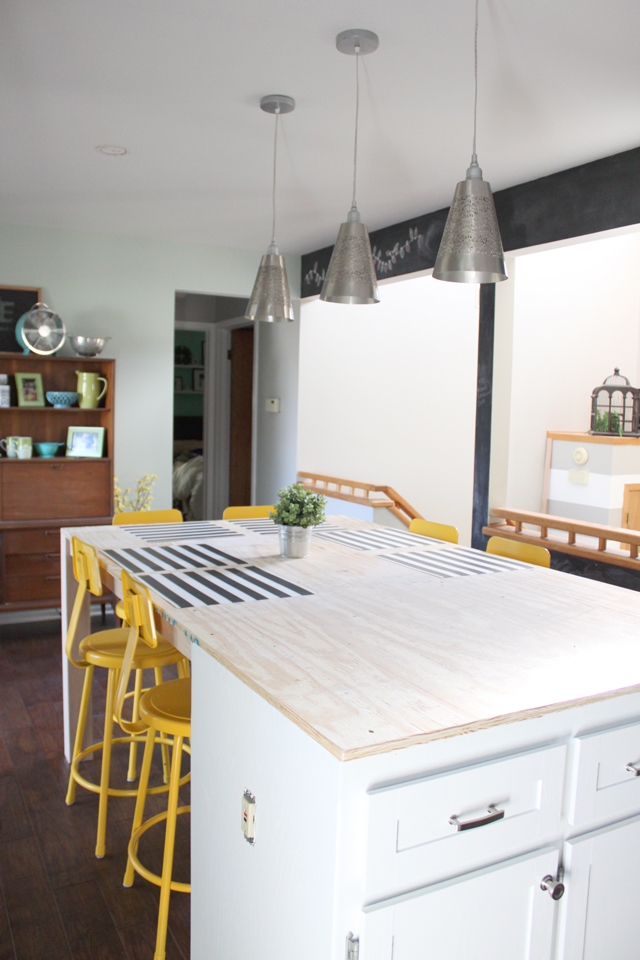
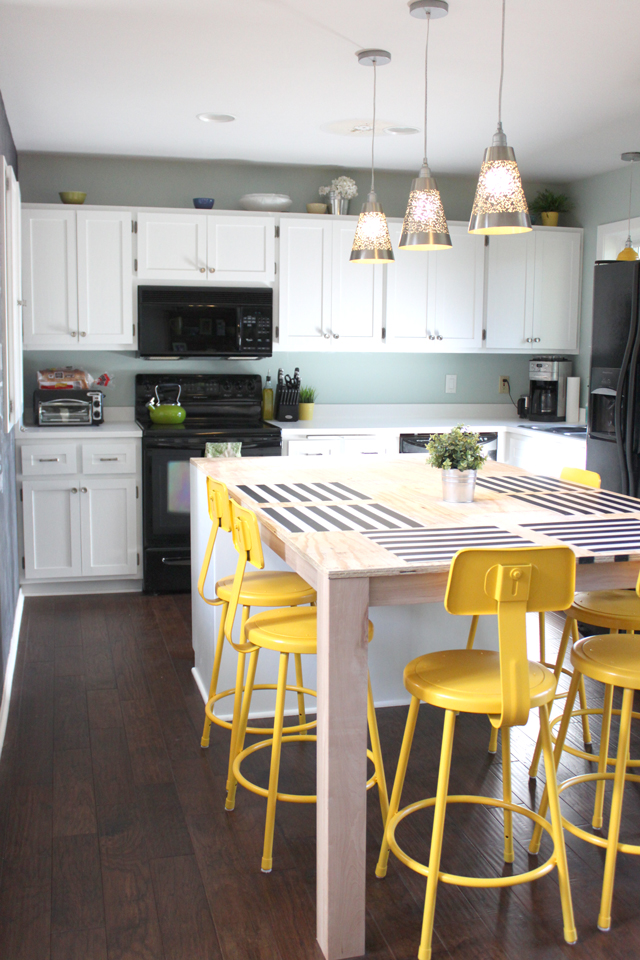
When you last saw our kitchen, we had just finished putting in the wood floors. What an amazing difference that made! Now I’m back with an update on how it’s looking today… ta da!

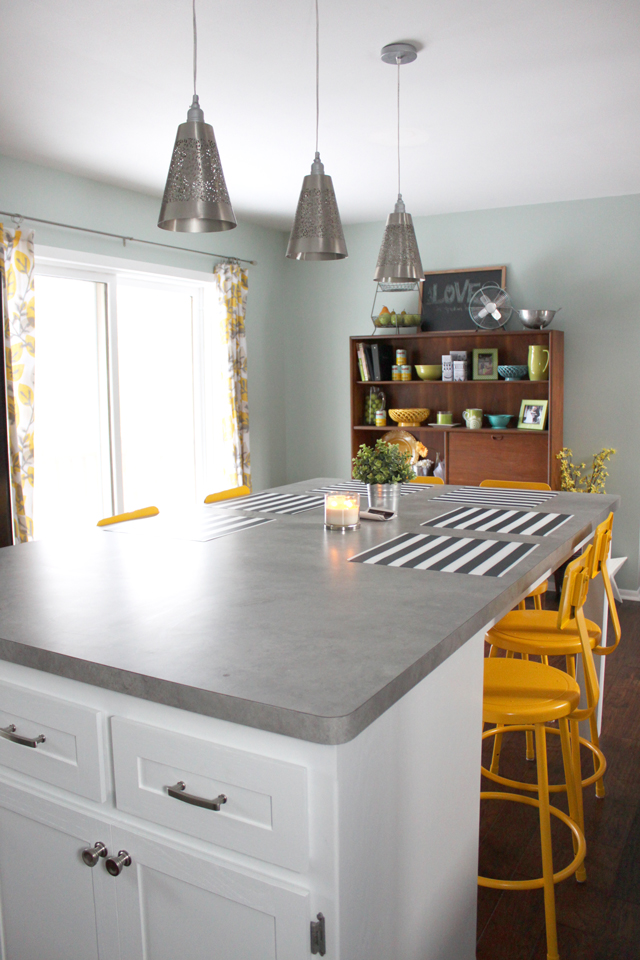
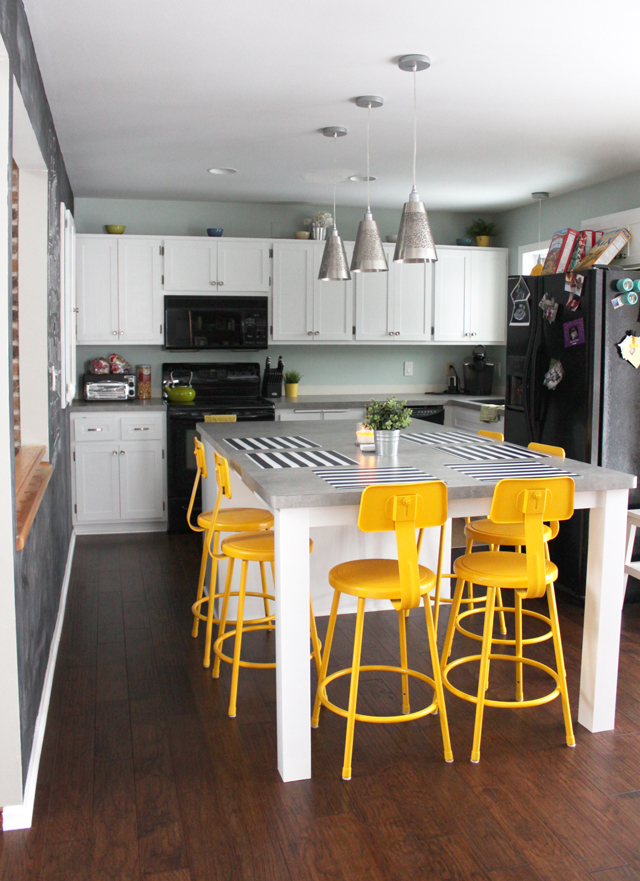
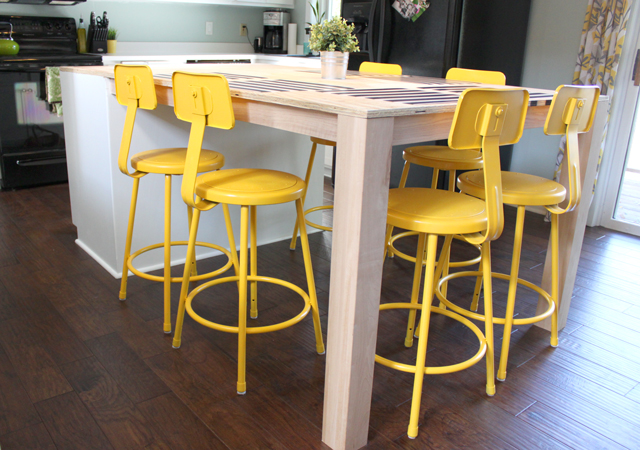
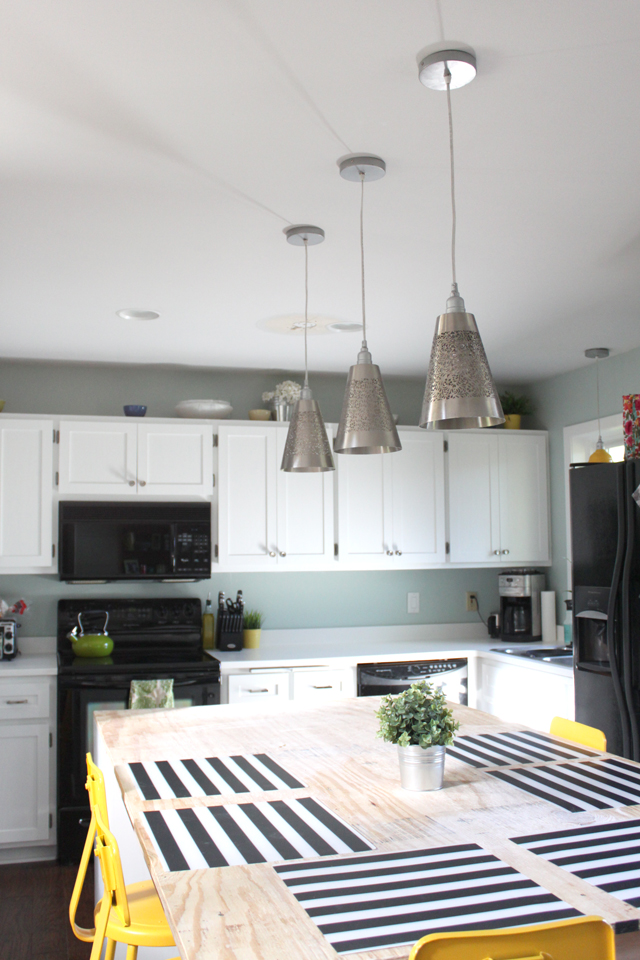
We’ve since added the big eat-in island, yellow stools and swapped out the lighting! First up was the island. We bought stair posts that we cut to size to use as the legs (and when I refer to we, I mean my dad). Then my dad made a frame to support the countertop. And while we’re waiting for our countertops, he added a plywood top so we could still utilize the island. And man is it sturdy! Plus, check out the stools I spray painted yellow during the summer. They started off as those school lab stools.

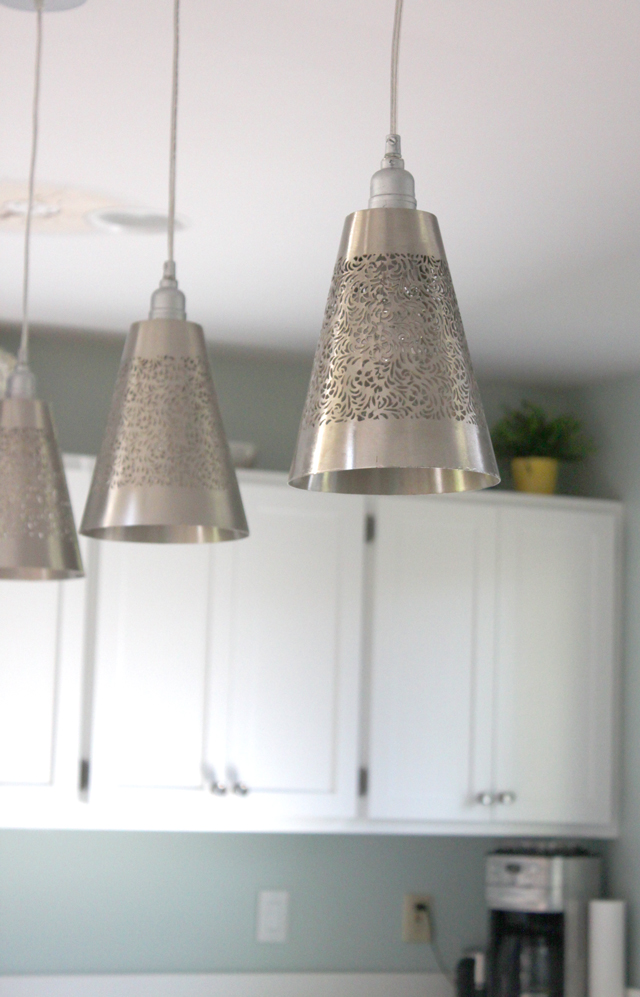
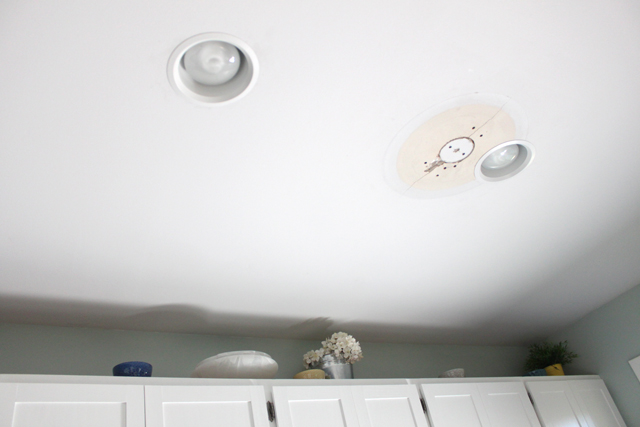
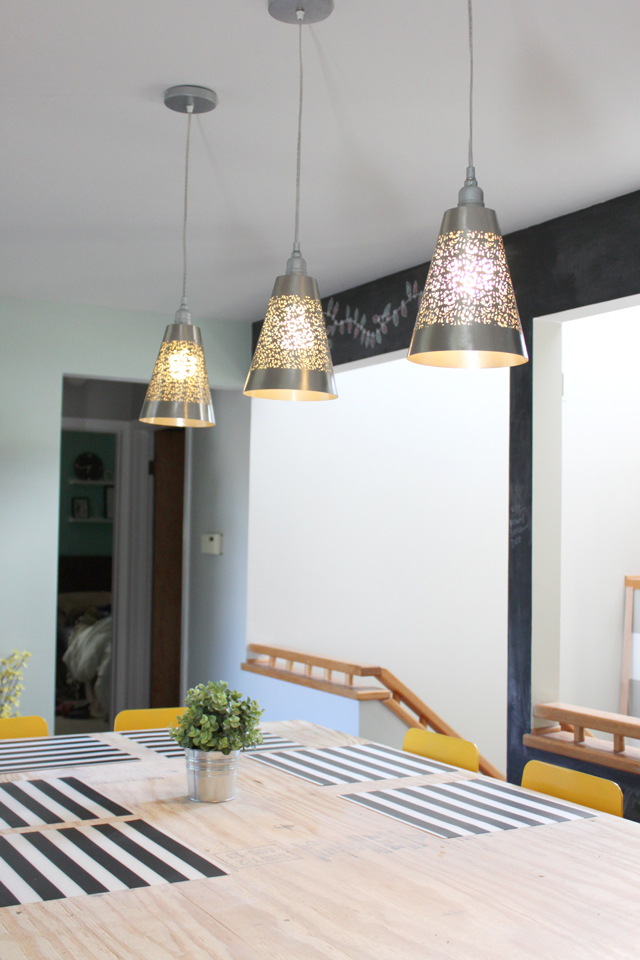
The next weekend, my dad took down the one (way ugly) ceiling light and then the fan with a light. Instead we replaced them with pendants over the island and two pot/can lights. It’s amazing how different lighting really changes a space. It’s a million times brighter and just all around better atmosphere thanks to the pendants.

And yes to a few questions I’m sure some of you have… yes we have patch the ceiling still and repaint it (boo) and yes there are christmas lights still drawn on our chalkboard. I need to grow taller to reach that to erase it.

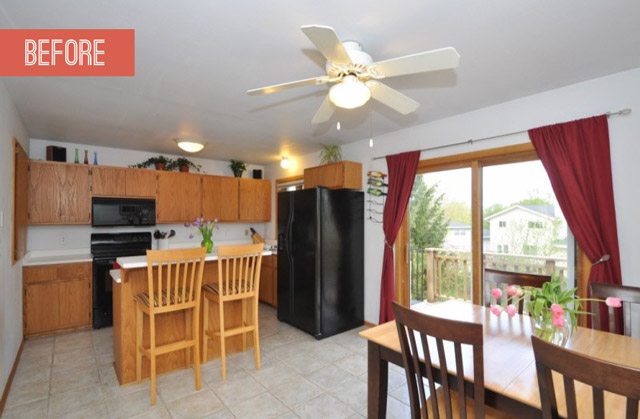
So next up is painting the legs and island (which I’ve currently primed and painted one coat so far, hopefully I’ll finish that this week). Then we need to order our countertops this week, along with a new sink and faucet. Then the exciting backsplash and eventually painting the ceiling. So close! And to remind you where we started, here is the before…

The Making of our Gallery Wall

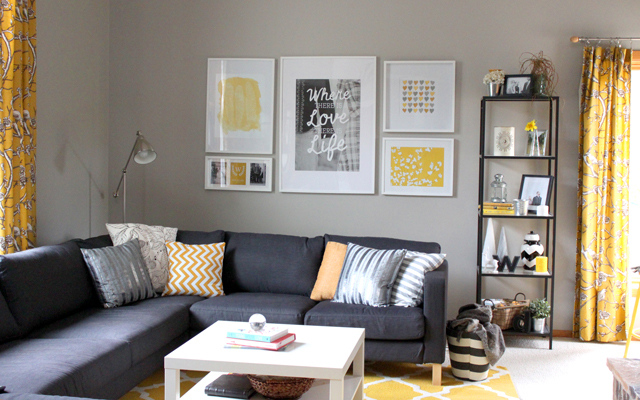
Back in February we took a trip to Ikea when visiting my sister and brother in law who had just moved to IL. We purchased a bunch of frames to create a gallery wall in our living room that would hopefully fill a GIANT wall and not make it look so bare.

We hung the frames just in time for our life group, but lived with the fake ikea filler photos for about 6 months until we finally hung some art. Now I’m finally here to share the inspiration and the behind the scenes of making this gallery wall.

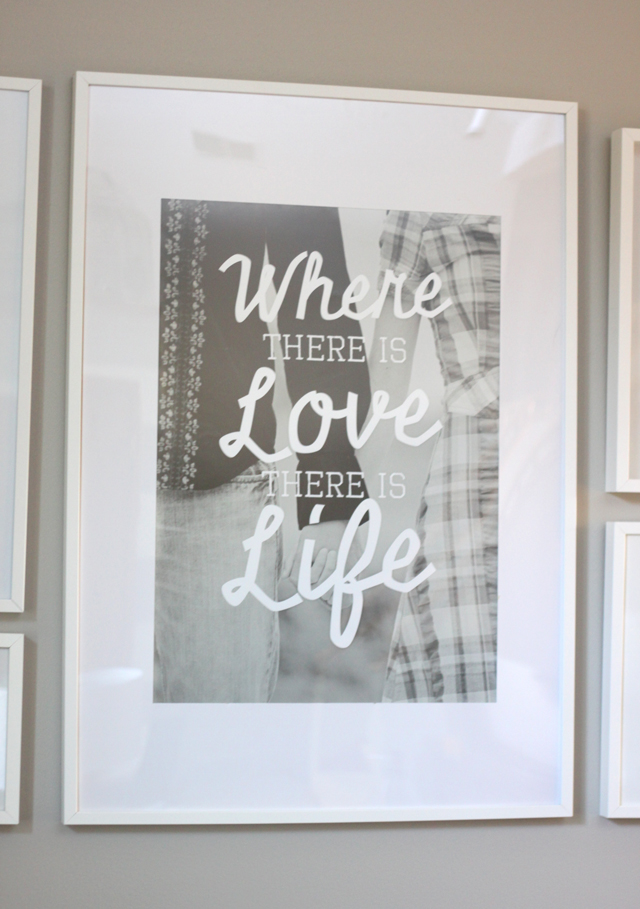
Let’s start with the largest piece. We took one of our engagement photos (shot by Valo Photography) and I added the text “Where there is Love, there is Life” on top of it.” I had Walmart print it in one of their poster sizes.
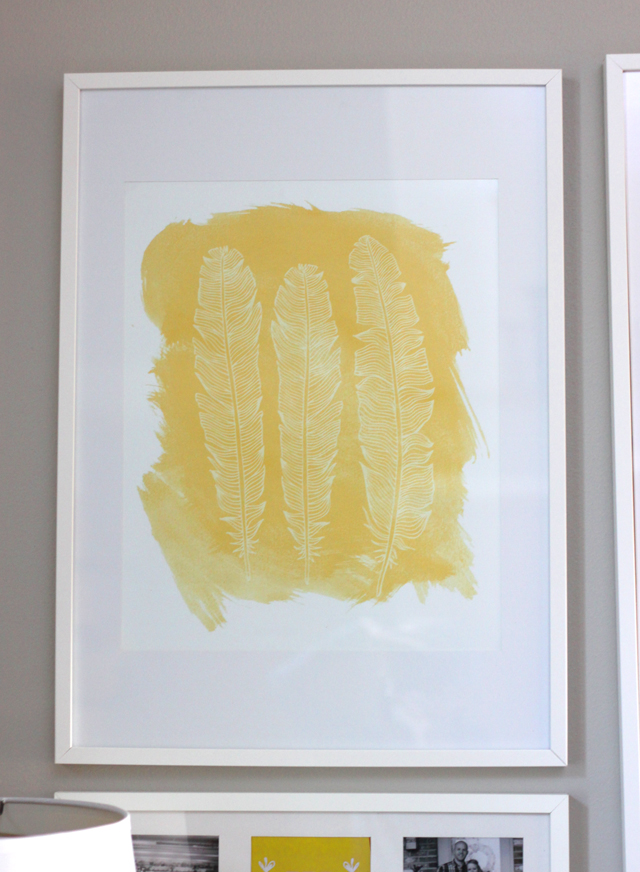
 Let’s move to the left – the piece of the yellow water style feather. During my search for ideas for art prints, I found a few freebies on the web. This was one I found but I edited it a bit to fit the color scheme I had going. You can download it here from the Oh So Lovely blog.

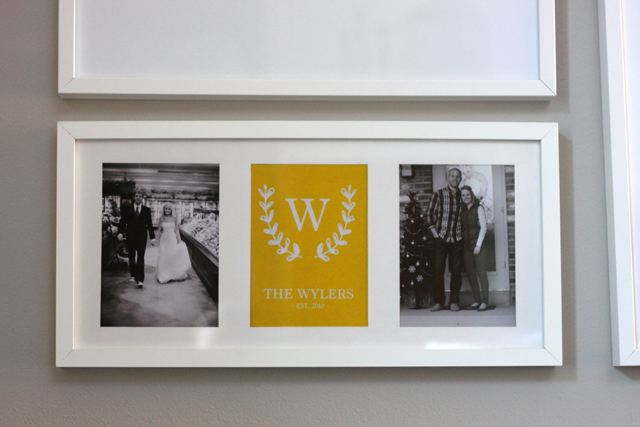
Below that is a three-photo frame. I wanted something that we could change out periodically – so the first photo will remain our wedding day (kind of like the start of our lives together) and then the last photo will change as we grow our family. Right now it’s a photo of us with our house, since that’s the stage where we are at right now. In the center is a print I made. I used the 53 paper app and drew the leafy thing and then added the “W” and “The Wylers est. 2010” in photoshop and had it printed at Walmart.
Now onto the right side of the wall, starting at the top is a piece I made out of paint color swatches. I have about a million of them from when we were selecting paint colors, so I just hand cut them out on a 12×12 sheet of paper and mounted them with some mounting strips. Here is where I got the inspiration to do that.

Then lastly, right below that piece is another piece I made. I love the look of forsythias. I had submitted something similar for minted.com but wasn’t selected (unfortunately), however when I was dreaming up this gallery wall I knew that piece would look great, but I knew I needed a bit more color to balance things out. I reversed the colors a bit and got this art print. Again I printed it as a large print at Walmart. Because I’m so nice, I actually have that art print for sale on Society6 currently, along with a forsythia pillow design. So if you’d also like a print like that for your home, please check it out!

I also took a few more of my “minted rejects” and added them for sale on Society6. Please check them out and feel free to “like them” 🙂


A Minted Holiday!

Guys, I’m really excited to share something with you all! This past year I’ve been submitted designs to minted.com challenges. My main goals were to bring in a little extra money for our house reno projects + stretch me as a designer.

For the first part of the year, I was really growing as a designer and trying new things as I entered into the Minted challenges. Then finally I found out I would have four of my designs in their 2013 Holiday Collection! That meant prize money and commission. Cha-ching. Cha-cing.

While having four designs in their program seems amazing now, it was not always easy. To be honest I was really discouraged thru most of the year with my minted entries. I would spend almost every night working on them and see the same few winners win and felt like I’d never win. But I was determined to win and I’m glad I stayed the course. They have a great community forum section and I also recently discovered it took most people a year or so of submitting to finally win.

Now that I’ve won four, I feel much more confident and determined to keep submitting. I’ve really grown as a designer this year and I’m thankful for the opportunity to submit all 61 of those entries even if I didn’t win all of them.

But now seriously, go check out my winnings and share them! PS I’m also open to design custom Christmas cards this winter – so don’t hesitate to contact me with some ideas!

PLAID HOLIDAY 
plaid red gray holiday christmas card

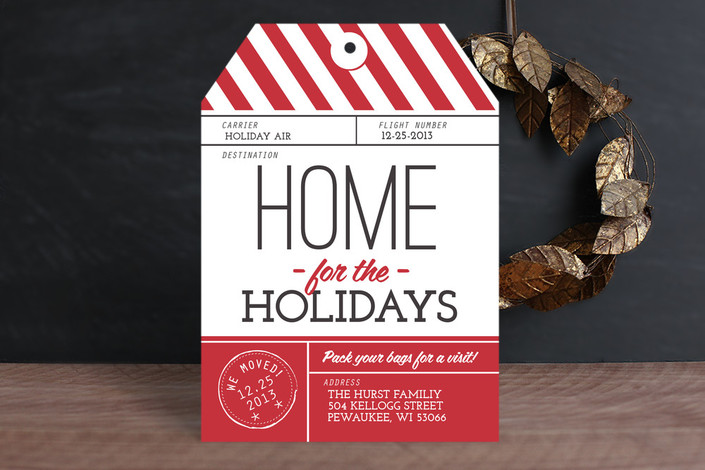
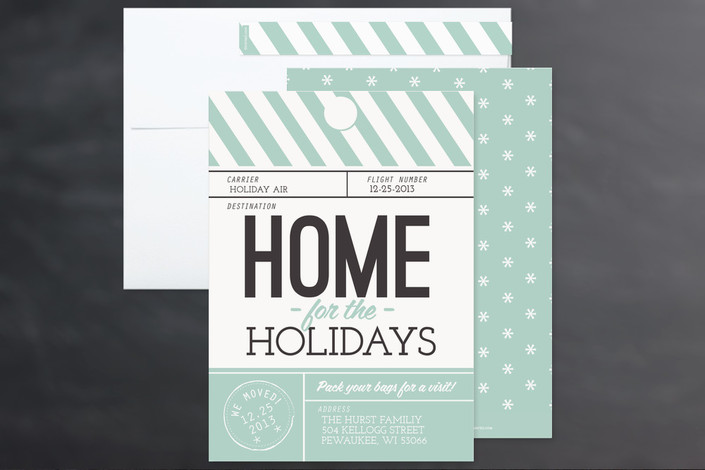
PACK YOUR BAGS
mail vintage holiday christmas card stripesmail vintage holiday christmas card stripes LOOKING BACK TIMELINE
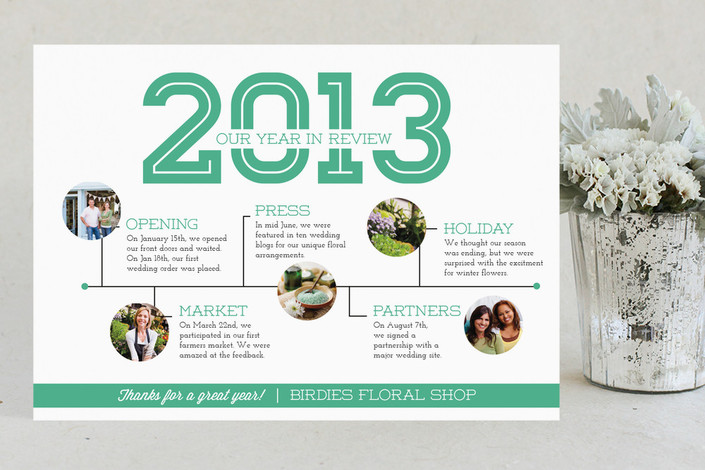
timeline christmas holiday card business cardtimeline christmas holiday card business card COMPANY YEAR IN REVIEW
business holiday christmas card that shows stats and figuresbusiness holiday christmas card that shows stats and figures

Minted + West Elm Challenge

So lately I’ve been spending less time on blogging, more time designing… my apologizes. Entering the minted.com challenges is a great “creative workout” for me – it breaks me of what I do daily at work to get my mind going in other directions creatively. It’s not uncommon for me to be brainstorming the whole way home each day for my next submission for minted. I am determined to finally win something (ps voting helps me win!).

While Drew was gone in China it gave me a LOT of extra free time, so that gave me time to submit a few design pieces and a few photography pieces to the Minted + West Elm art print challenge. I’ve been a fan of West Elm for awhile, I love their decor and I actually get their emails at work… mainly because I’m always looking for new email ideas for the marketing emails I create at work.

The pieces I submitted went in a few different directions because I’m still trying to see how my style fits in with minted’s style… so please check out my submissions along with style boards for how they could go with West Elm’s products.

100+ by Vanessa Wyler, see more art prints

100+ board by Vanessa Wyler. See more art prints

Vote: Christmas in April

Christmas in April? Why not?! It pretty much feels like it outside and especially nowthere is a chance of snow this week (boo)!

Minted.com is currently doing a Holiday/Christmas Card challenge for personal use and corporate use. Voting ends on Monday, April 15th, but I thought I’d share my designs with you and encourage to vote for me – click on the photo to go vote for it! Pretty please? Thanks!

sweater-christmas-card-scallop-blog

bag-ticket-we-moved-christmas-card-tagdiecut-blog

eddy-the-cat-bloSuitandTie-GreetingCard-blog

Vote: Greeting Card Challenge

Ever since I made it my goal to submit some design pieces to a minted.com challenge, I’ve been hard at work submitting things to multiple challenges. Currently I’m in the submission process for a few Holiday Cards, but right now is the time for voting for the Greeting Card Challenge. That challenge included birthday, mother’s day, father’s day and graduation greeting cards.

I submitted a few designs recently and now is the time to vote. I’d appreciate it if you could vote for my design (pretty please!) – but do it soon as voting ends on March 11 at 9am PST. Here are the designs I submitted, to vote for them, just click on the photo to take you to the link… I do believe you’d have to make a minted.com account, just so they can keep voting legit.

New Fave: Coral

If you’ve been to our new home, you’ll quickly realize I have a love for grey and yellow hues. While I could decorate each room to scream out my love for that color duo, I wanted to stretch the color palette of our home.

One of the only two rooms left to be painted was the downstairs spare bedroom and the bathroom down there. And after Drew recently professed his desire to have a space for a computer set up, he convinced me to start working on our next project: operation finish the downstairs bedroom.

First set of business was to find some inspiration and create a color palette. I browsed thru my some hundred pins on my “home style” pinterest board to remind myself of what things I’ve been loving lately over there. I settled on the palette of Coral & Gray (plus tiny bits of yellow and a light blue, think: this moodboard, that I made for myself to hopefully re-do my portfolio site this year). But then I also had to convince Drew that this color is definitely not pink! Here are a few images that inspired my game plan for this room…

Suzie: Kerrisdale Design - Woven magazine basket, Robert Allen Dwell Studios Gate white & gray ...

Coral and Grey...or Navy Blue

gray and tomato

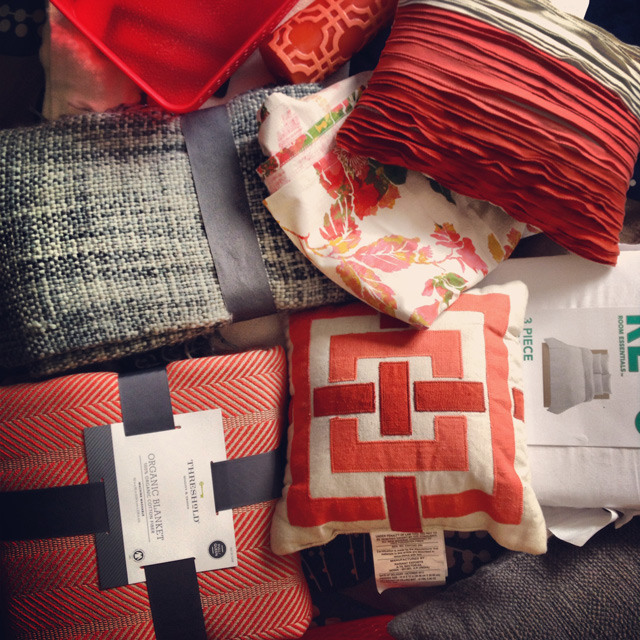
Next, a trip to Target to score all the coral decor possible made this room start to come together very nicely and easily. And if you follow my instagram, you probably saw all the things I found there…

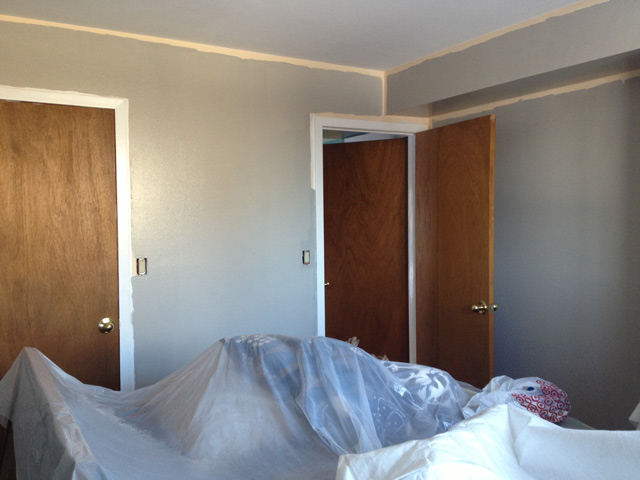
And now to today… Drew and I were able to finally say goodbye to the flesh colored walls (gross) and painted up a fresh coat of a medium gray color Martha Stewart Bedford Gray to be exact. Here’s a quick image of how it was coming along.

Now that the paint is dry, the next step is to clean up the room and put it back together – also to make the bed with all the things I found! A few other things on the list to do before it is more finish are…

  • Create a striped upholstered headboard
  • Hang some white/floral curtains
  • Get a white Parsons style desk
  • Re-do/paint the Mid Century Modern dressers in there
  • Spray paint a round mirror to go above the headboard
  • Add more decor/storage elements
  • And probably much more…