Backyard Transformation

I’ve been sharing sneak peeks on instagram of how our backyard has been shaping up over the past few weeks! I literally feel like each weekend that is all we do. It has been a lot of fun, but also a great deal of hard work including lots of sweat, wearing my garden boots, and getting my hands dirty.

Over the past few weeks we’ve…

-Re-edged our garden beds
-Mulched all the garden beds and around trees, etc
-Pulled Weeds and Sprayed Weeds that are filling garden beds and our lawn
-Planted lots of annuals and bulbs in pots, also a few hanging baskets and bushes
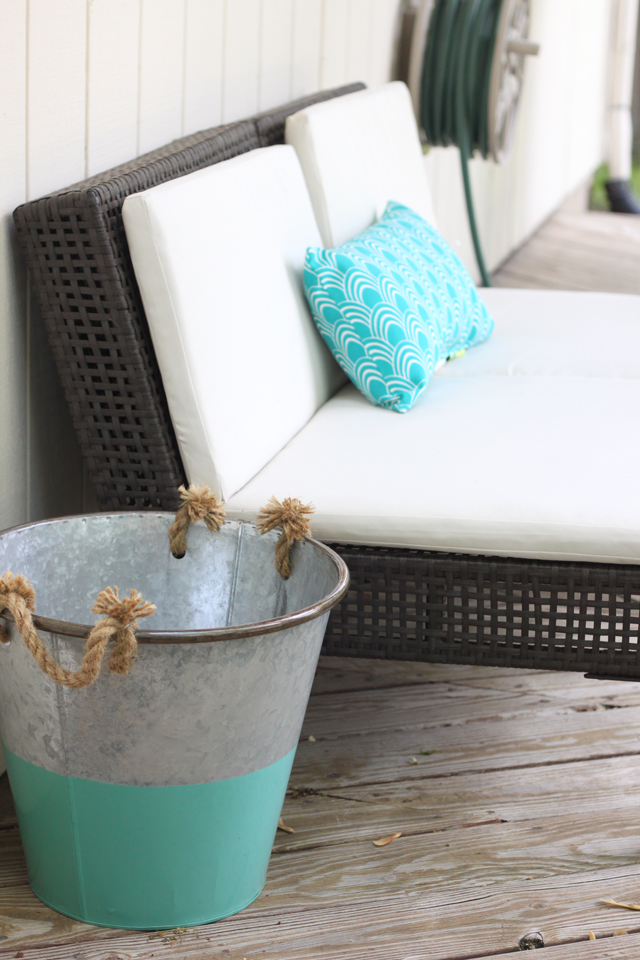
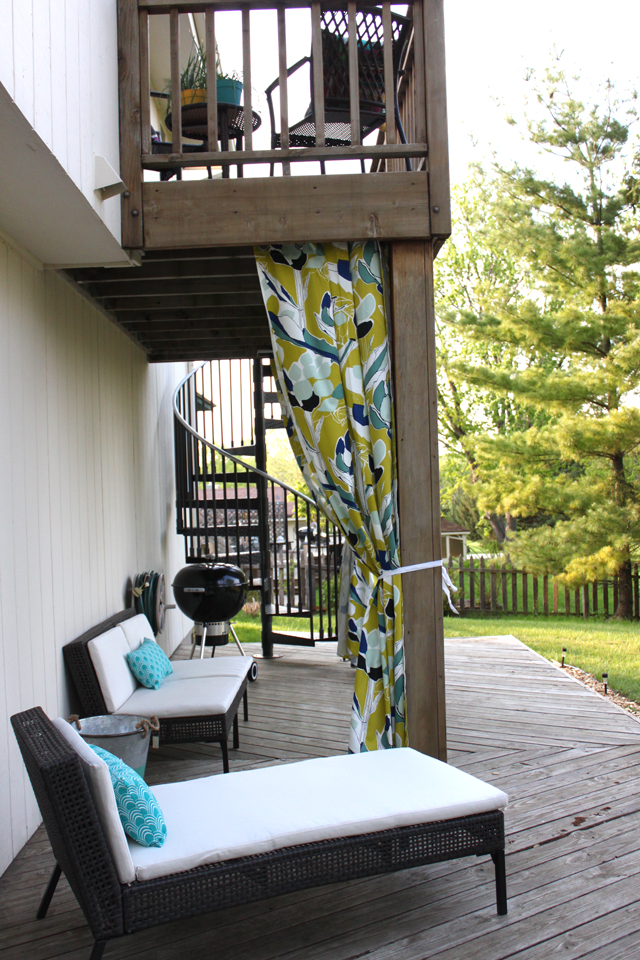
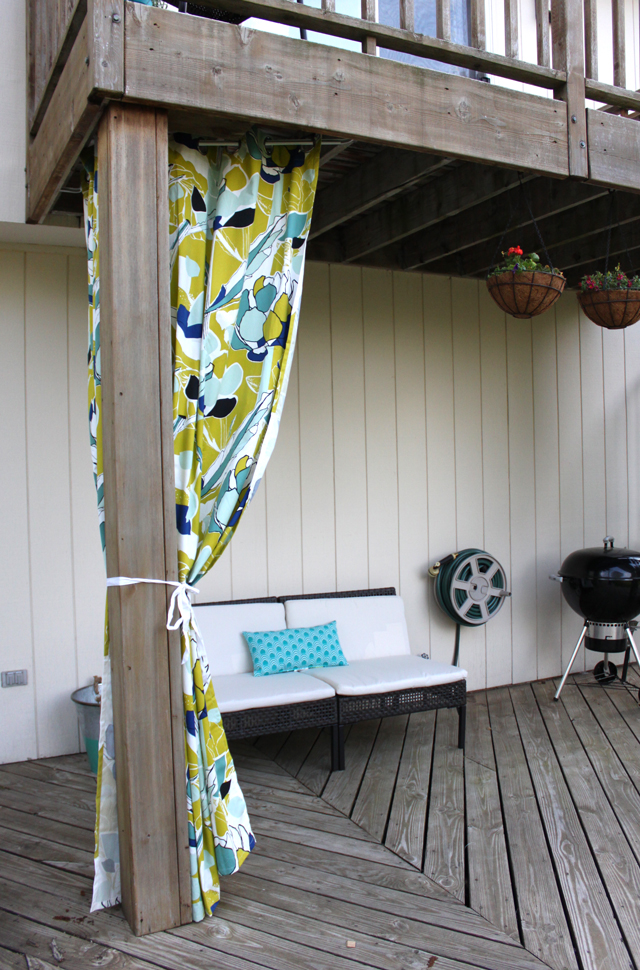
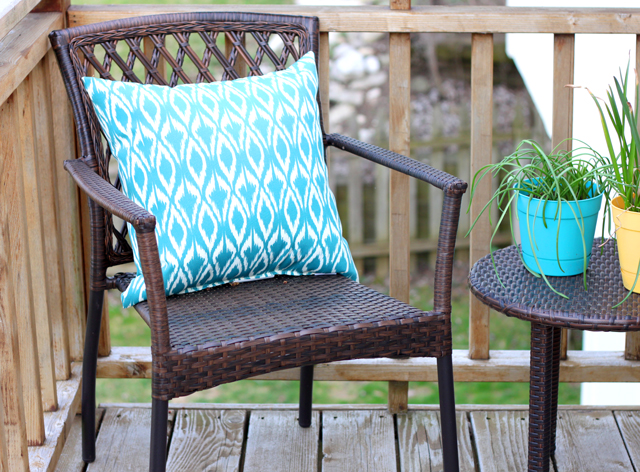
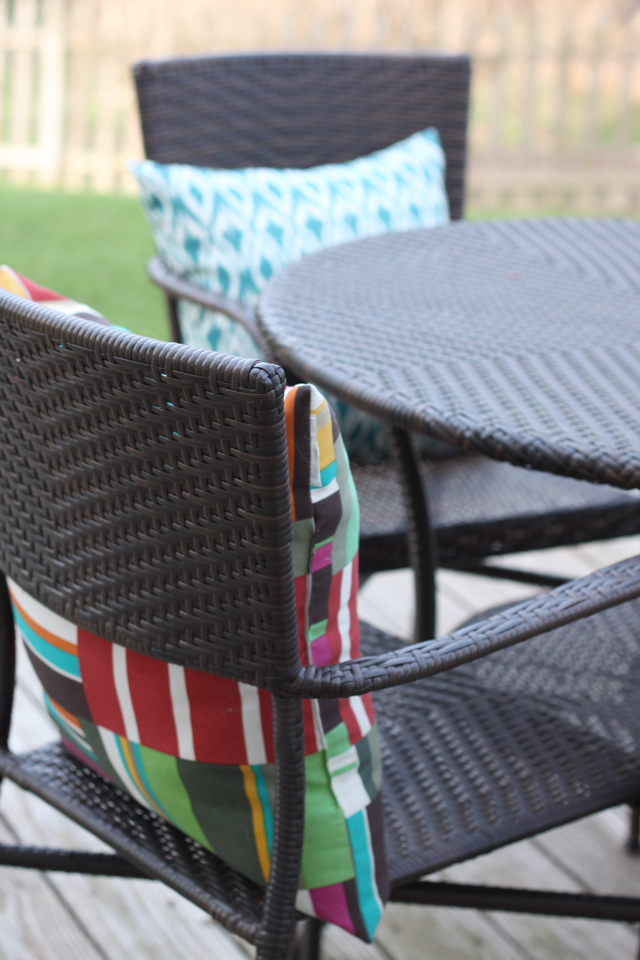
-Got more outdoor furniture from Ikea
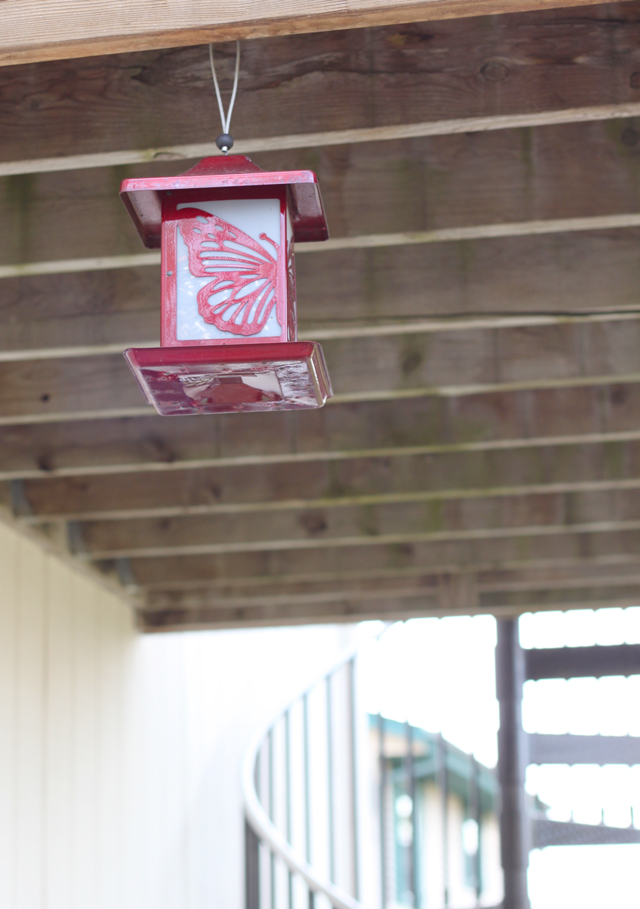
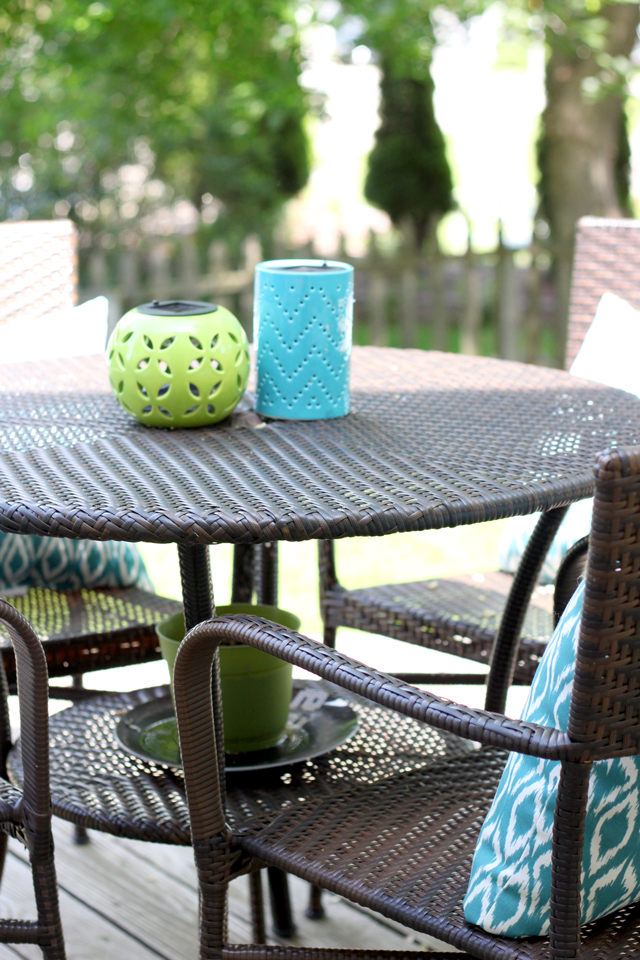
-Added outdoor accessories
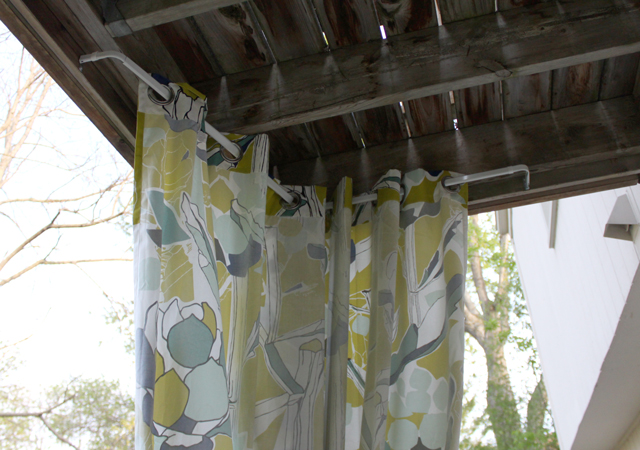
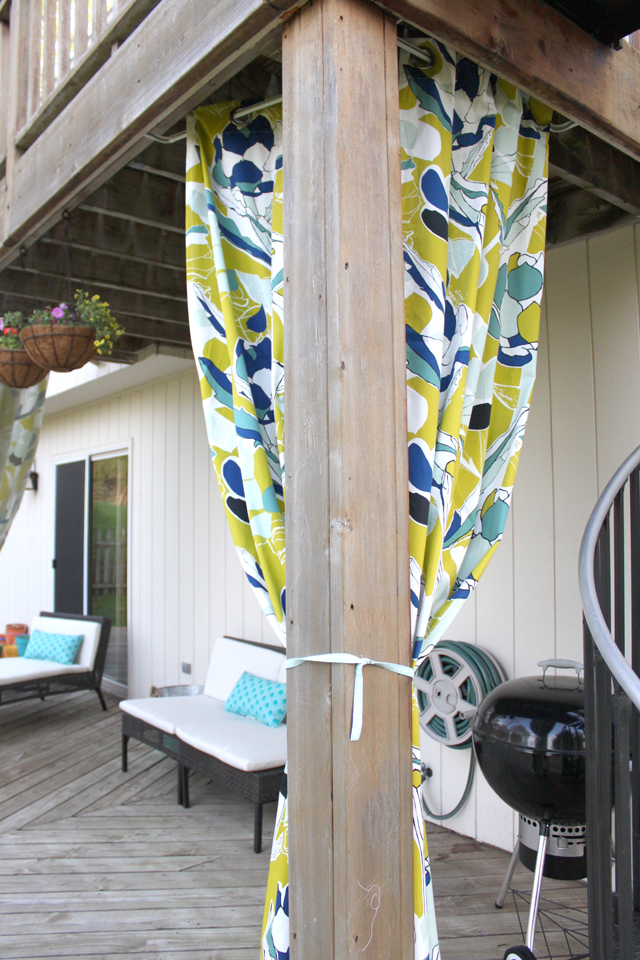
-Added outdoor curtains
-Cut the grass and trimmed edges multiple times
-Sprayed the lawn for bugs

So what’s left to do…?

-Finish owning the weeds in our lawn
-Re-seeding bare spots
-Get a fire pit
-Invite people over (lots!)

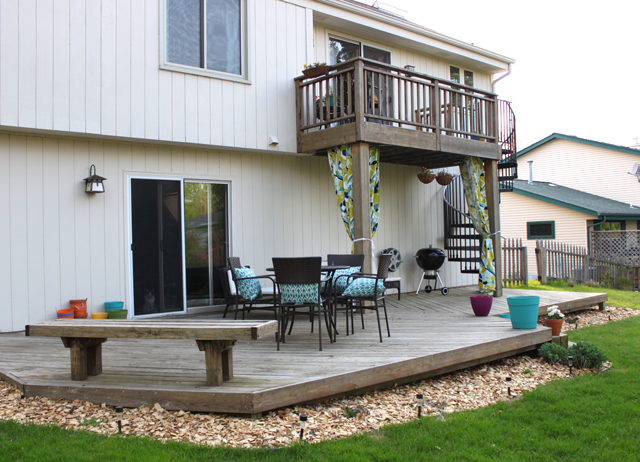
Here is a view into our backyard and where we can’t wait to spend all summer long in the evenings and weekends. PS if you want to come over, just let us know – we love to grill out and I love me some s’mores!

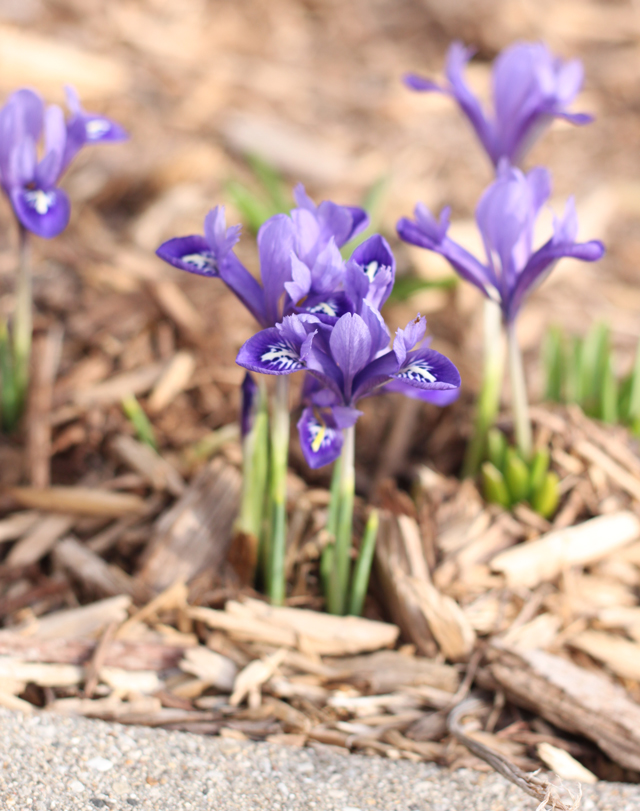
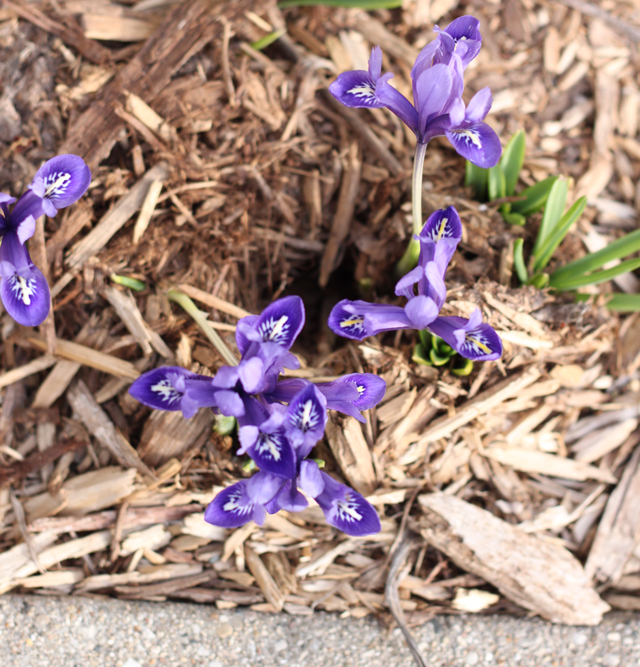
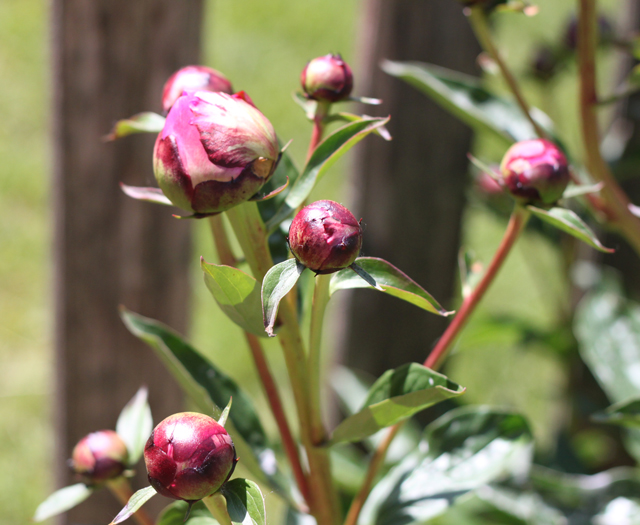
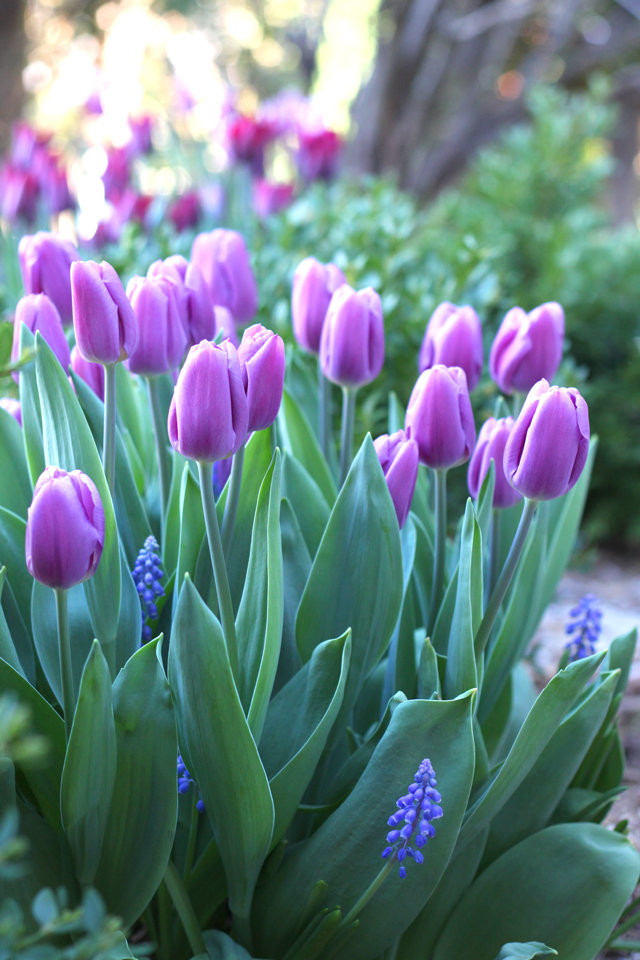
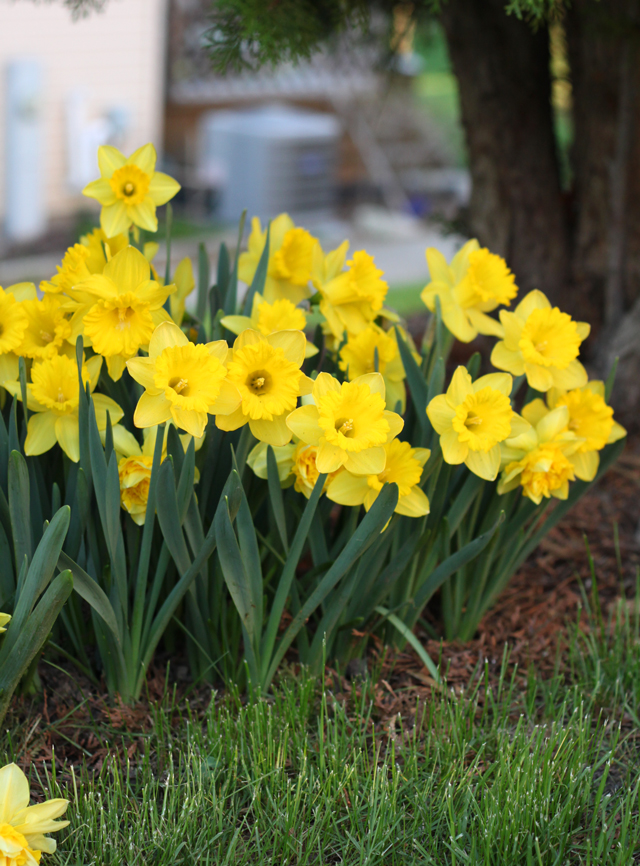
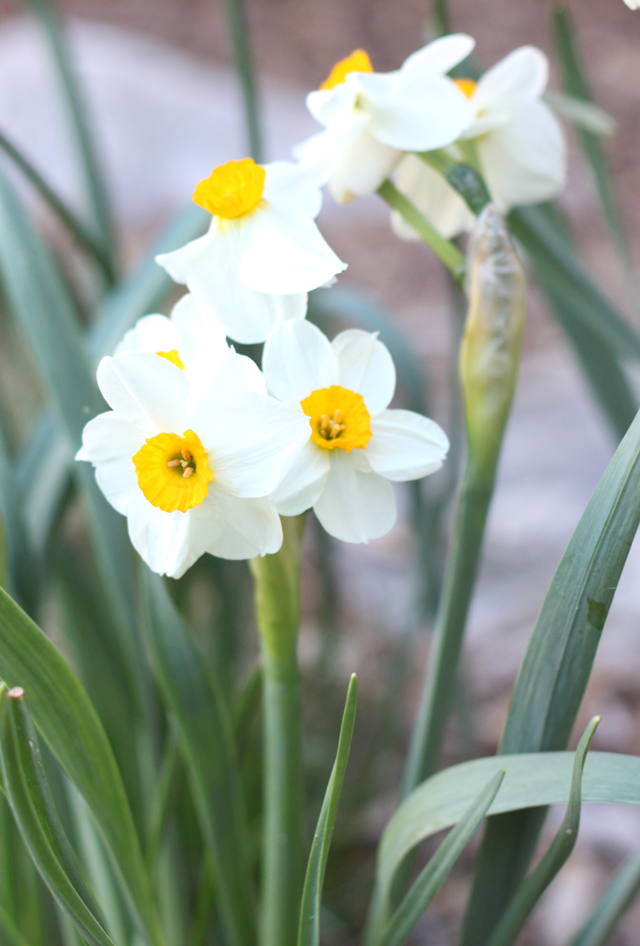
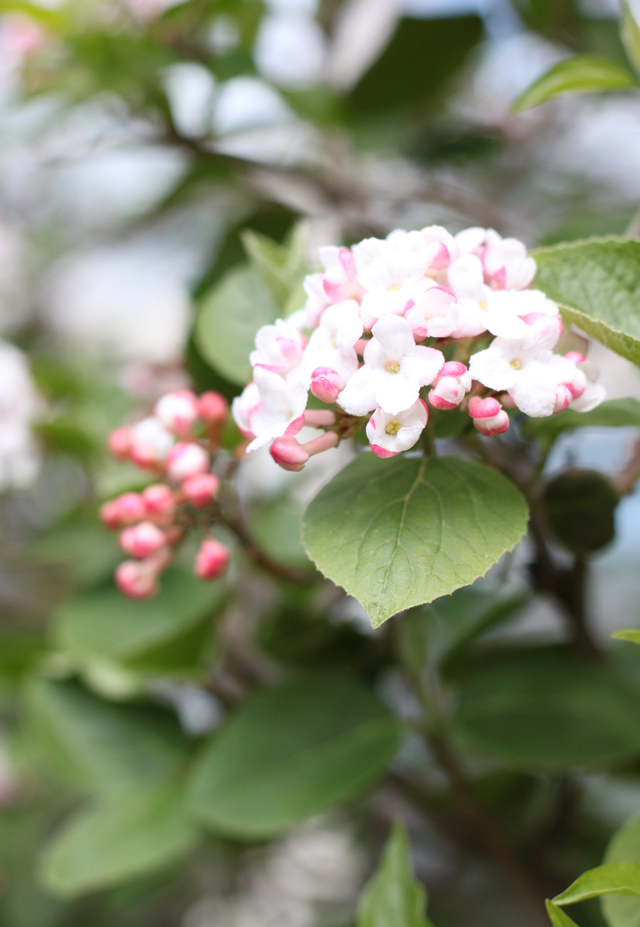
And a few things that are blooming around our yard…

Next up… Kitchen progress! I literally am itching to start this right this second!

What Grows II

Having a yard is a million times better than a balcony. Having a real garden is a trillion times better than having a container garden! Just about every night, once I get home from work, I walk around our yard looking at what’s growing or blooming now – there are always new surprises each day! Here are a few shots from our recent blooms… so thankful for a job at a flower bulb company that makes it easy for my yard to look like this!

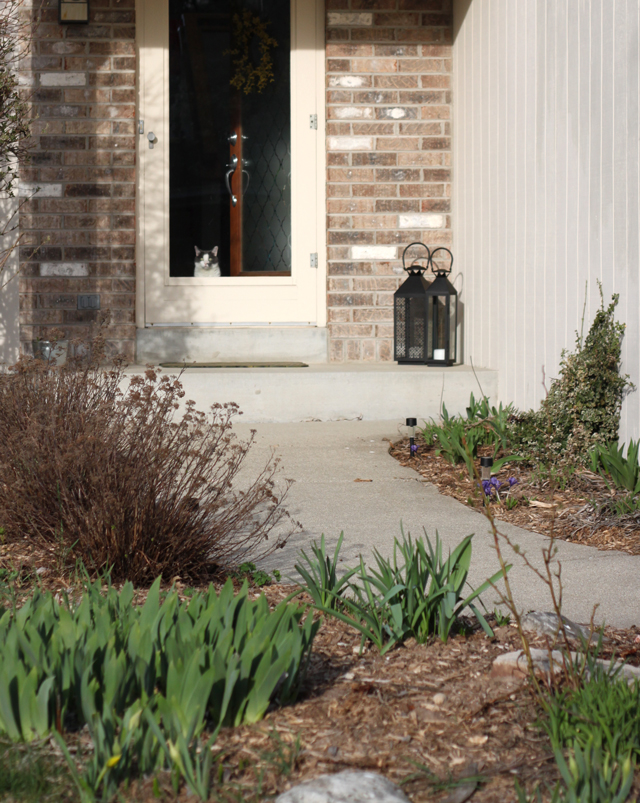
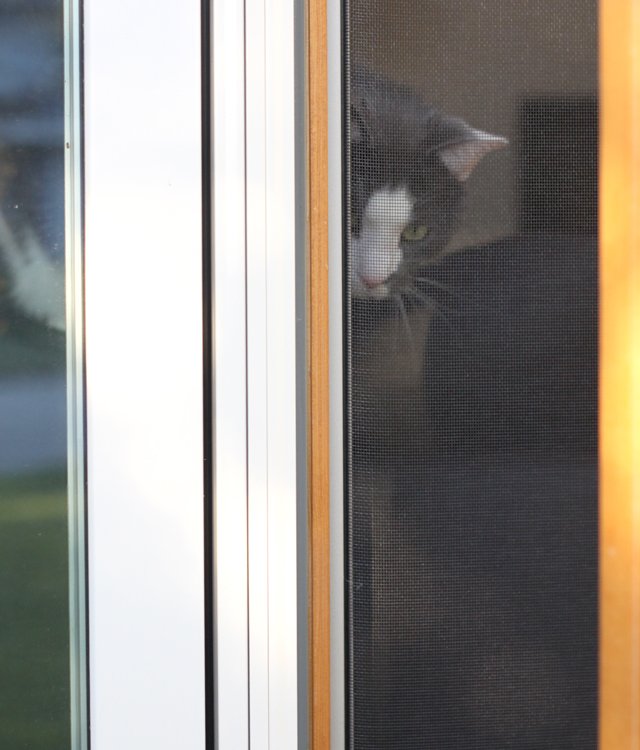
And guess who watches me while I walk around the house…
 And here is a quick look at what I’ll blog about next… our additions to our backyard deck!

What Grows

I don’t know if I can explain how much I love spring! There is something about watching everything that was “dead” all winter come back to life and green up again. It’s like I drive around and I have to look at how everyone’s yard is shaping up… their super green grass, the blooming daffodils and forsythia and how the trees are budding up and showing off their leaves. I just love it!

This week we’ve had a roller coaster of weather – started off in the 70s and went all the way up to the 80s, but today was a completely different season with our 40s and rainy cold. Ugh, can we go back to the 80s already and just skip spring and move straight to summer.

Luckily I spent as much time as I could while it was warm and went around our yard to spy on what is blooming. It’s been a lot of fun to see what surprises are hiding in our yard – since when we moved in, most things were dead from the crazy dry summer we had last year. So enjoy the tour of our yard, and there will be more to come as things grow and bloom! I’ve also been dreaming out how to transform our outdoor space and I’ll give you a little hint below.

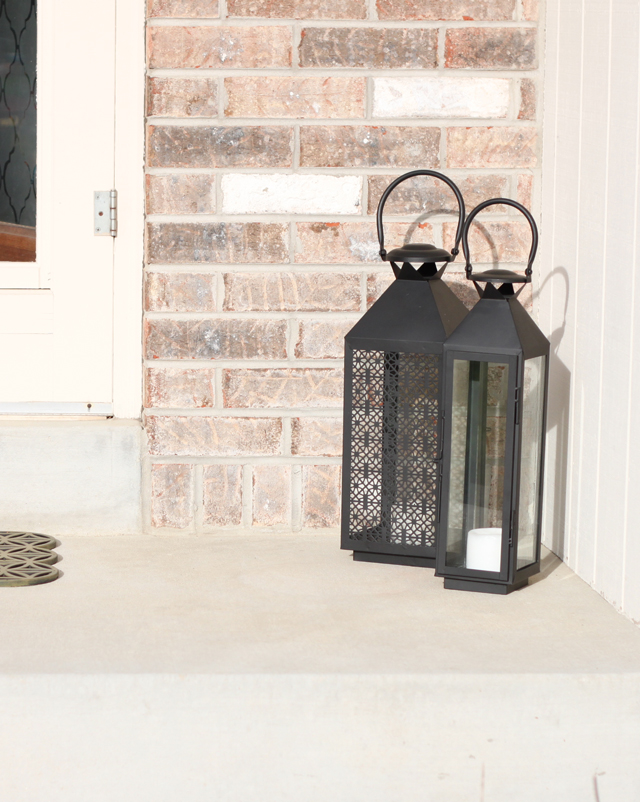
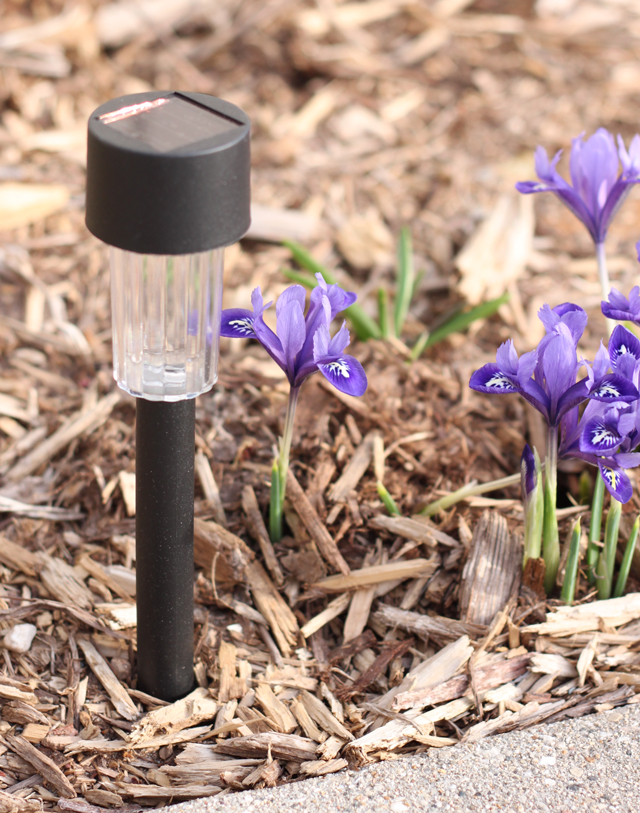
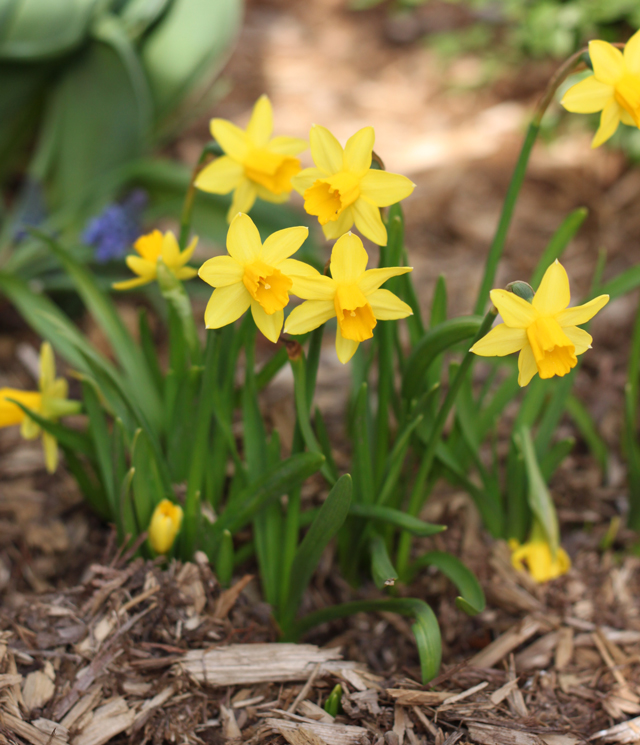
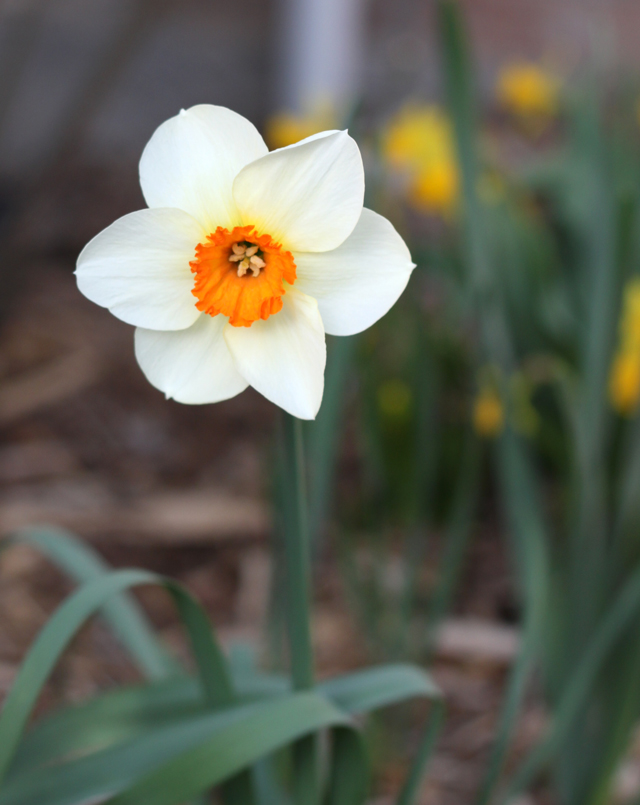
We’ll start in the front – we’ve got some lovely daffodils and iris in bloom, and the tulips are working their way up. For the area by the front door, I purchased two lanterns from TJMaxx, but plan to add some more planters and other decor. We also got these little solar powered lights for the pathway, and I love how they look at night!
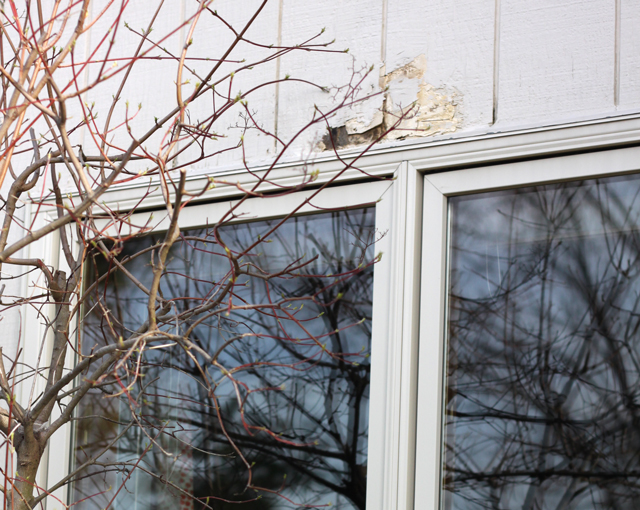
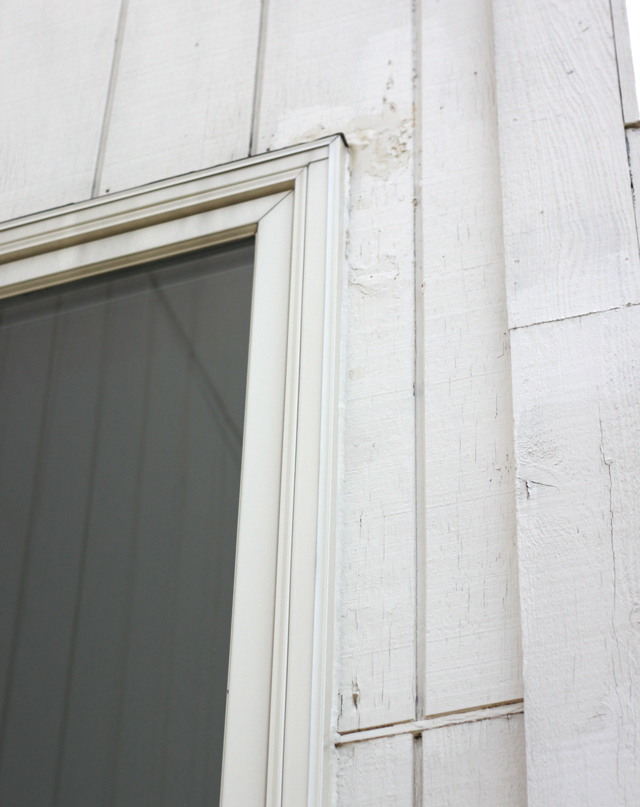
Moving on to the side of our house, you’ll see the lovely damage by our woodpecker! In the fall we repaired/filled some of the holes, however they’ve been at it again this spring. We even had a tree on the side of the house that they used to hang from and tap their beaks against our house – but my dad cut it down this past weekend (while Drew was in China) -we hope it discourages them. We also had to cut it down because the tree was too close to our house and we were a little worried that as it grew the roots might harm our basement wall.
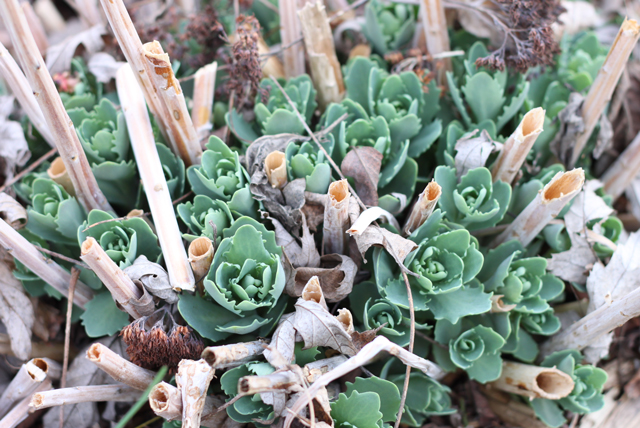
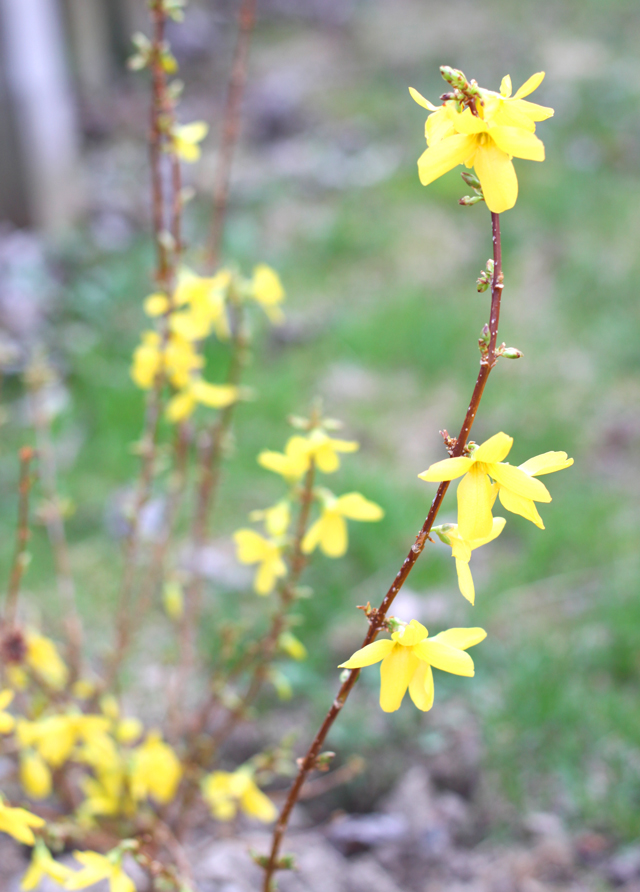
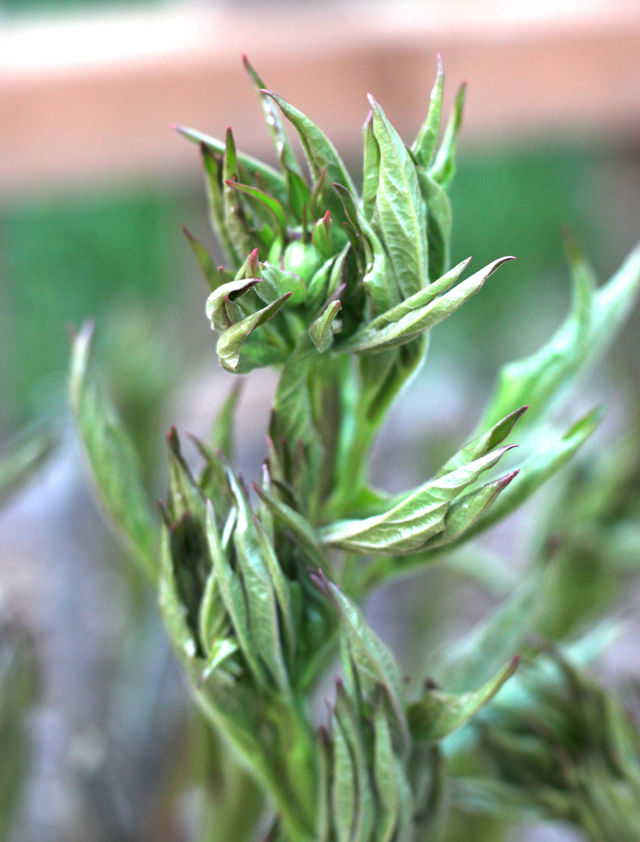
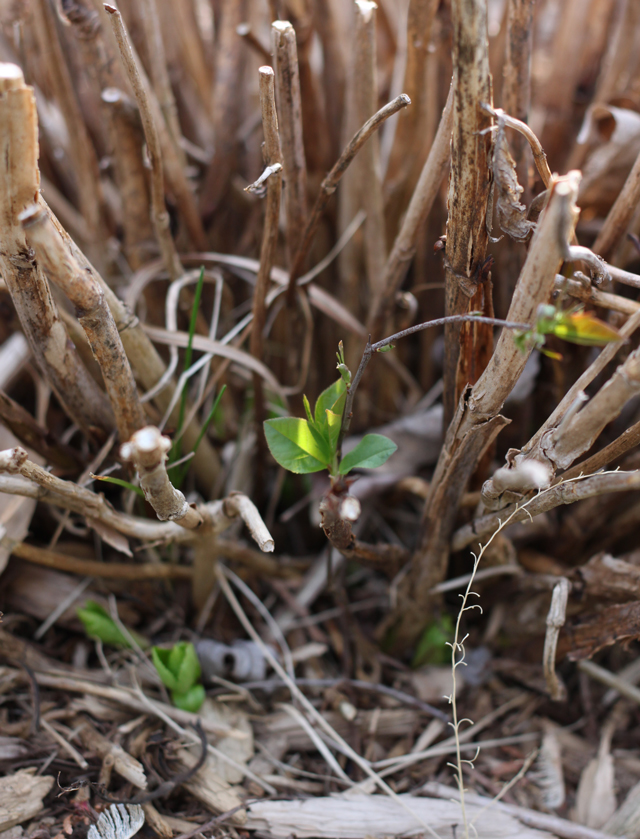
In the backyard, we’ve got some exciting things growing and some not so exciting things. I’m super excited for the four peony bushes we have (if you ever have planted them from bare root, you’d know they take FOREVER to get to a big bushy plant like these). Also, there are some hydrangeas, sedum and more to come as it gets warmer. We also bought two small/young forsythia bushes from Home Depot and planted them a few weeks ago, they also were in bloom this week.
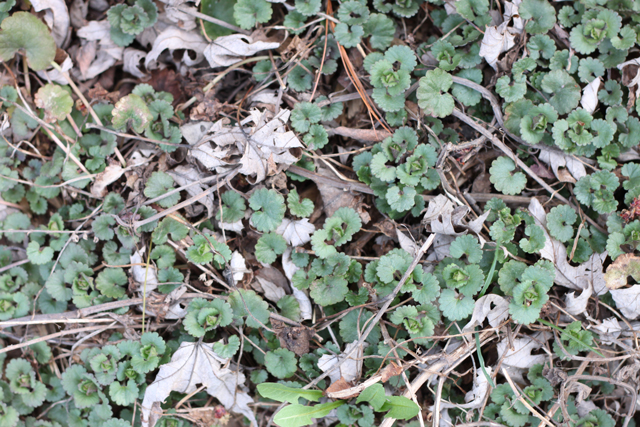
The not so exciting things involves a weed that is spreading over our lawn like, well a weed. After doing some research I discovered it’s called Creeping Charlie. Some people use it as a groundcover, but from what I’ve read, it’s incredibly hard to kill and spreads really easy…. we’ll let you know how it goes.
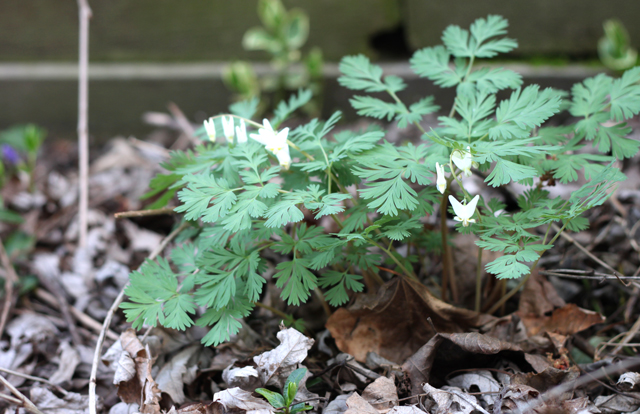
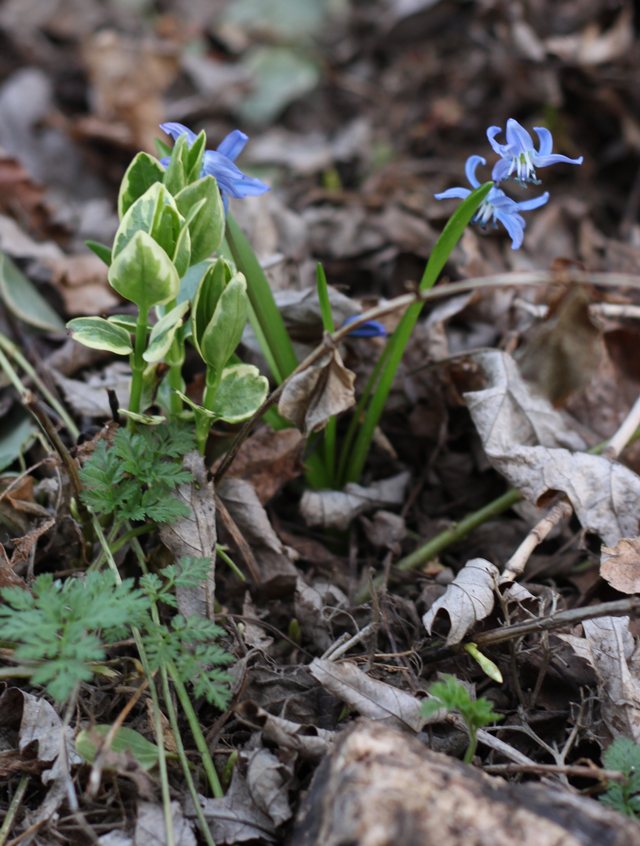
The other side of the house is a narrow, very shaded pathway with a stack of wood and brush filled with leaves. I was surprised to see a few random things in bloom mixed in there. What a lovely surprise!
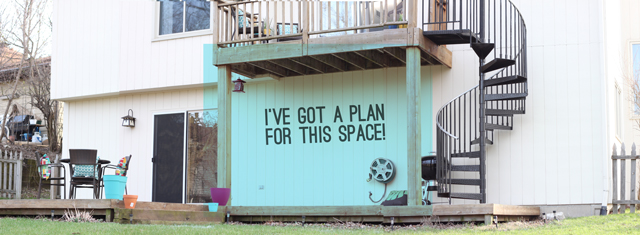
And finally in the backyard, we have a two story deck – a small deck on top that walks out from the kitchen and another larger deck on the ground level that walks out from the family room. It’s a lot of space, so we’re working on making it look a bit nicer and less bare. Here is what we’ve got so far – but I’ve been getting a lot of inspiration from pinterest for underneath the top deck, but I’ll share that another time 🙂
Cornhusk Green – Bathroom Update

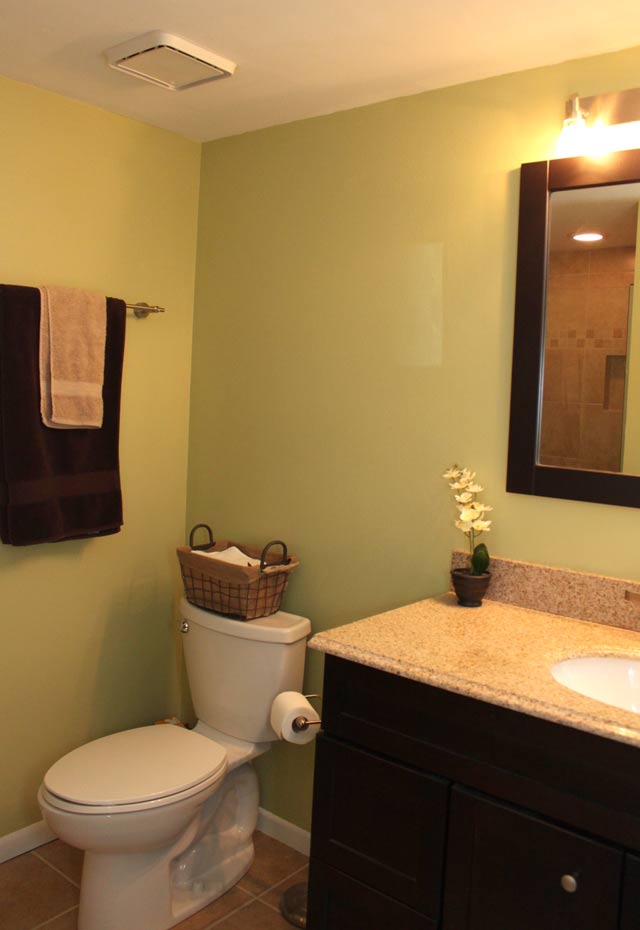
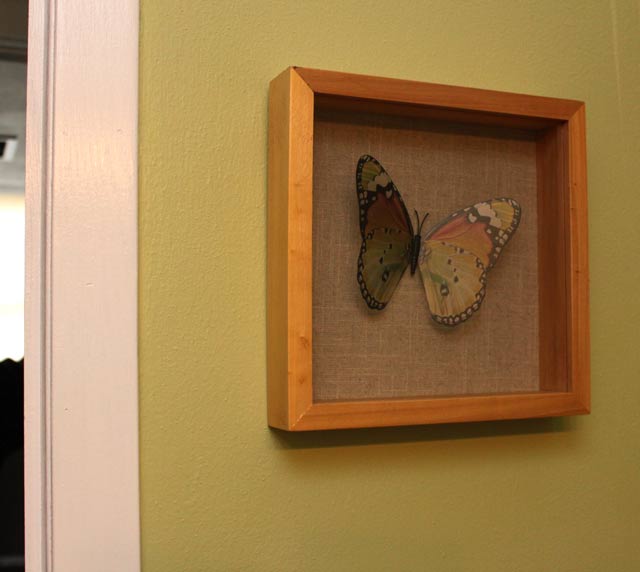
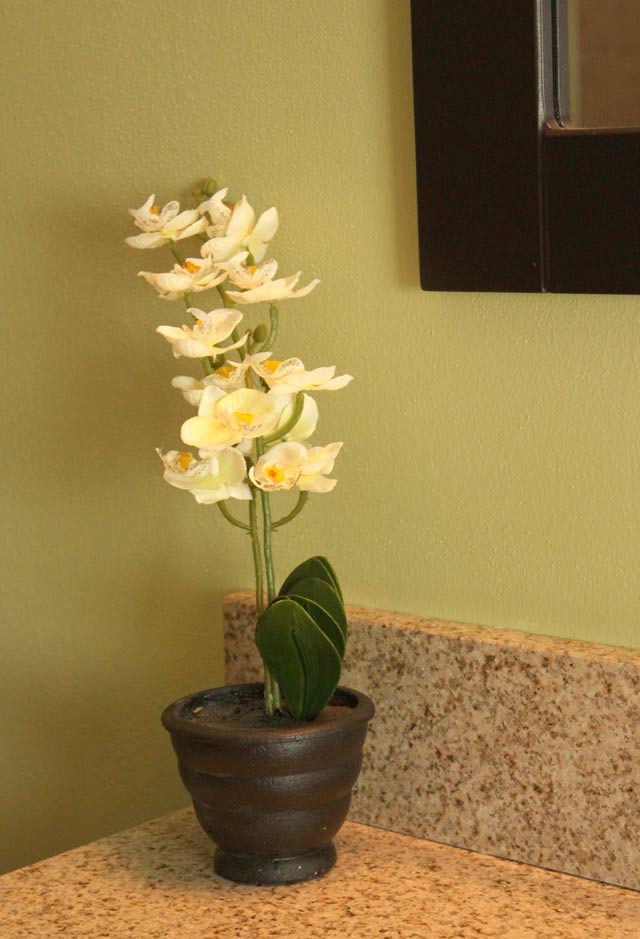
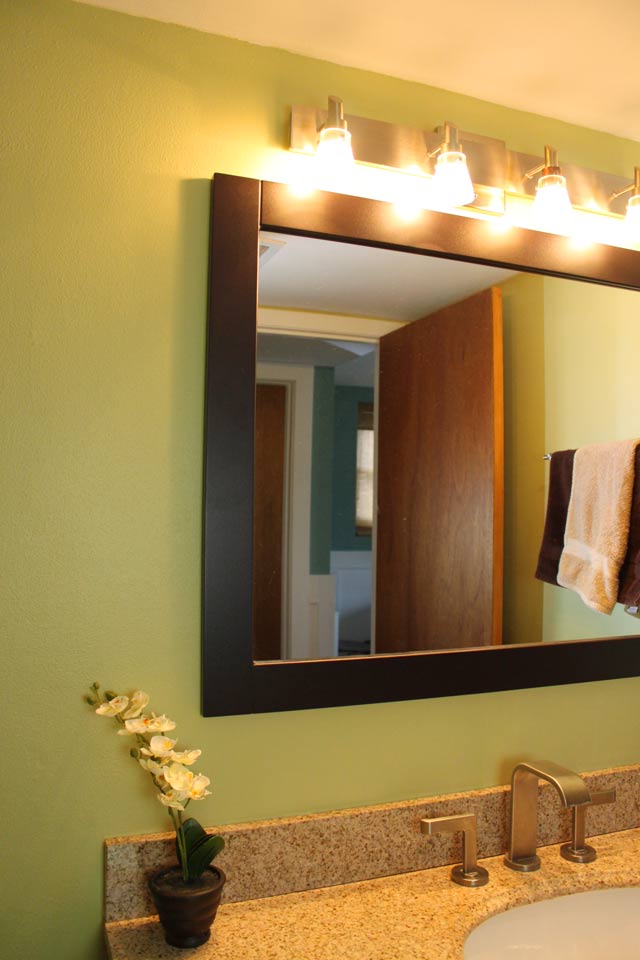
Cornhusk Green – the hardest paint color to photograph in the world! We officially painted the final room in our home – the spare bathroom that’s located downstairs. This bathroom was super nice when we first moved in, since the sellers had recently updated it with a new floor, shower, toilet, vanity, mirror and lights. What they didn’t do was paint – well actually they did, but they did a horrible job!

The must have patched some walls up, but failed to smooth it out and add sand texture, plus another mistake was them painting it all in a high gloss. High gloss + imperfections = not so pretty. And on top of it, it was a peachy cream color that really looked terrible once we painted the trim white.

Our main inspiration was this photo here… that I’m sure most people have seen on Pinterest. We loved the green with the dark woods and white. It was very spa to us.
So we headed to Home Depot, got a few paint samples and decided on Cornhusk Green by Behr. I first realized it would be impossible to photograph when I tried taking a photo of the swatch to show my family – looked like a yellow/tan/puke color, yuck. You can also see the color varies below in the photos, so if you really want to see the exact color, I guess you’ll just have to come over!

But before we could paint, we wanted to help camouflage the imperfections in the wall. So we applied a sand texture – and wow, looked a million times better. Then, went on the paint (in an eggshell finish) and wow, now a billion times better!

I’m still finishing up accessorizing, but then this baby is done! Here is the nice checklist of our progress…

  1. Paint walls a light green/sage color + add sand texture
  2. Paint trim white
  3. Hang some shelves above toilet & add a few more accessories
  4. Re-seal grout to keep it looking nice

Check out the other progress on our home here + let me know when you want to come visit and see our house, specifically this crazy wall color!

Coral Lovin – Guest Bedroom Progress

It’s been a while since I’ve shared some progress on our house! Mainly it’s because we haven’t been doing that much, up until the past few weeks. I finally had our house all clean again for our lifegroup (that actually got cancelled last minute, but still forced me to clean) so I figured it would be a great opportunity to share an update on the progress!

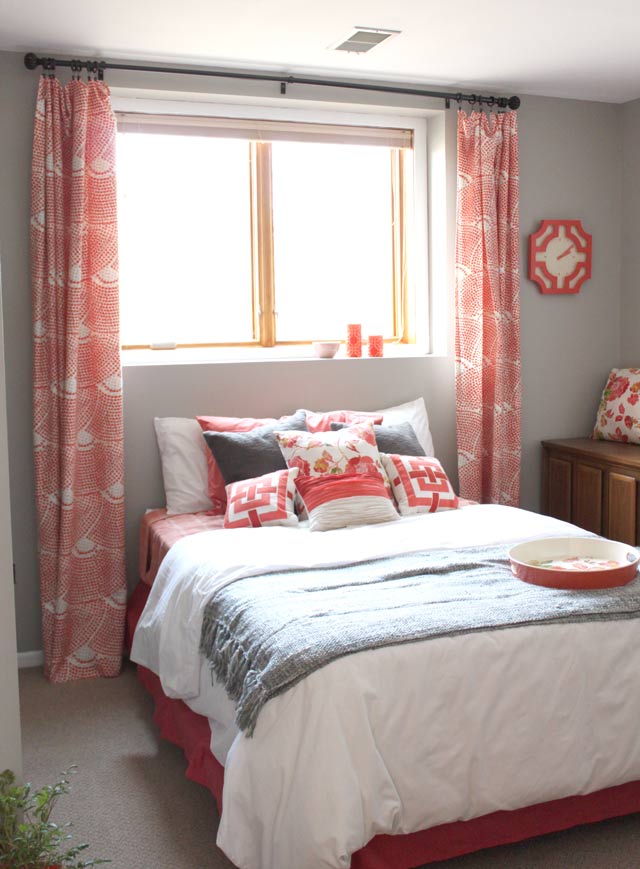
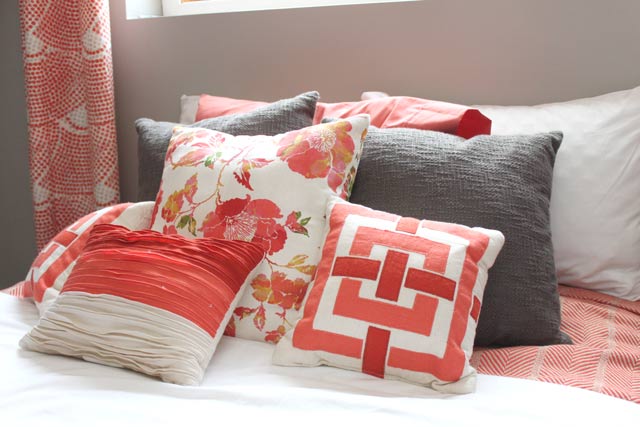
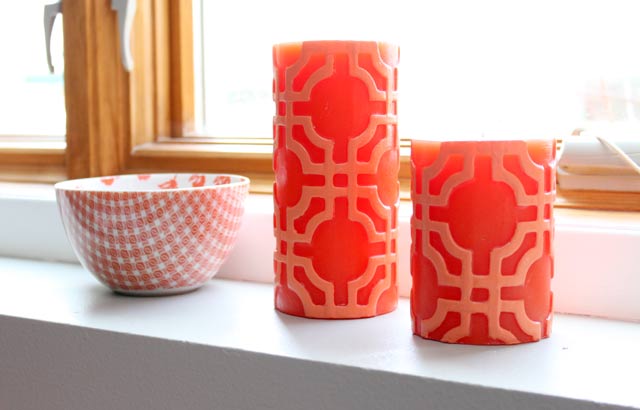
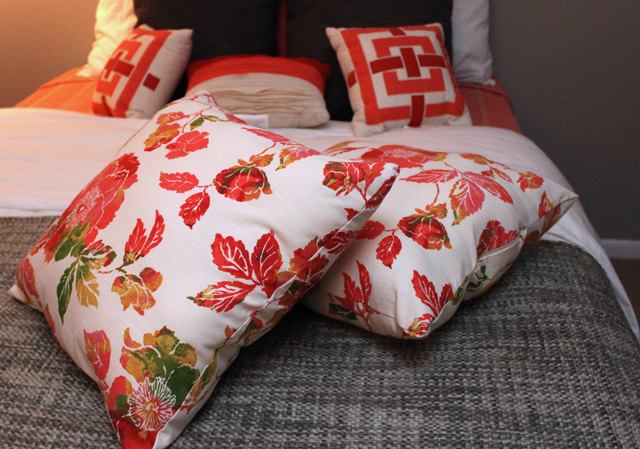
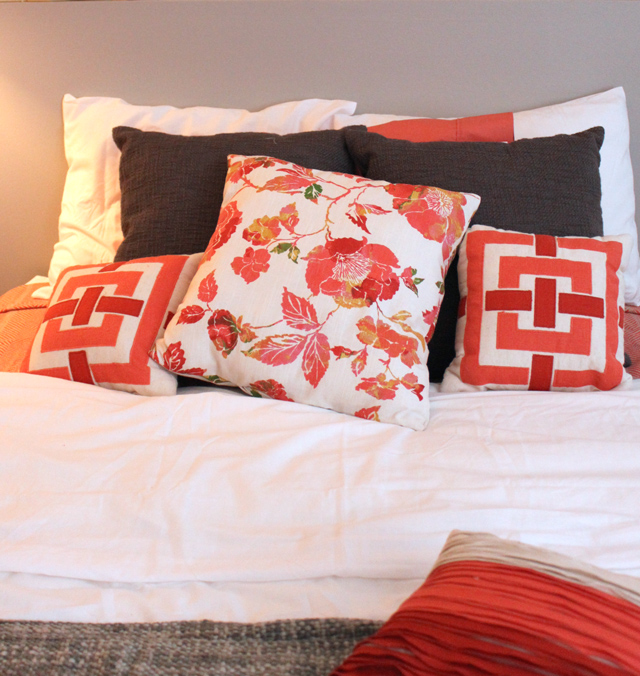
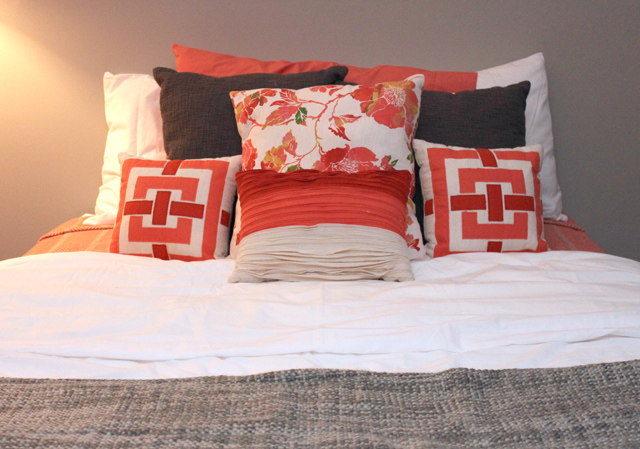
The guest bedroom has gone from flesh colored walls to gray and wood trim to white painted trim white, besides the inside of the window (to be finished this summer). Next, I purchased a bunch of coral decor: curtains, pillows, bedding and accessories (all mainly from Target). I also made the two floral pillows out of napkins. Assembled the room and presto!

The last step was actually hanging the curtains – which involved ripping out the hems in both panels to get every single centimeter of length I could since since the window was very high for the space and the only option was to hang it above the window. Success – They started at 84″ and I got them to about 92″ once I re-hemmed them.

So now, here is what we have left to do before we officially call it “done”…

  1. Paint the walls grey
  2. Set up bed and dressers
  3. Hang curtains
  4. Add a few accessories (half done)
  5. Paint trim white
  6. Decorate the walls
  7. Add white bookshelves into cut-out areas
  8. Refinish dressers
  9. Add a headboard

PS check out the progress on our entire house here…Our Home To-Dos

Pinterest Challenge: Napkins to Pillows

I have a few obsessions. Target, pillows, pinterest, and the blog Young House Love. Put them all together in a nice sandwich and you get a YHL Winter Pinterest Challenge where I take four napkins from Target and make two pillows.

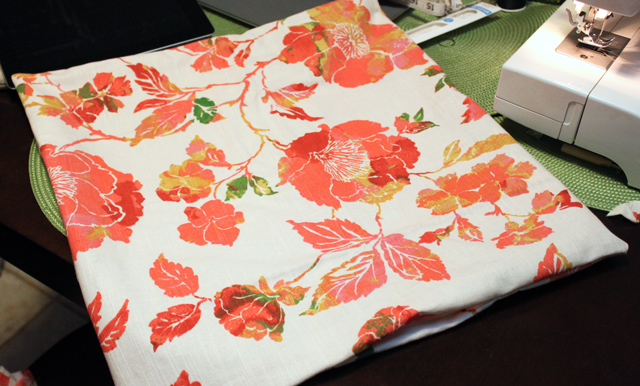
It all started when I was working on transforming our lower level guest room and figuring out a color palette. I went to Target and since they had a million decor pieces in one of the hottest colors right now, coral, I decided coral and gray was my palette. I found lots of pillows with coral, but so much of it was geometric and so harsh. I was really wanting to add some floral when I found this Target floral print (below). However they didn’t have this print in pillows which I wanted, so what did I do… bought a pack of four napkins (20″x20″ each) for $9.99 and said I’d make pillows out of them… real funny since I haven’t touched my sewing machine in over 2 years.

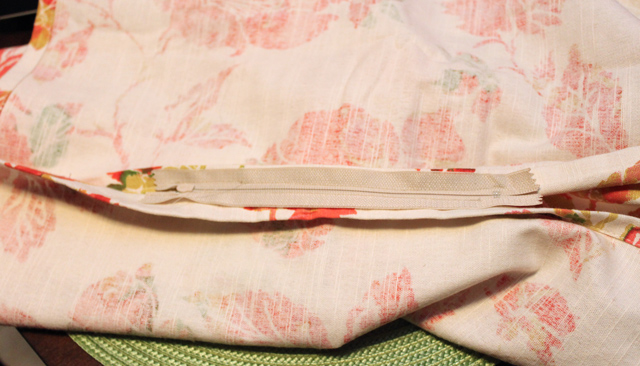
So then I hopped on Pinterest and began searching for tutorials on how to make pillows from napkins… and I found many different methods. You can sew the pillow mostly with a machine and then the methods to close the pillow after the stuffing include hand sewing, velcro or putting in a zipper.

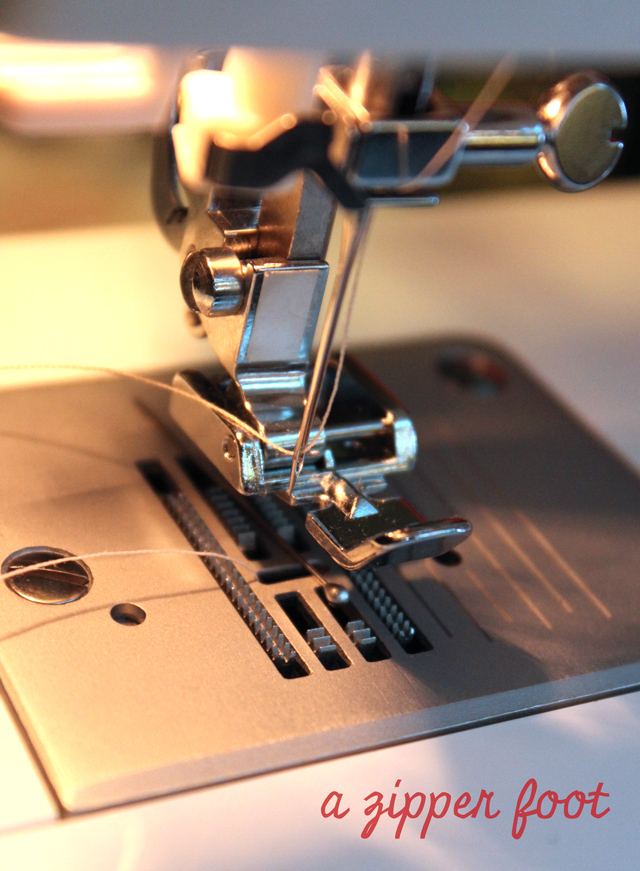
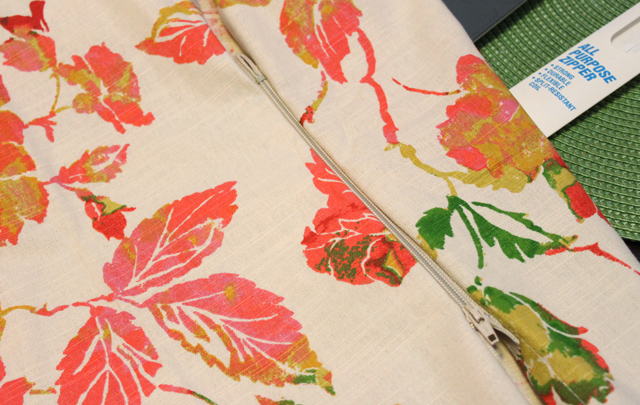
I was ambitious and thought a zipper would be the best way to close it, while making it still look nice. Here is the pillow tutorial I followed to a T… besides the fact that she didn’t use napkins, but napkins in my case just equaled a piece of fabric. PS I also learned that for zippers you use a “zipper footer” which so nicely came with my sewing machine.

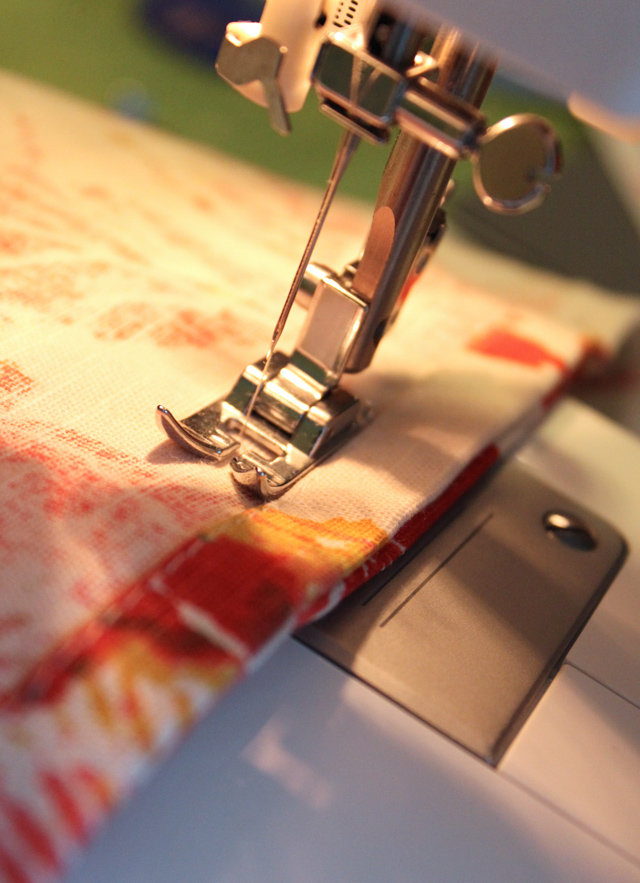
I was crazy surprised how easy it was… even my mom (who is like a pro sewer) was impressed! So once that part was done, the rest was easy, just sew it shut. And I just used the existing hem as my guide which helped keep things pretty straight.

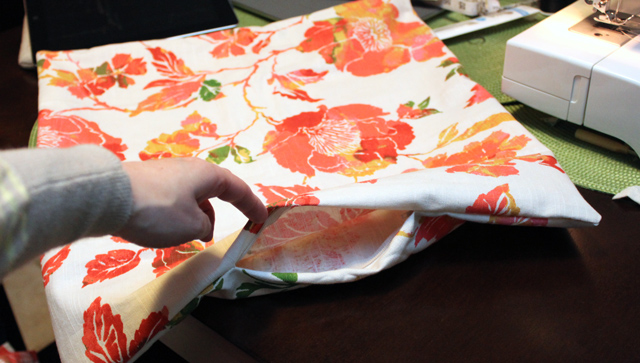
Then I just stuffed them full of soft stuffing that I picked up for about $3 and zippered them shut. Presto. I magically turned 4 napkins into 2 pillows.

And look who came to watch as I finished this project… his eyes were on the pieces of thread the entire time, he has eyes like a ninja. I’m thankful for a pet who loves craft time too!

House Tour – February 2013

Soo every other Friday night we get to host a bunch of fun people our age over at our home to play games and hang out – what our church calls a lifegroup. Our last one was a blast, and Drew and I are looking forward to next Friday. However having 15-20 people over every other week has made me obviously clean a bit more.

I’d like to say we’re just keeping things neat and tidy so that we don’t have to do a huge clean each week, but so far we aren’t there yet. And because I have my house super picked up and everything put away every other week now, I’ll be trying to take more update photos of how our house is coming along.

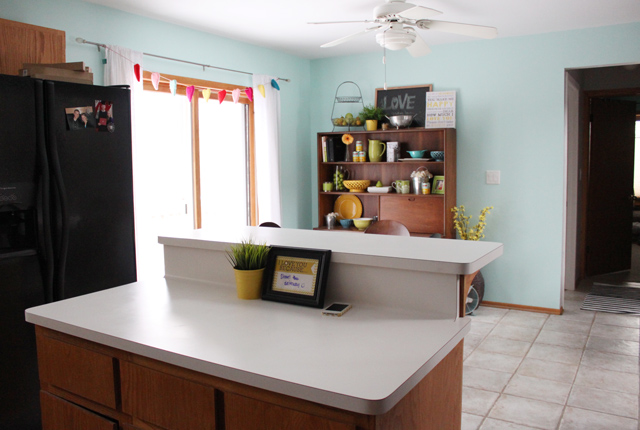
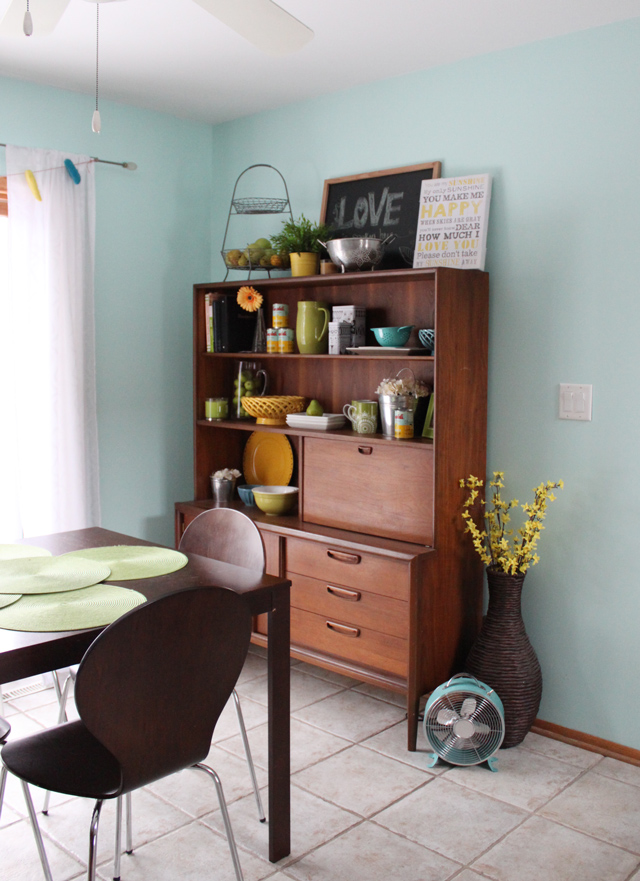
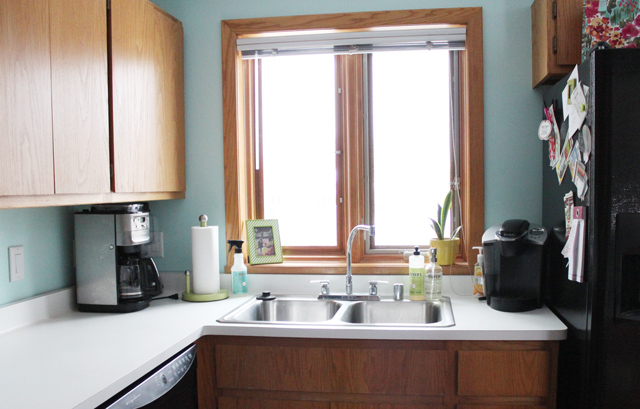
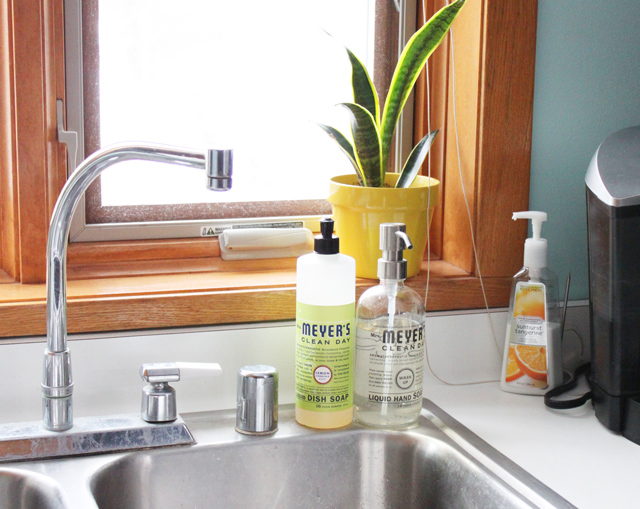
So last Saturday morning since everything was clean still, I went around with the camera real quick and snapped these – enjoy! PS this totally makes me see all the spots I missed cleaning… oh well, too late now. Like check out the dust on the window in the kitchen. Woops!

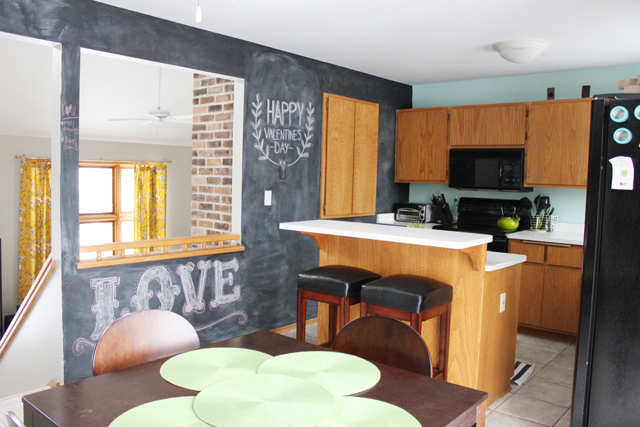
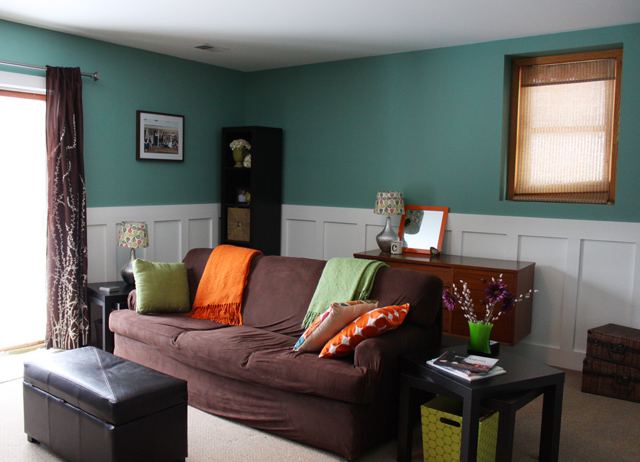
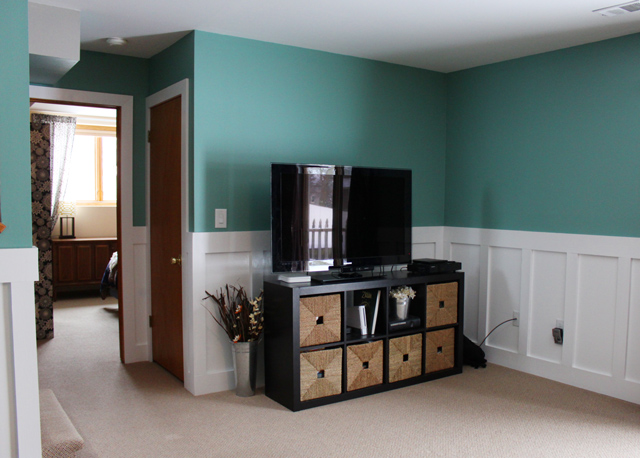
As you can see, a lot is a work in progress. This summer we’ll do our big kitchen reno (think white cabinets, gray countertop, wood floor, penny tile backsplash). The living room needs things put in those frame and then the family room needs some good design thought into it. It has basically just received all of our leftovers for furniture and decor – hopefully some day I will get to that space to improve it. Just looking at it now in these photos I cringe and debated including them.

But a house is all about making it a home, so I included them…

New Fave: Coral

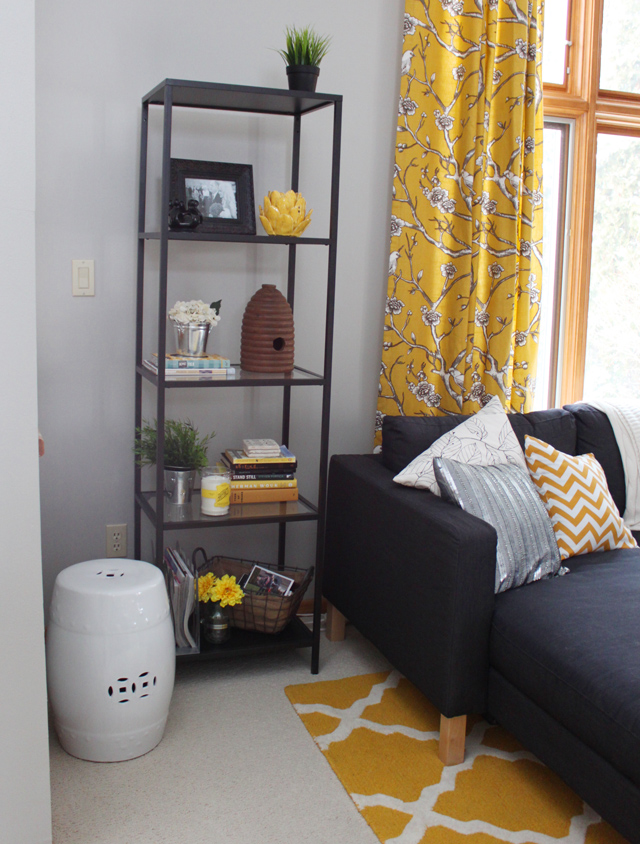
If you’ve been to our new home, you’ll quickly realize I have a love for grey and yellow hues. While I could decorate each room to scream out my love for that color duo, I wanted to stretch the color palette of our home.

One of the only two rooms left to be painted was the downstairs spare bedroom and the bathroom down there. And after Drew recently professed his desire to have a space for a computer set up, he convinced me to start working on our next project: operation finish the downstairs bedroom.

First set of business was to find some inspiration and create a color palette. I browsed thru my some hundred pins on my “home style” pinterest board to remind myself of what things I’ve been loving lately over there. I settled on the palette of Coral & Gray (plus tiny bits of yellow and a light blue, think: this moodboard, that I made for myself to hopefully re-do my portfolio site this year). But then I also had to convince Drew that this color is definitely not pink! Here are a few images that inspired my game plan for this room…

Suzie: Kerrisdale Design - Woven magazine basket, Robert Allen Dwell Studios Gate white & gray ...

Coral and Grey...or Navy Blue

gray and tomato

Next, a trip to Target to score all the coral decor possible made this room start to come together very nicely and easily. And if you follow my instagram, you probably saw all the things I found there…

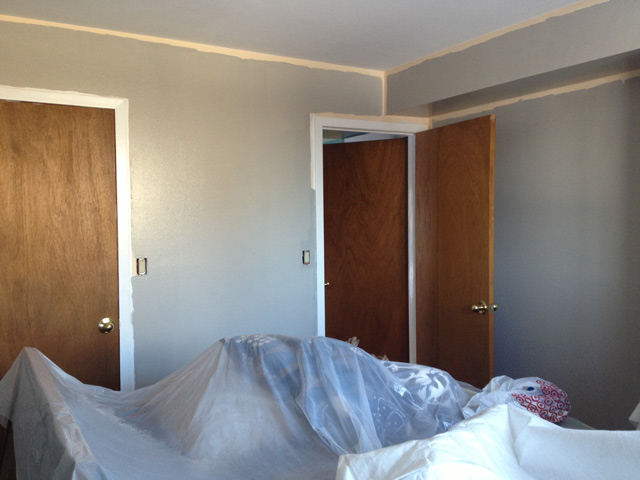
And now to today… Drew and I were able to finally say goodbye to the flesh colored walls (gross) and painted up a fresh coat of a medium gray color Martha Stewart Bedford Gray to be exact. Here’s a quick image of how it was coming along.

Now that the paint is dry, the next step is to clean up the room and put it back together – also to make the bed with all the things I found! A few other things on the list to do before it is more finish are…
  • Create a striped upholstered headboard
  • Hang some white/floral curtains
  • Get a white Parsons style desk
  • Re-do/paint the Mid Century Modern dressers in there
  • Spray paint a round mirror to go above the headboard
  • Add more decor/storage elements
  • And probably much more…

Winter from our Window

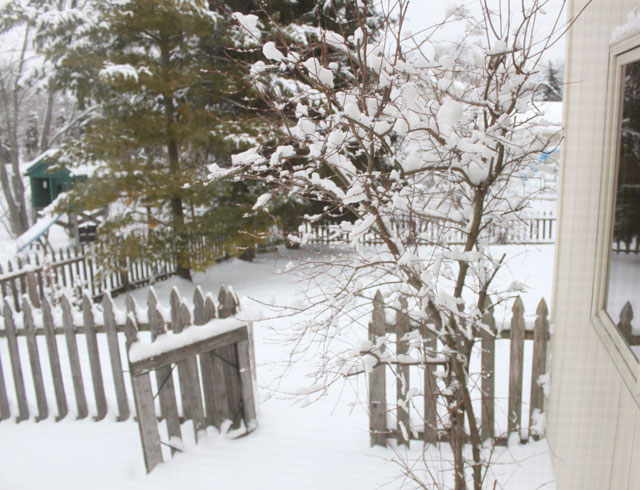
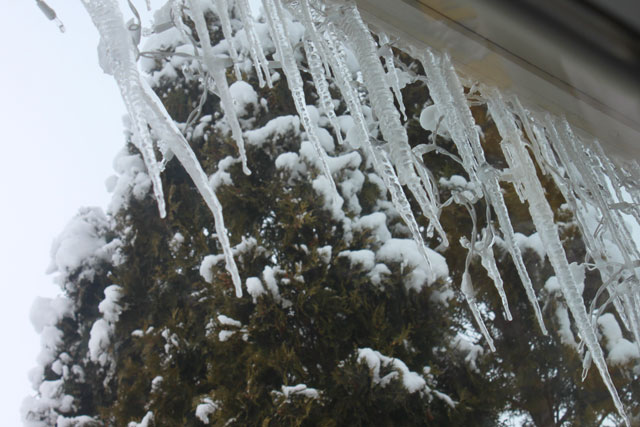
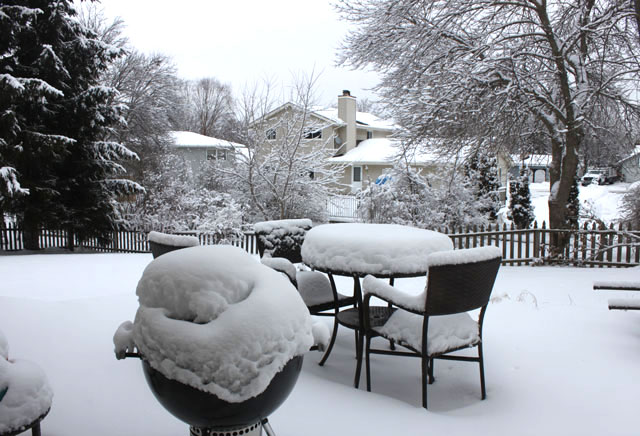
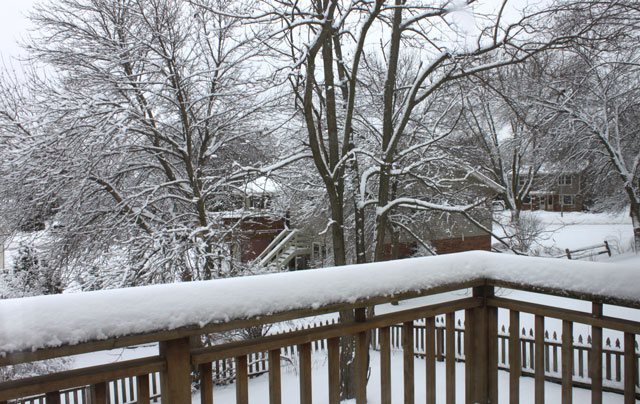
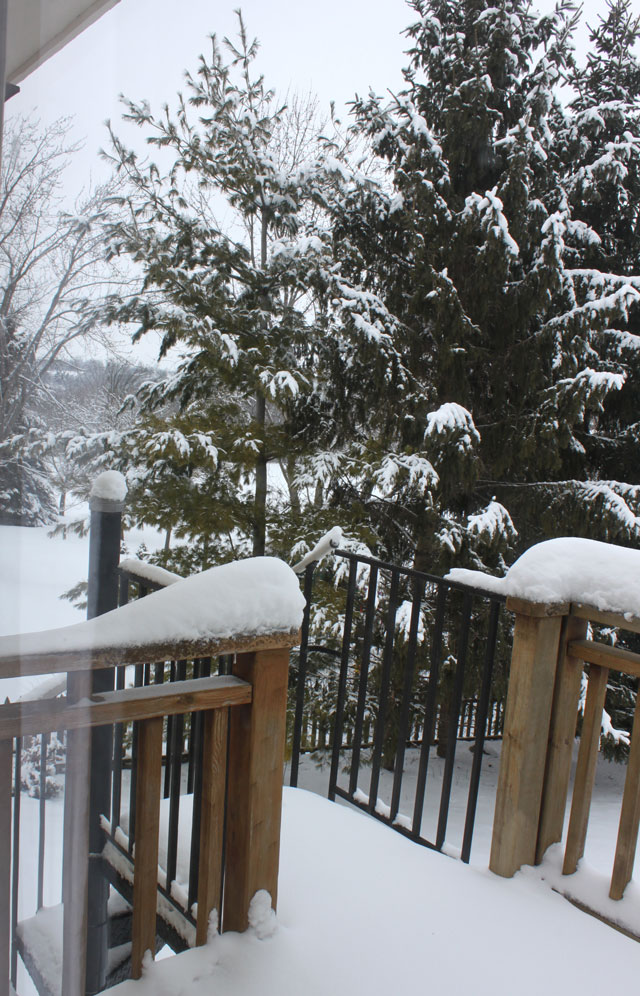
Winter is seriously my least favorite season. 1. It’s cold 2. Everything outside is dead 3. Driving in snow and ice is scary stuff 4. It’s really cold 5. Our garage door opener doesn’t like to open when it’s below 32 degrees F.

Despite my hatred for the season, you can’t deny how beautiful a new snow can make everything look. Especially the one where it sticks to everything. The other day we had just that type of snow storm – it was terrible to drive home from work in, but the next day it made up for it. My favorite – driving through our tree-lined streets. To document my once a season love for snow, here are these photos I took from inside our cozy warm home.
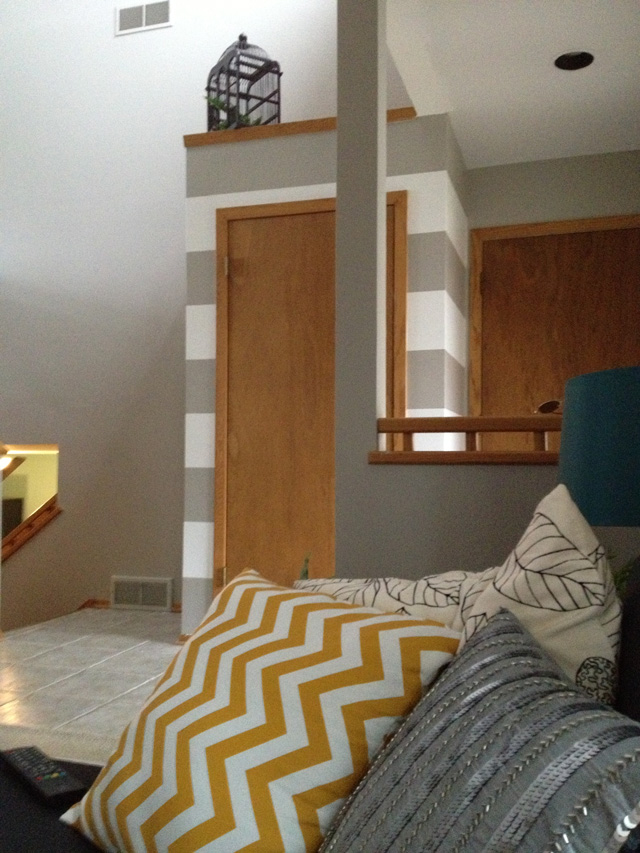
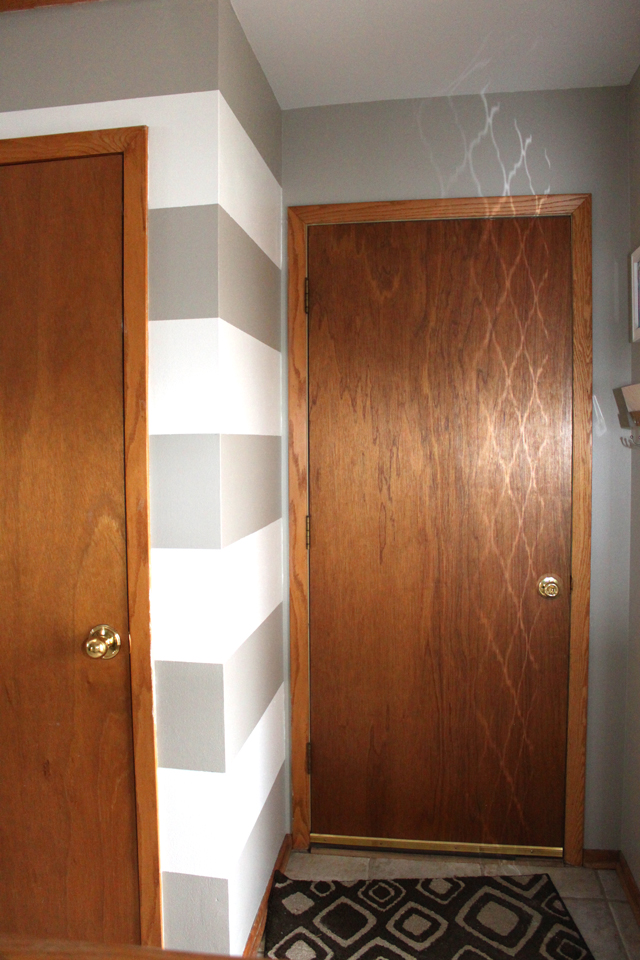
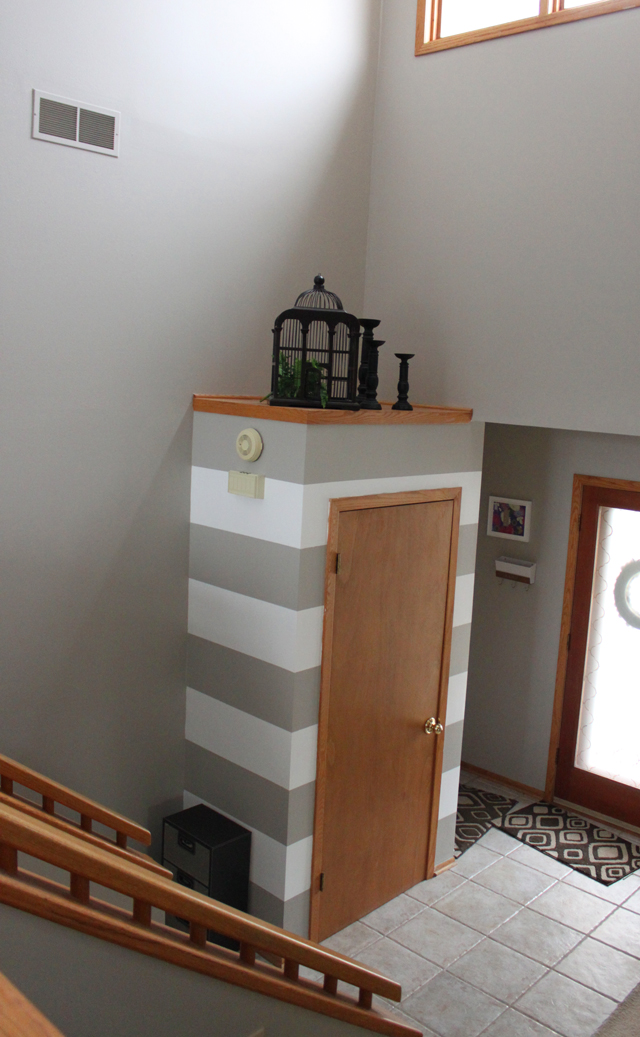
Striped Walls

So a few weeks ago, four to be exact, on a Saturday I finally took it upon myself to paint our striped walls with my mom’s help.

This was a fun little project that only took 4 hours total and didn’t create a huge mess like our other recent projects. I’ve seen this effect done numerous times on blogs, pinterest and in magazines – so I read up on a few tips to help.

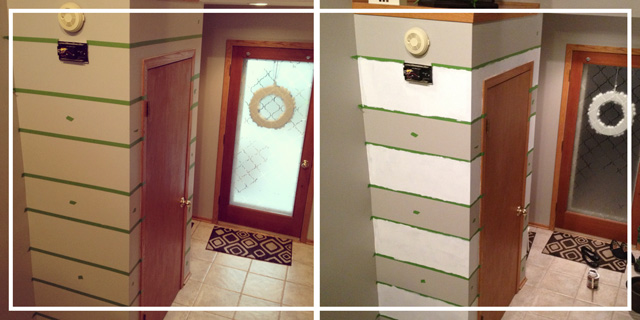
Basically, first you measure the wall and calculate how many stripes you can do, or how many you want. We decided to also keep our stripes all the same height (so you have to account for this with taping). We used a ruler and a level to make sure our spacing was equal and straight, it got tricky as you turn corners or have a big door to compensate for. We only taped for the areas where we were going to paint white, so the areas where the grey is staying looks smaller, but you have to account for the space hidden by the tape. We also marked those areas that were staying gray, just to avoid any possible mistake with the paint!

Three coats of Behr Paint + Primer in their Ultra Pure White in Eggshell covered it well enough and luckily the Frog Tape held up to it’s promise and came off smooth. I’m now a fan of that green stuff! Check out the photos I took during the process and shortly after with my iphone.

Once I removed the tape I noticed there was a slight raised edge on the painted areas. I had to laugh because that was exactly the problem we dealt with in our spare bedroom. I texted a photo to show my dad, his reply…Do unto others as you would have them do to you! So true… so true.

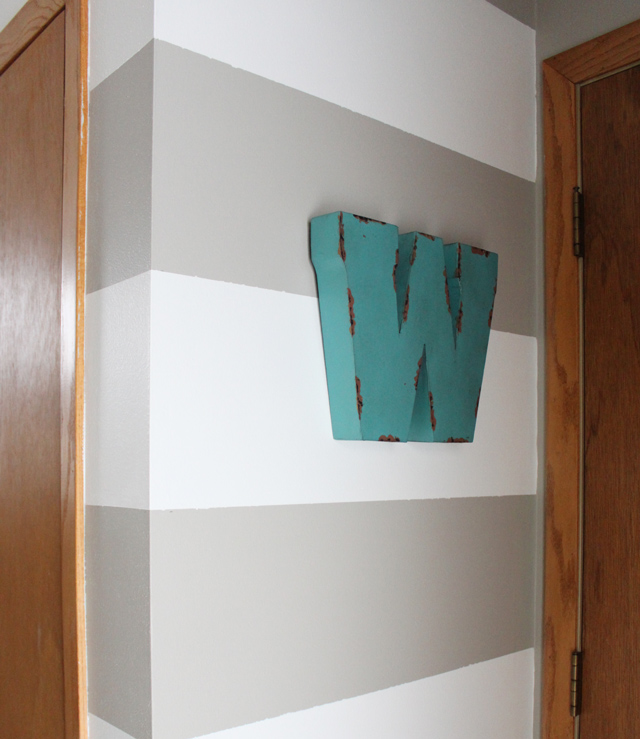
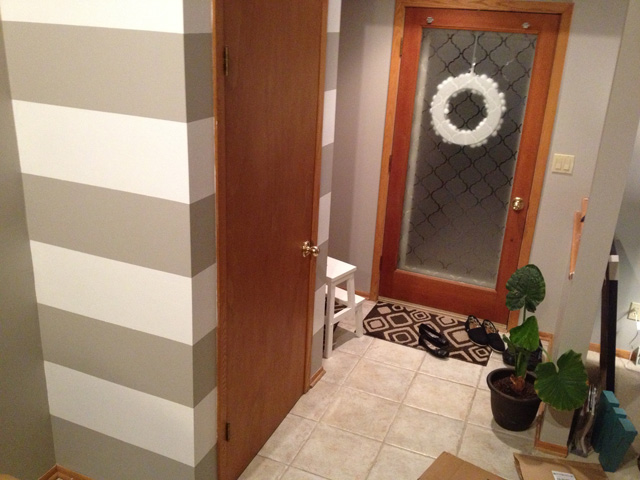
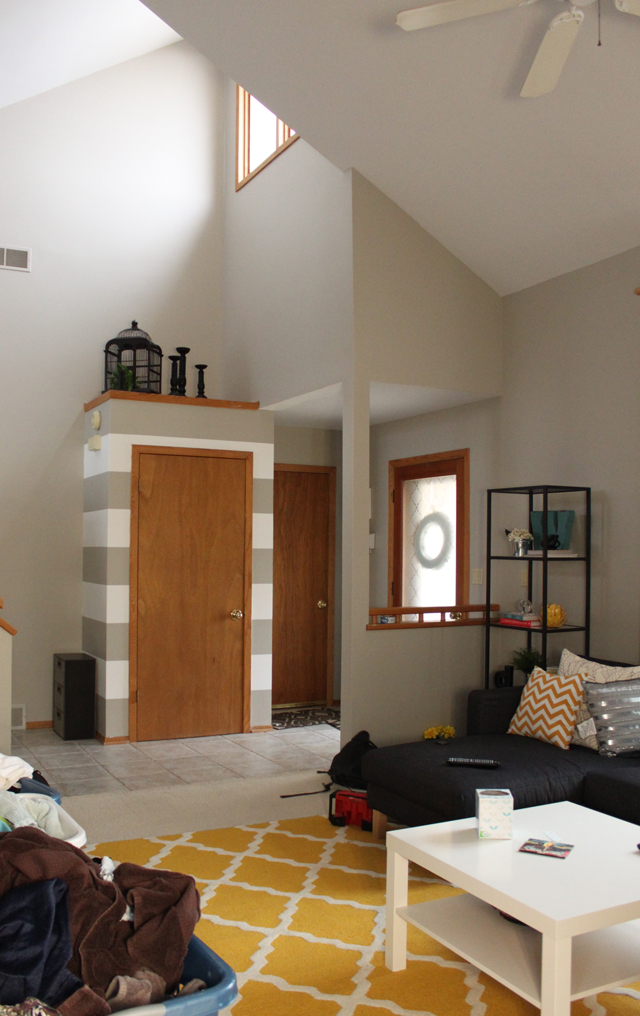
And because I actually cleaned the other day, here are a few photos I snapped to show you the stripes in their full glory. Love ’em.

And when I said I cleaned in order to take these photos… I lied. I only cleaned up that tiny area, as you can see from this more wide-angle photo, and I wanted to show you all the other patterns in the room. I heart mixing patterns.